Spring Break Video Class
Using the Picturing Science Process (developed by Dr. Lori Phillips and Kavita Rao - PREL - http://picturing-science.prel.org/?page=home) we began working on our videos to spotlight our campus plants.
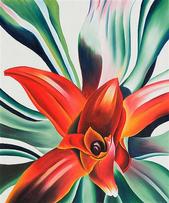
STEP 1: Georgia O'Keeffe - We began with Georgia O'Keeffe and observed and talked about her painting - Leaves of a Plant and we watched a movie about her.
STEP 1: Georgia O'Keeffe - We began with Georgia O'Keeffe and observed and talked about her painting - Leaves of a Plant and we watched a movie about her.
- Our initial response
- Describe what we see
- Elements of art - how are they used (looked at line, color, shape, value)
- What was she thinking? How was she feeling? How does it make you feel?
- How do you feel about this painting? Would you like have the painting? Do you want to see more of her work?
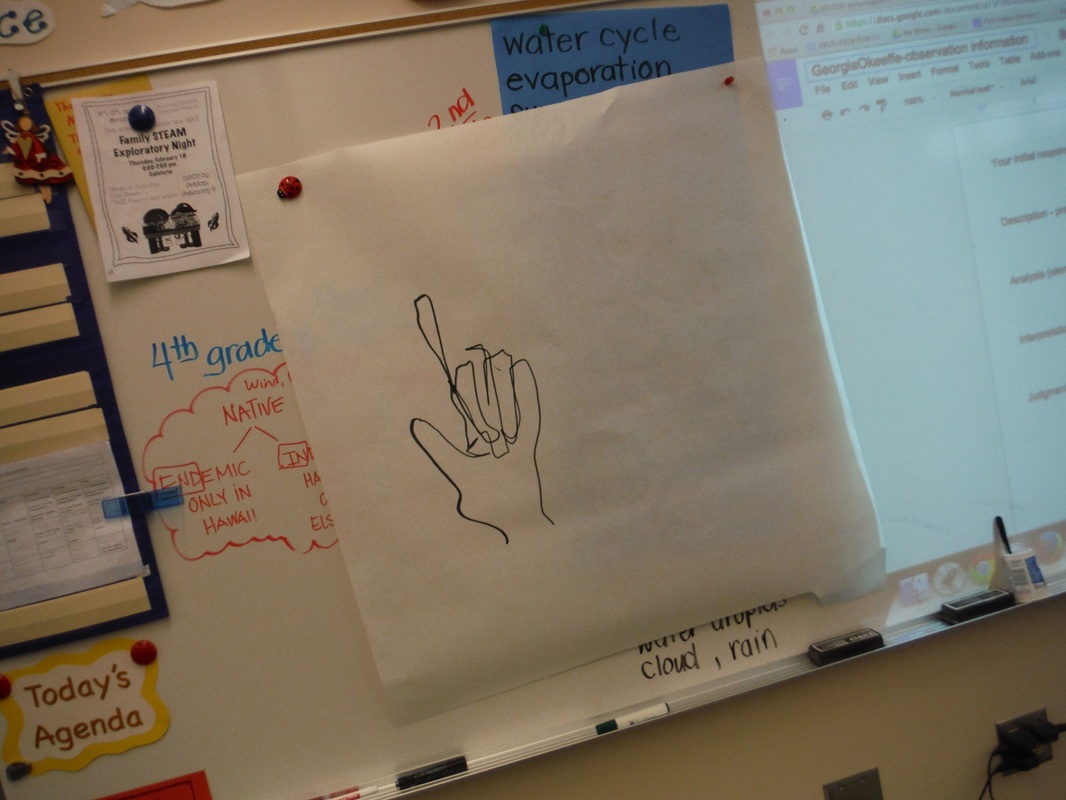


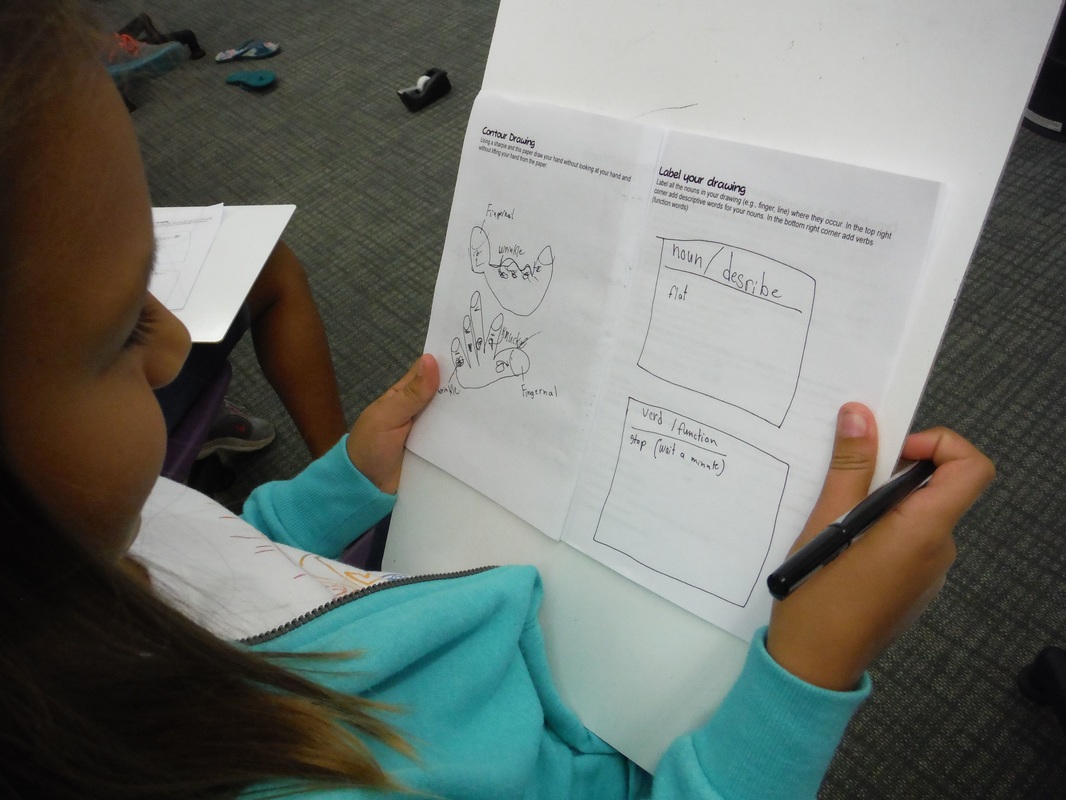
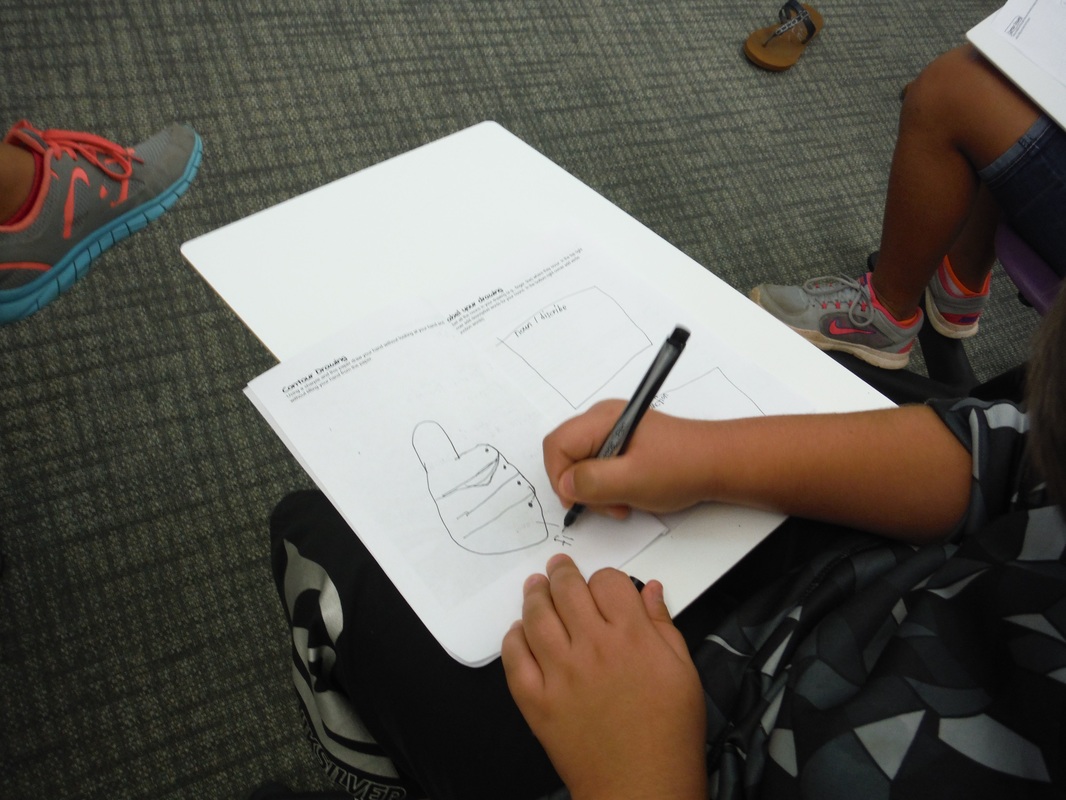
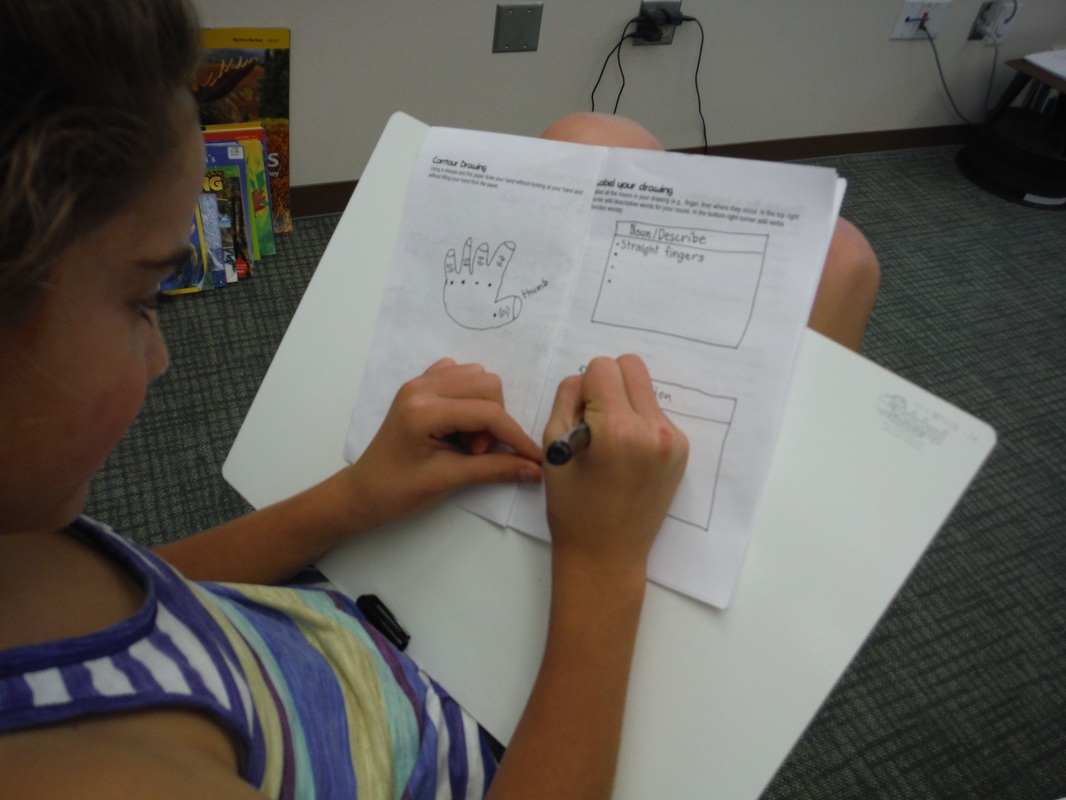

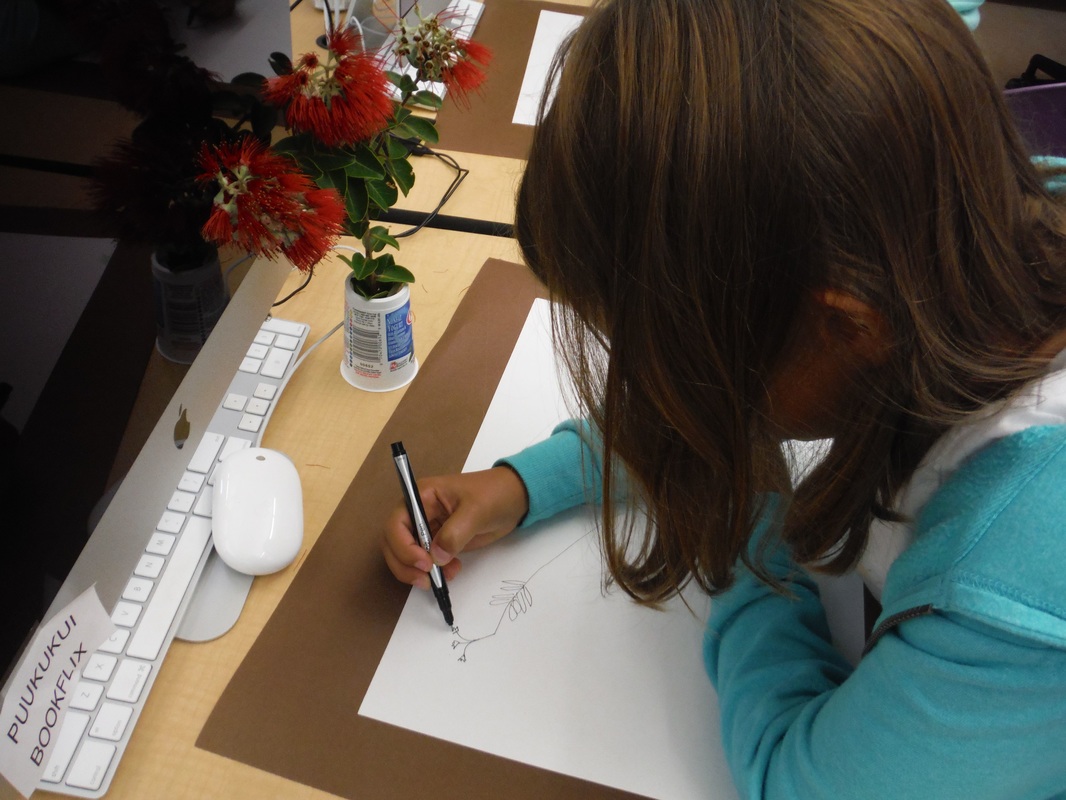
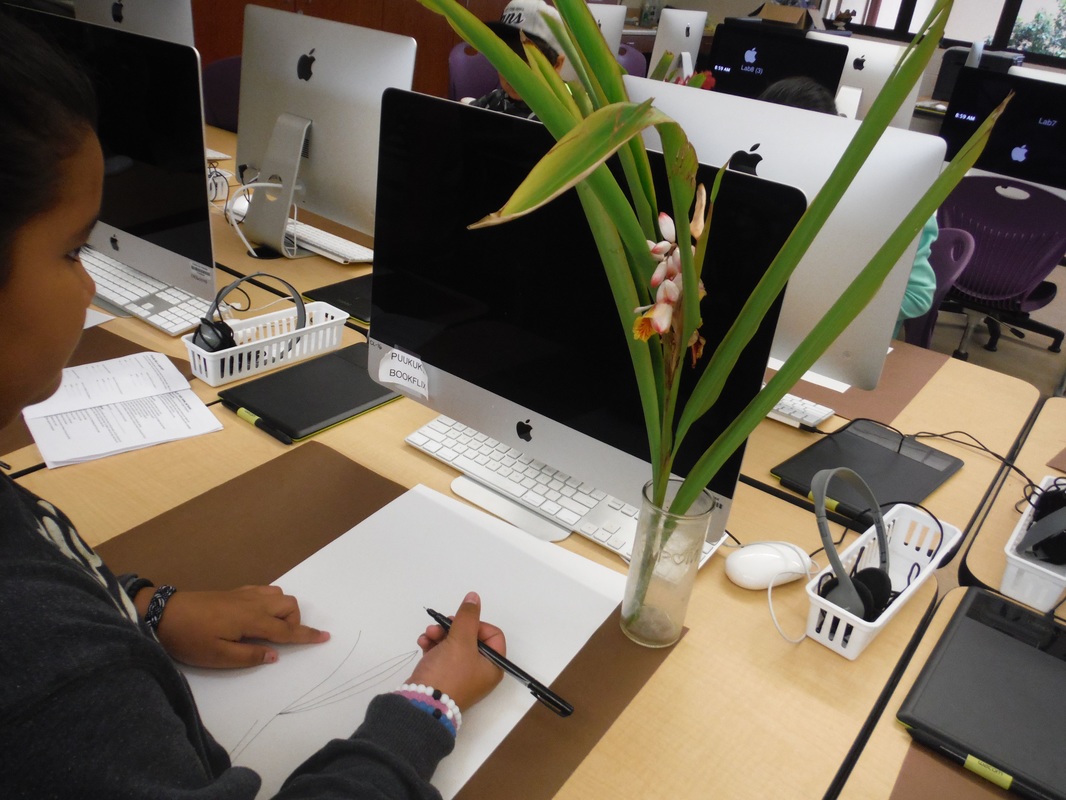
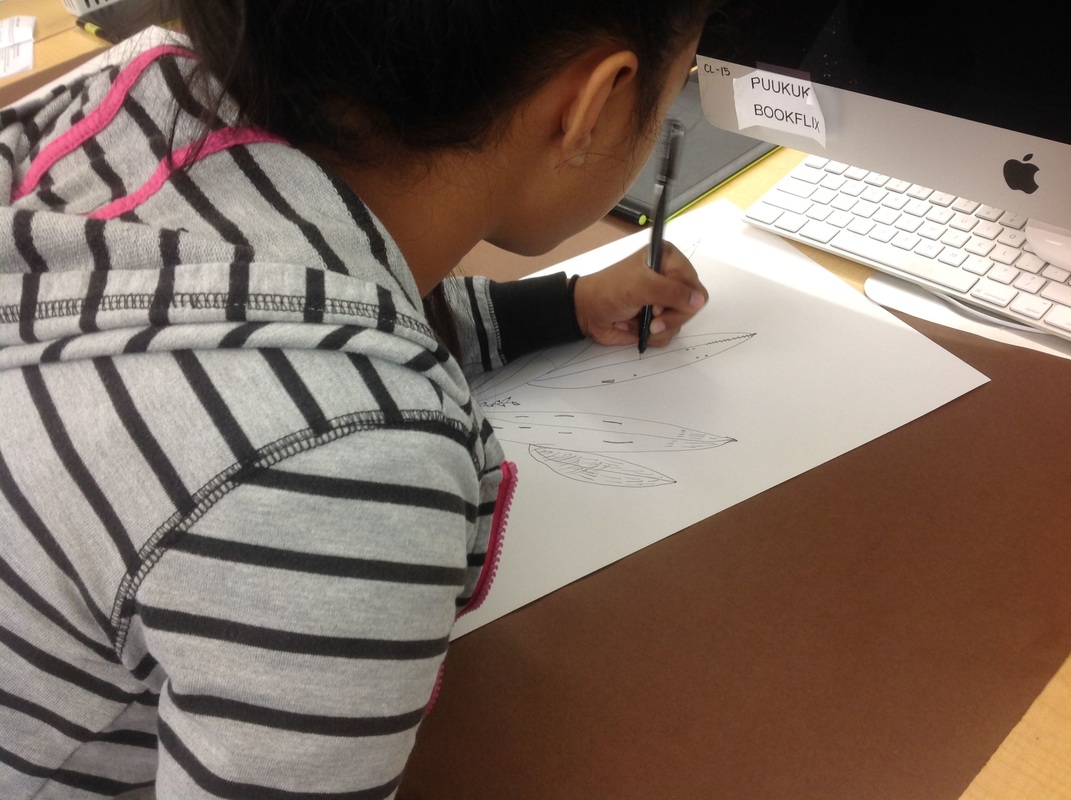
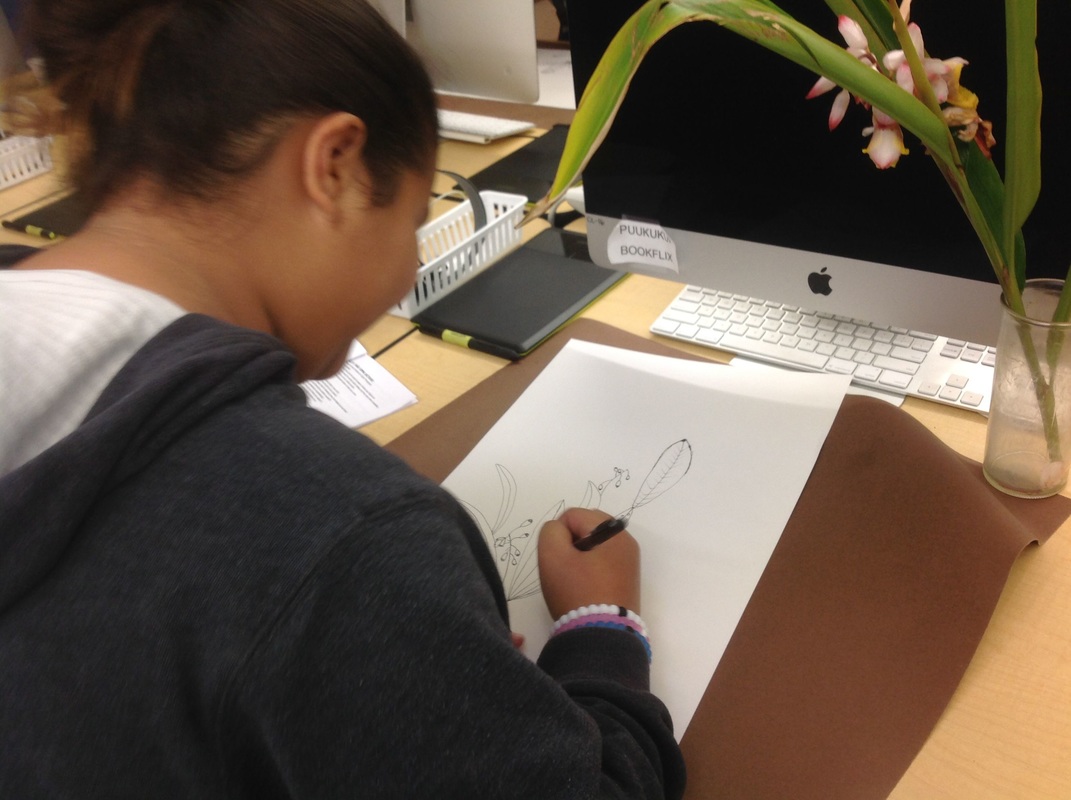
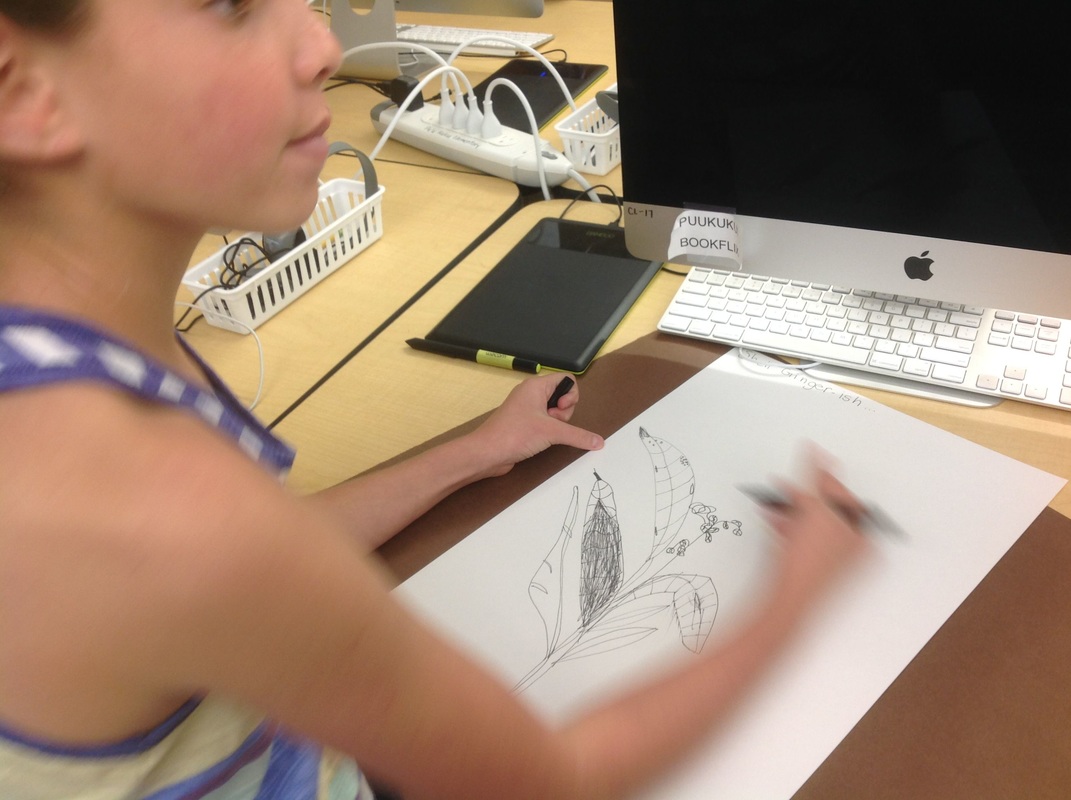
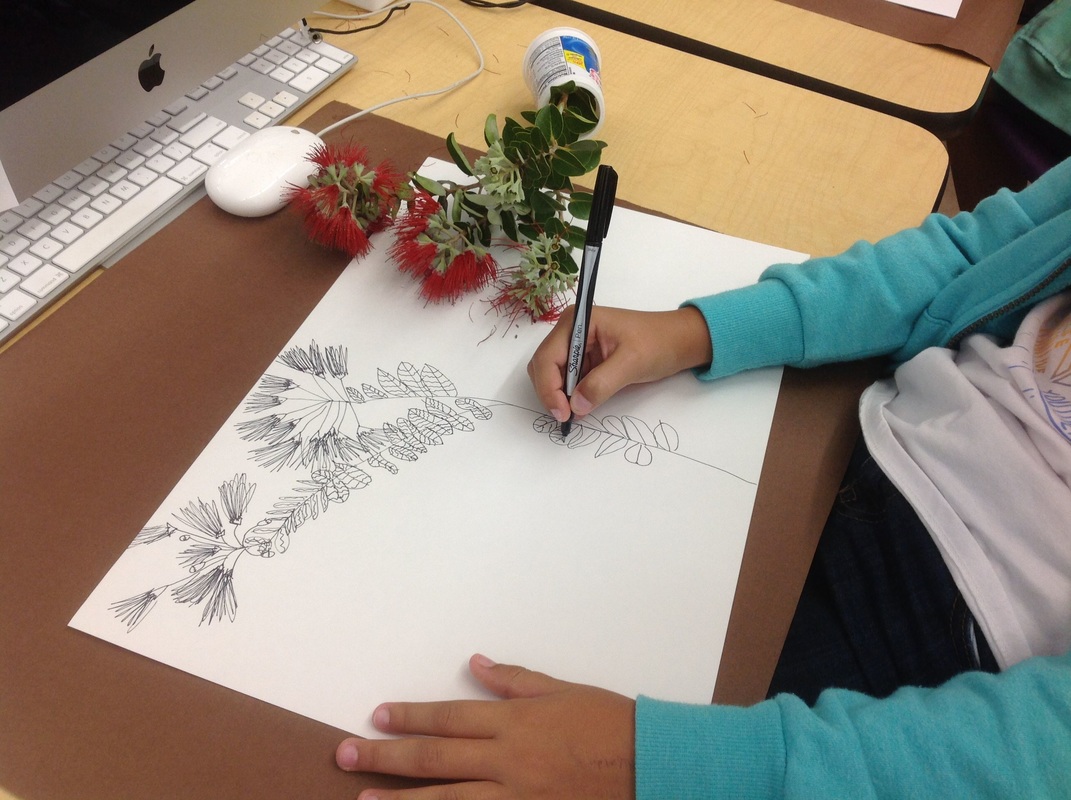
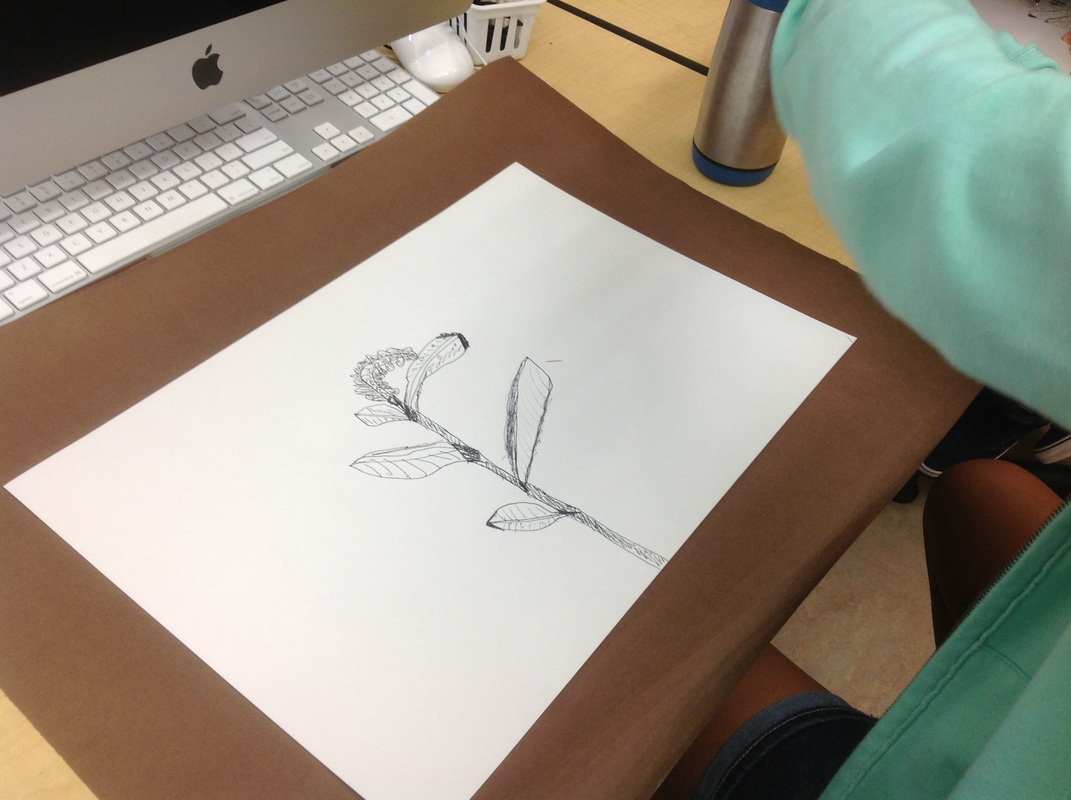
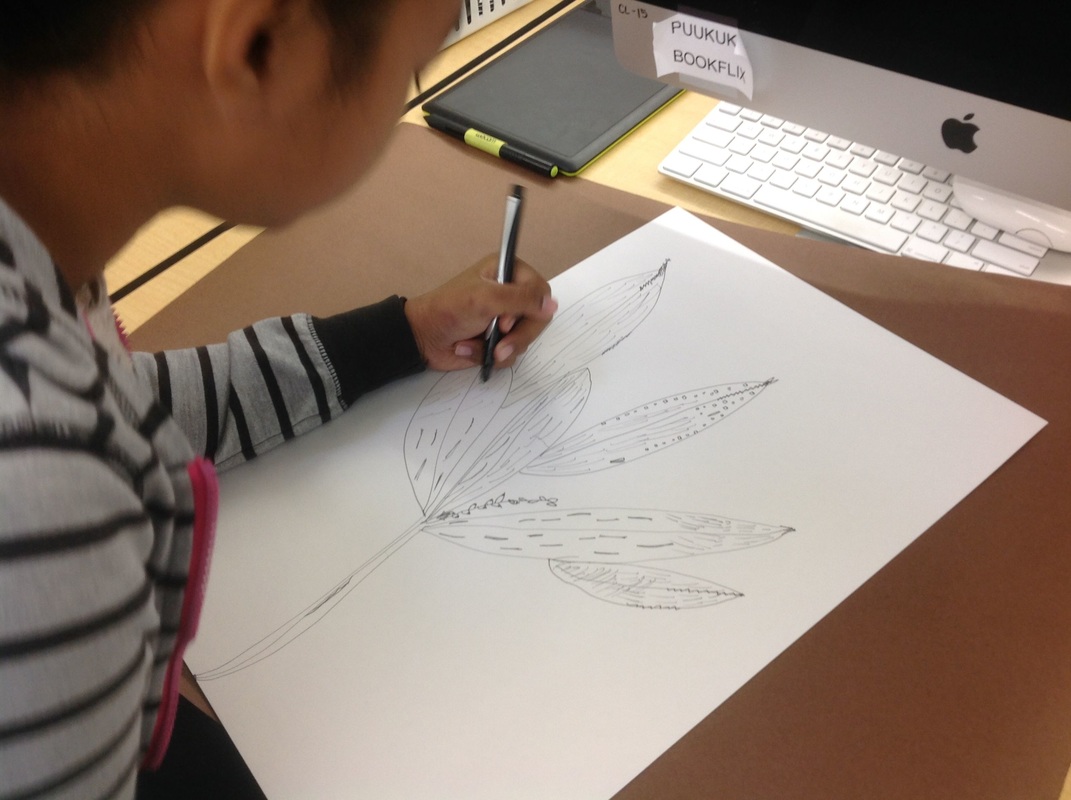
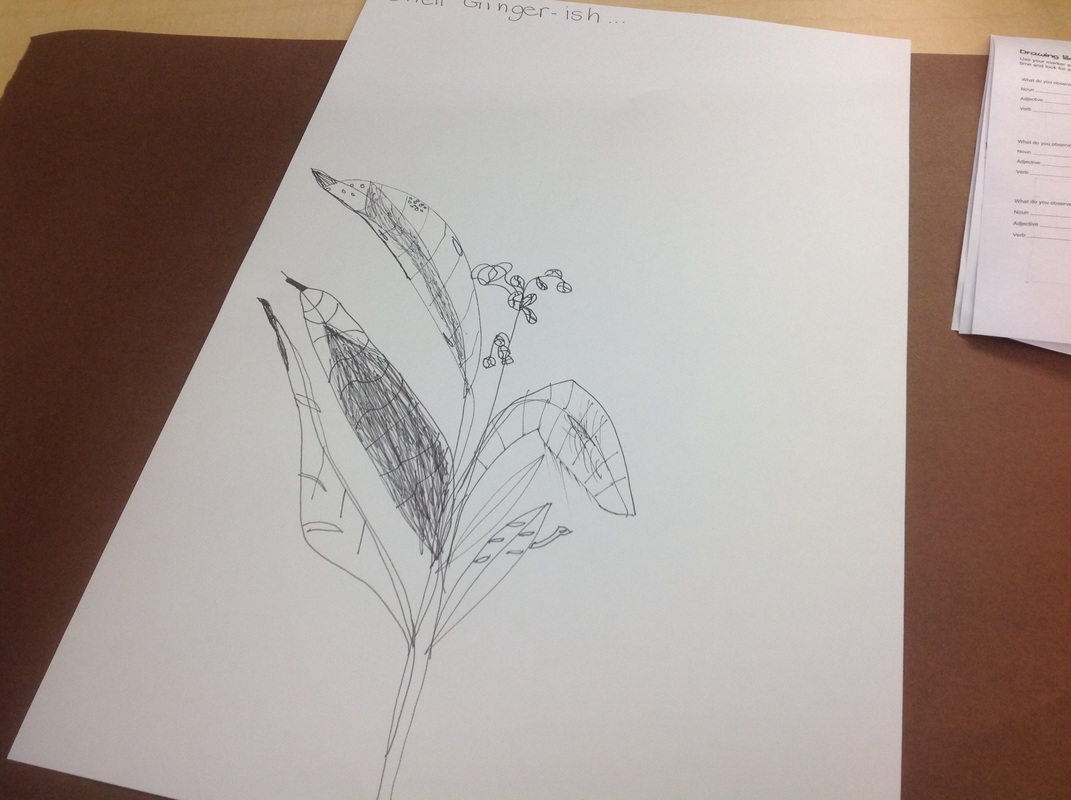
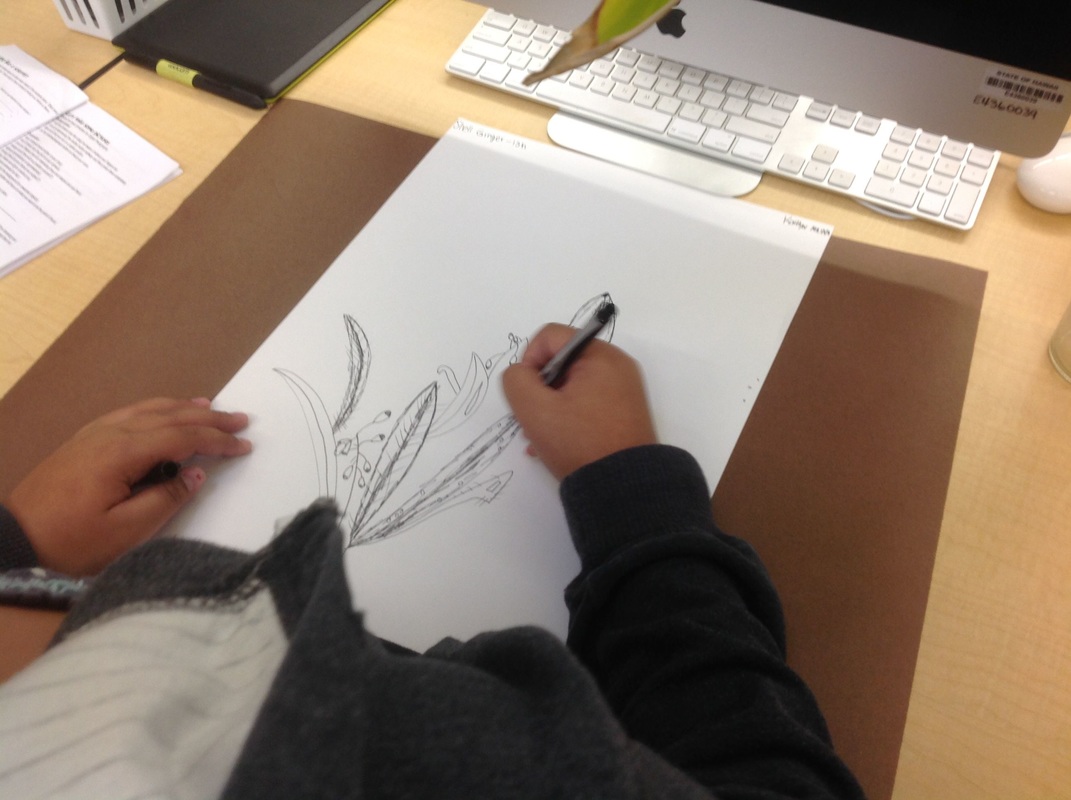
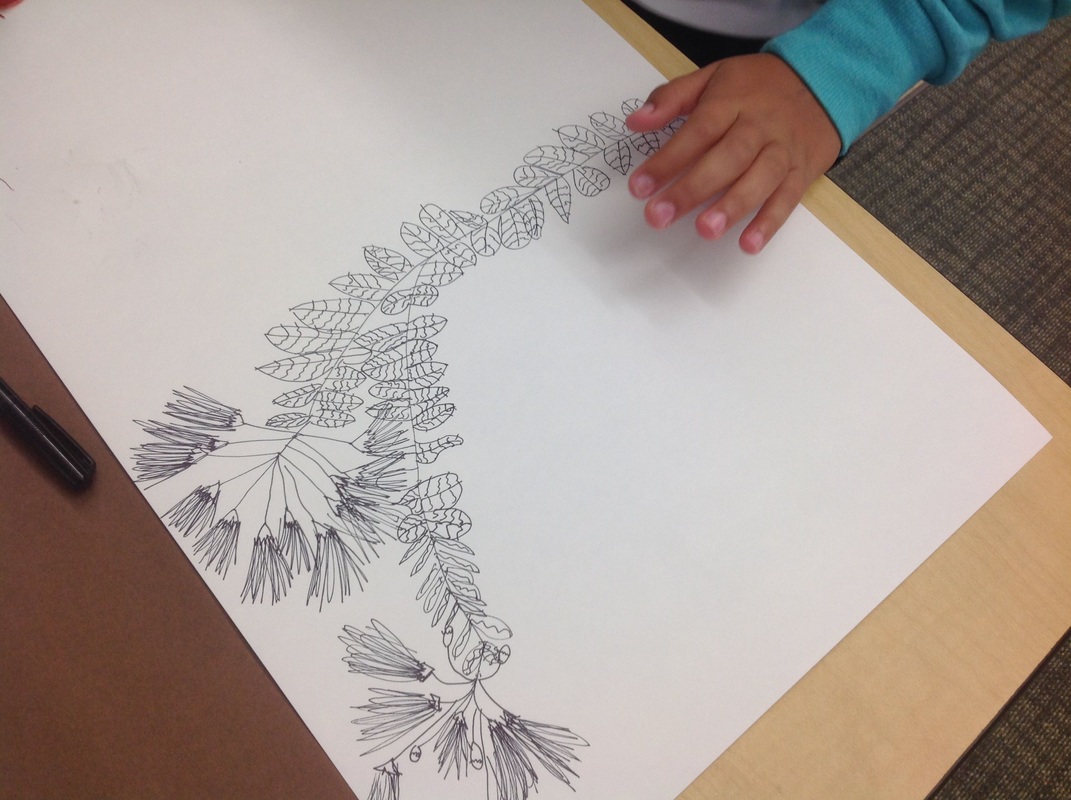
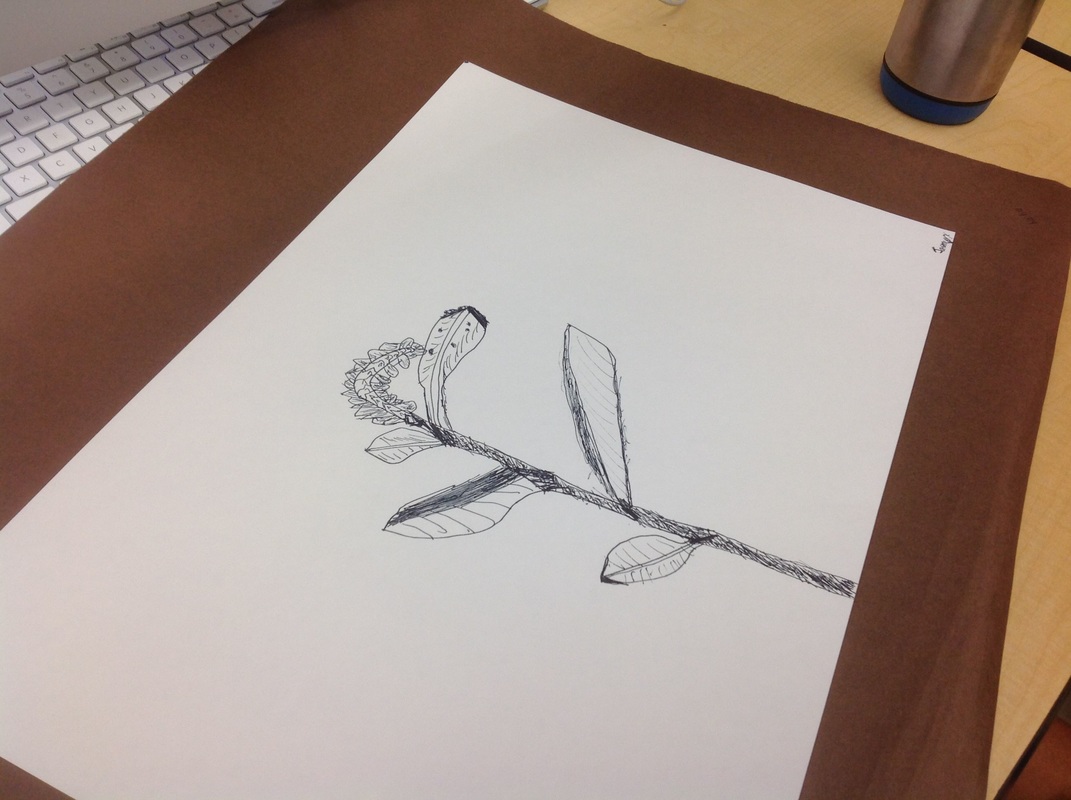
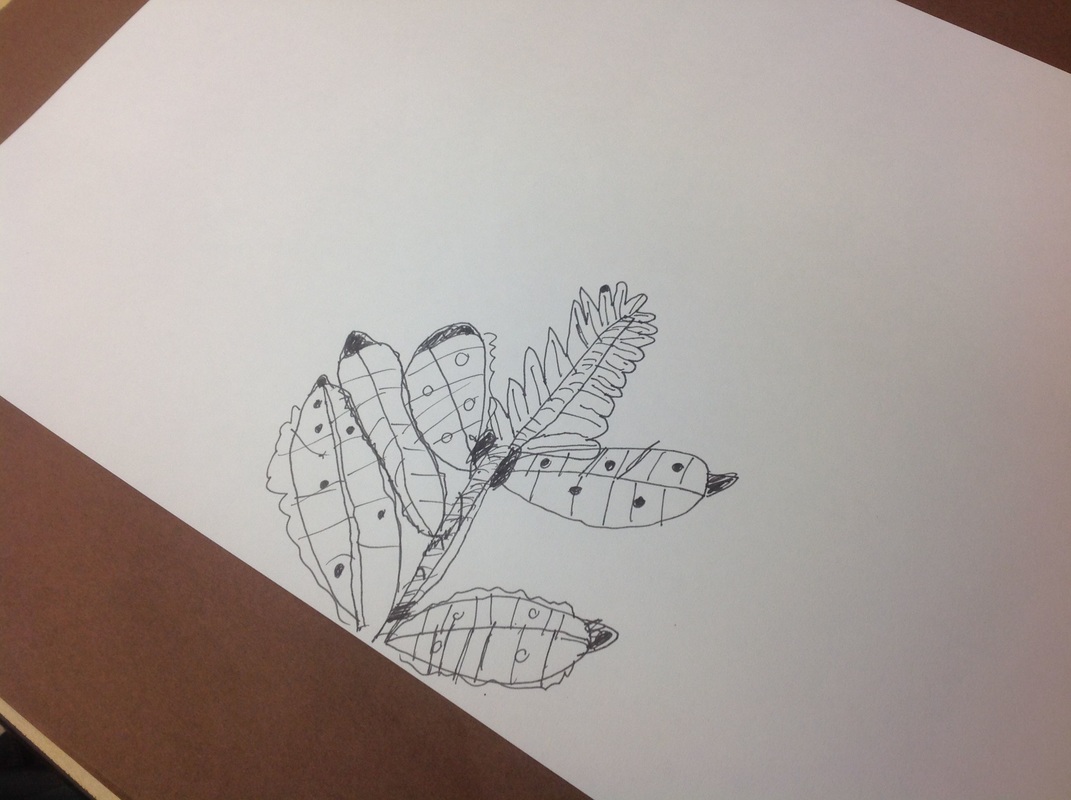
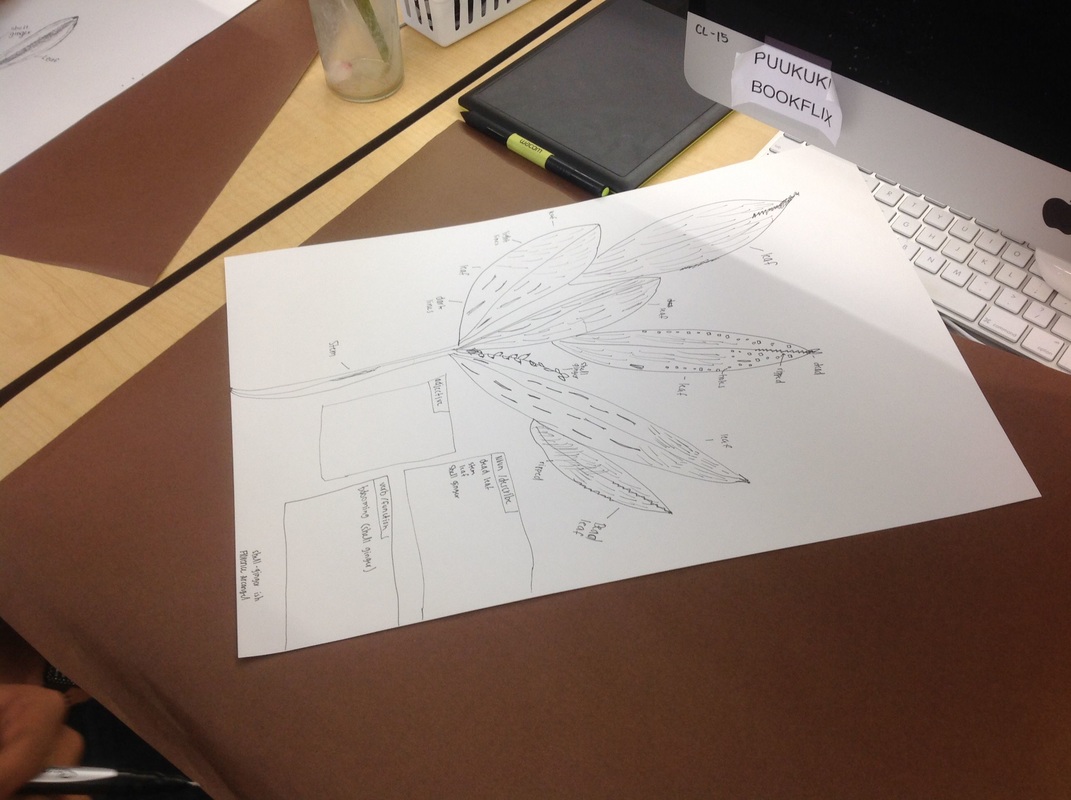
STEP 3: Drawing like a scientist - We began by reading Ish, by Peter H. Reynolds. We talked about how hard it can be to try to draw something and about how frustrating it can be when it doesn't look the way we pictured it to look. Then we decided that if we were doing our best that our drawings would look -ish. Maybe not perfect, but close and that would be OK for now. Then we each chose a plant to look at and we practiced drawing like a scientist. We tried to just draw the details that we saw, not the ones we imagined. We did this with a sharpie marker so there was no erasing. We practiced drawing the red ginger, the shell ginger and the red 'ōhi'a lehua. After drawing these pictures we also labeled the parts and began to learn new plant part names.


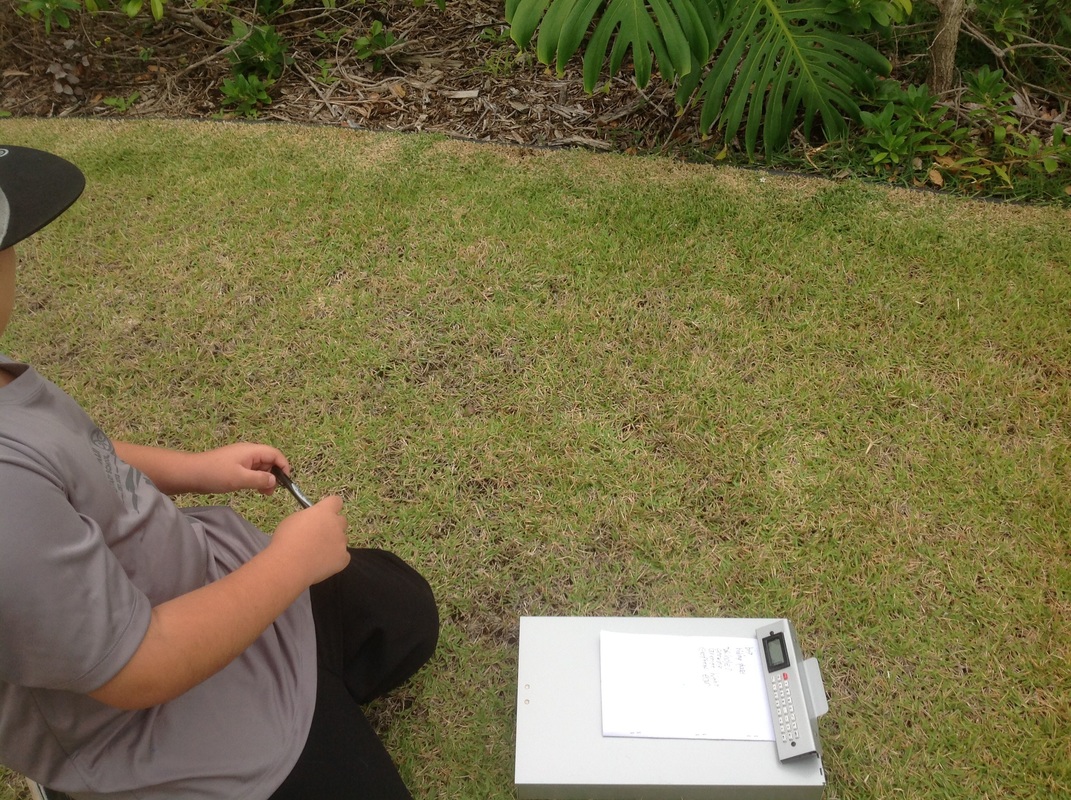
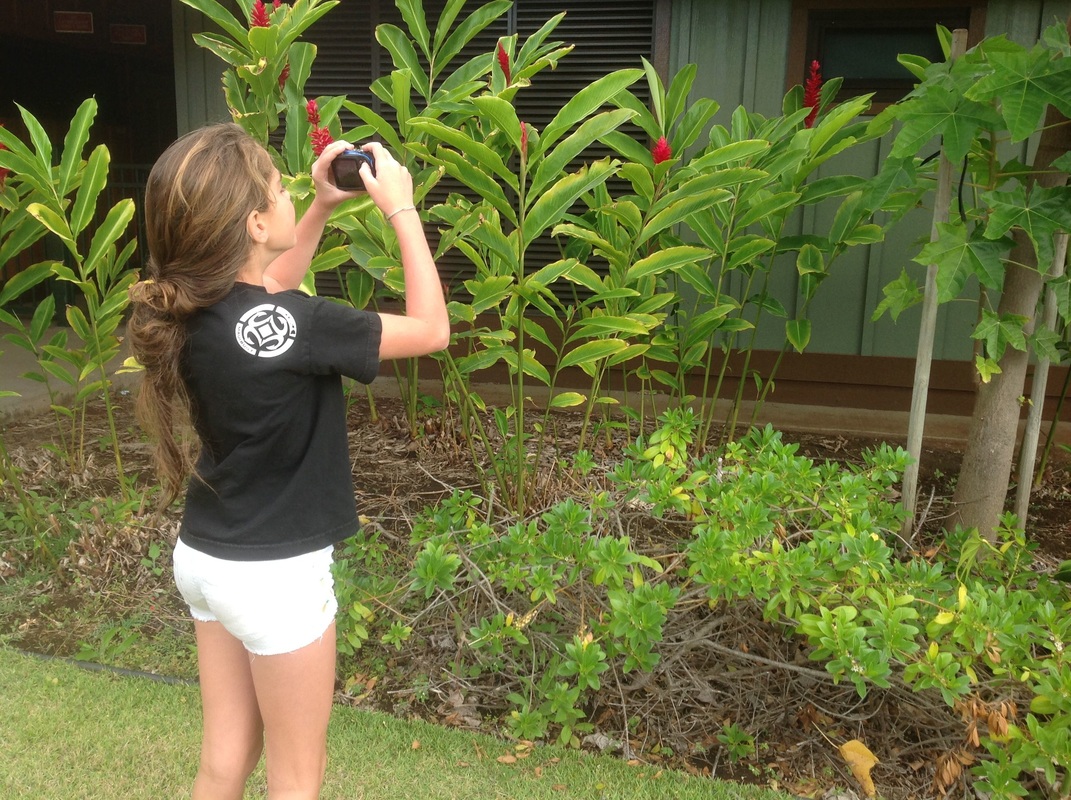
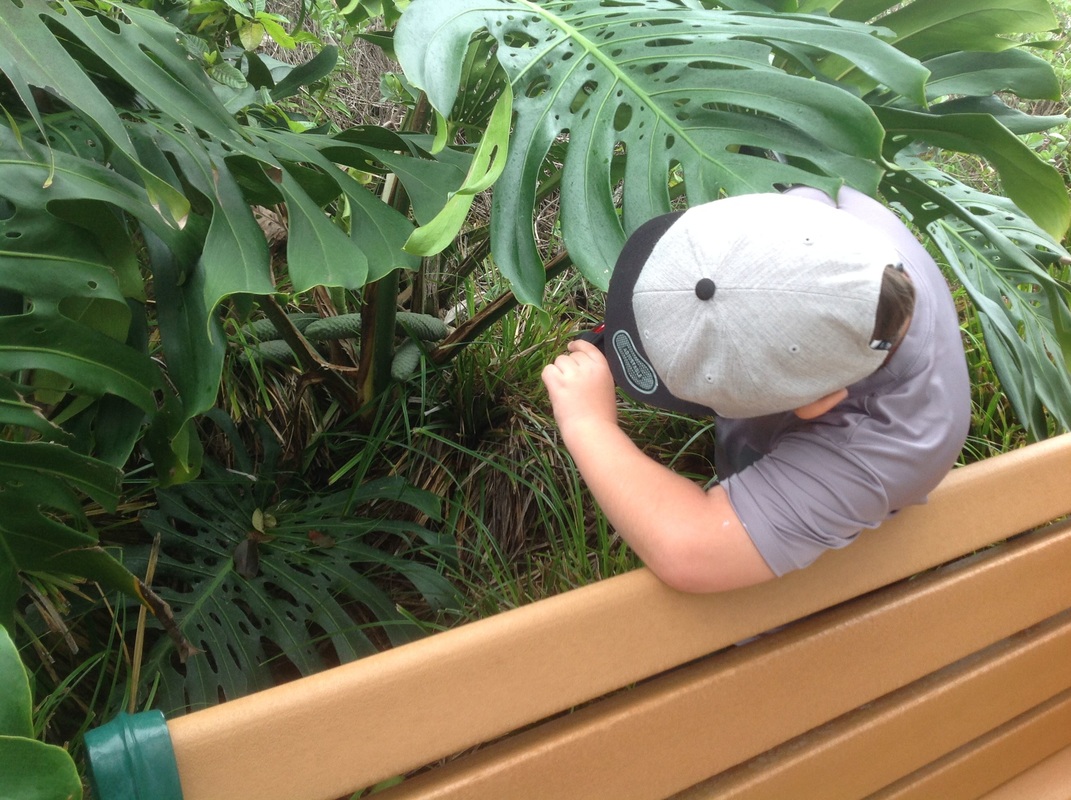
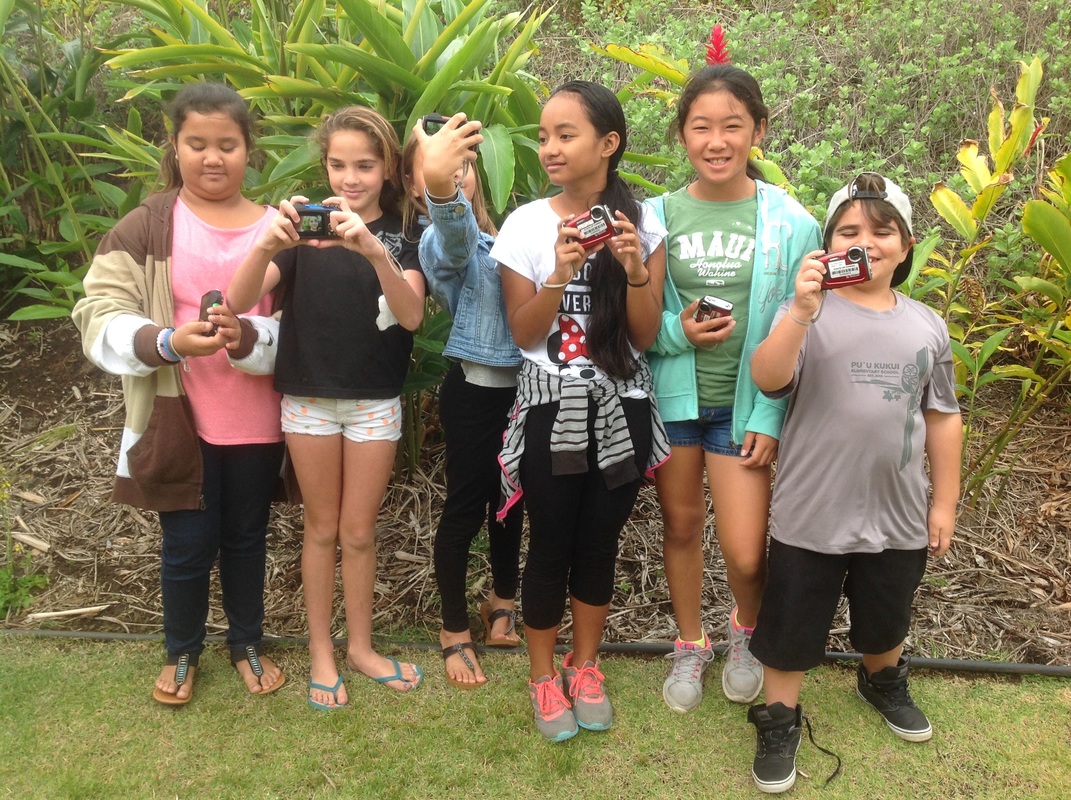
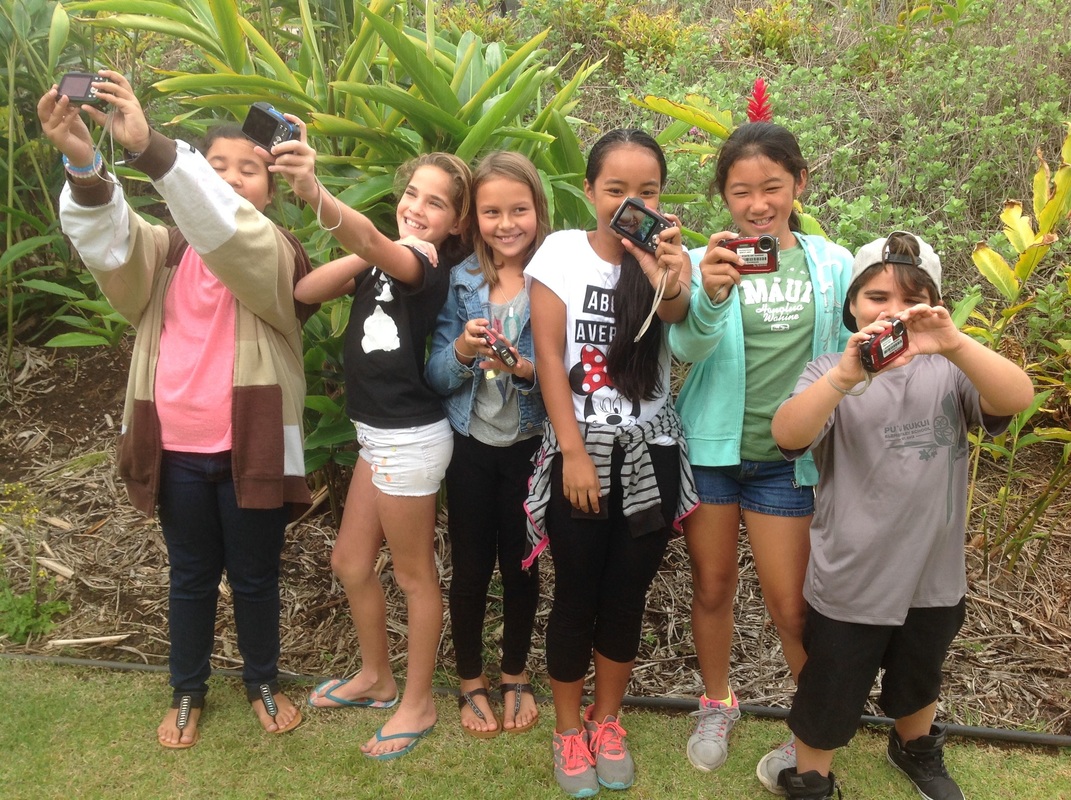
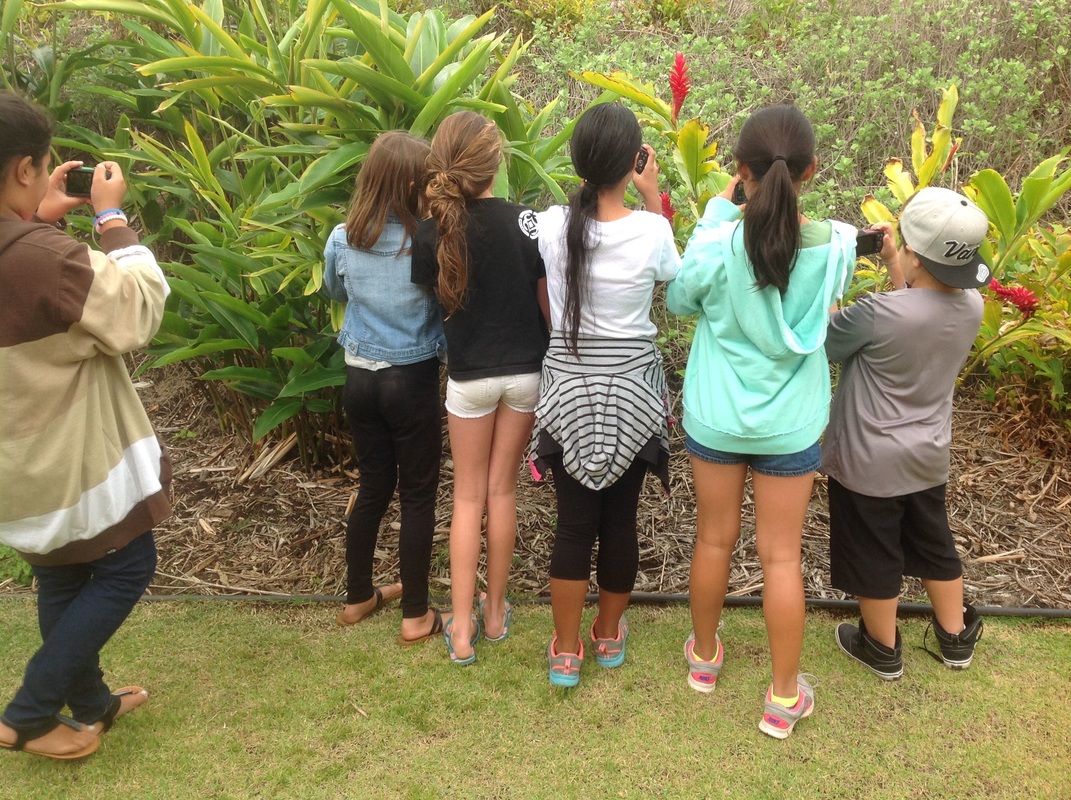
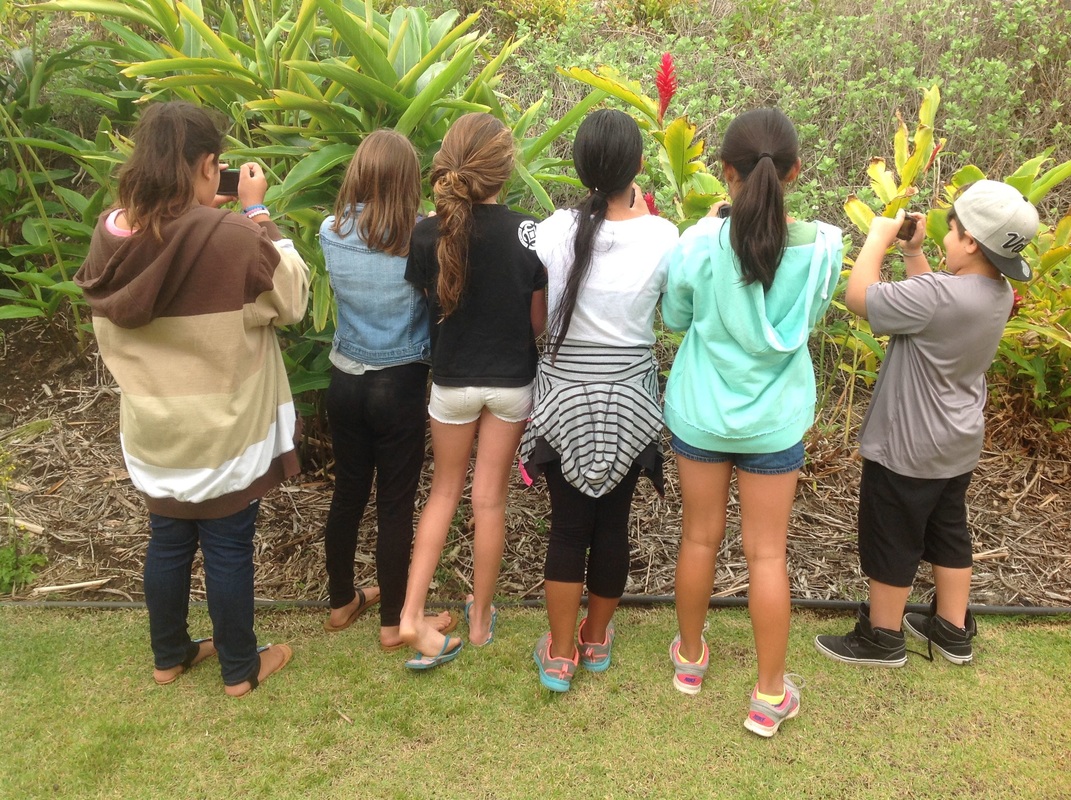
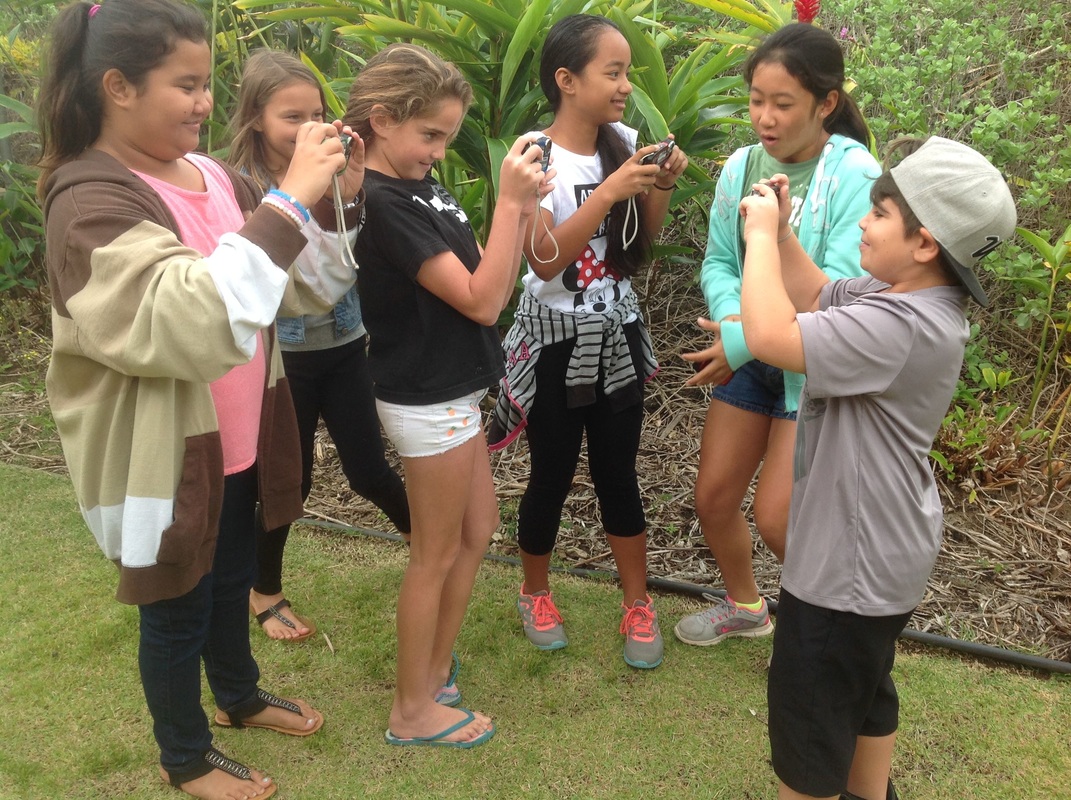
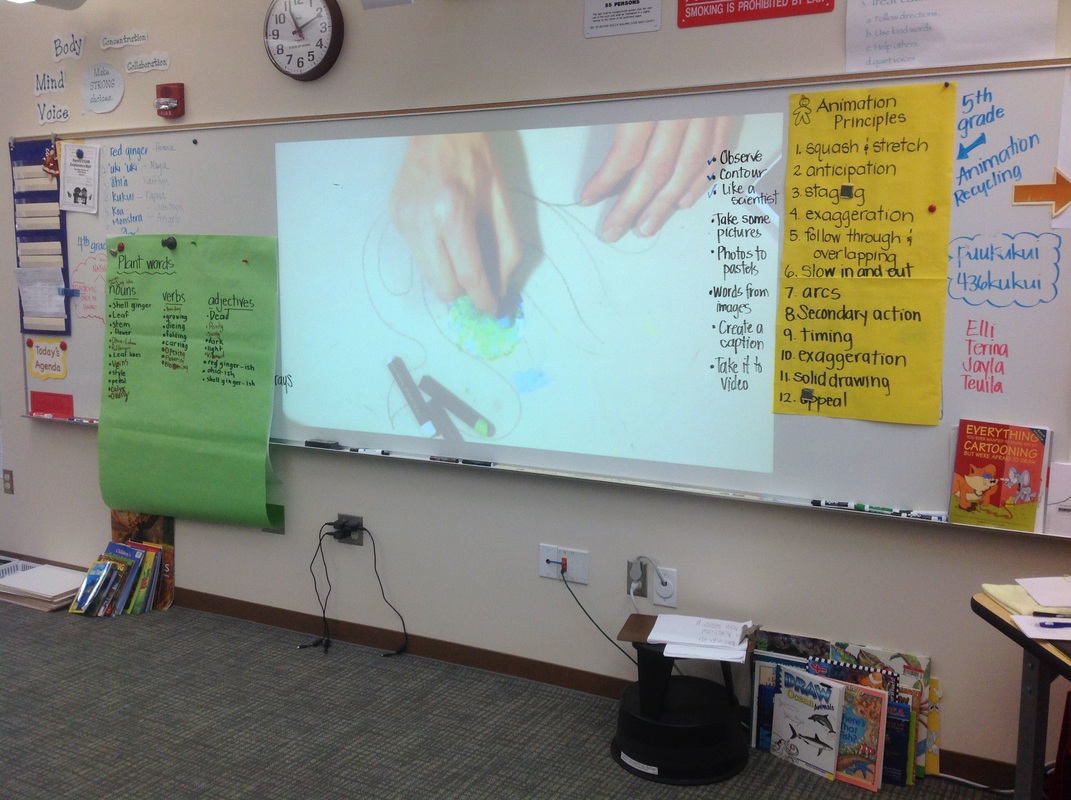
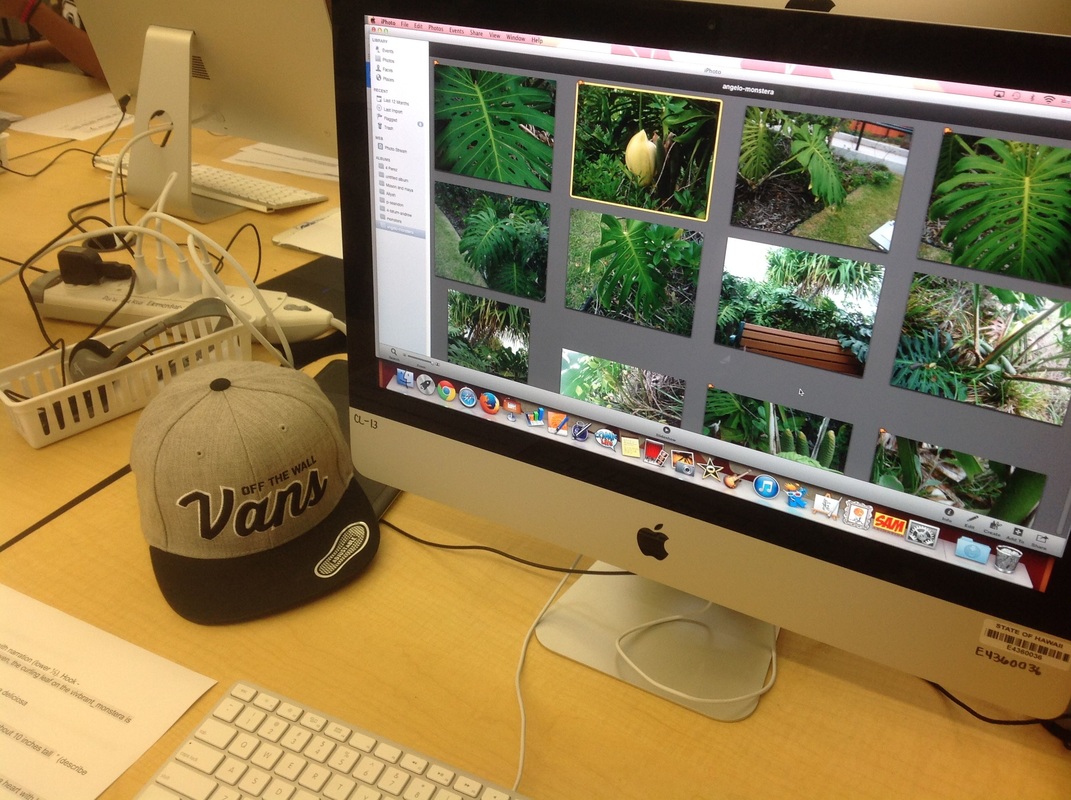
STEP 4: Let's take some pictures - After reviewing tips for taking photos and looking at the shots we would need for our movie we went outside and observed and photographed our plants. First we just looked at the plants and wrote down our impressions. Then we took as many pictures of our plants as we could. And we couldn't resist taking some pictures of our group.

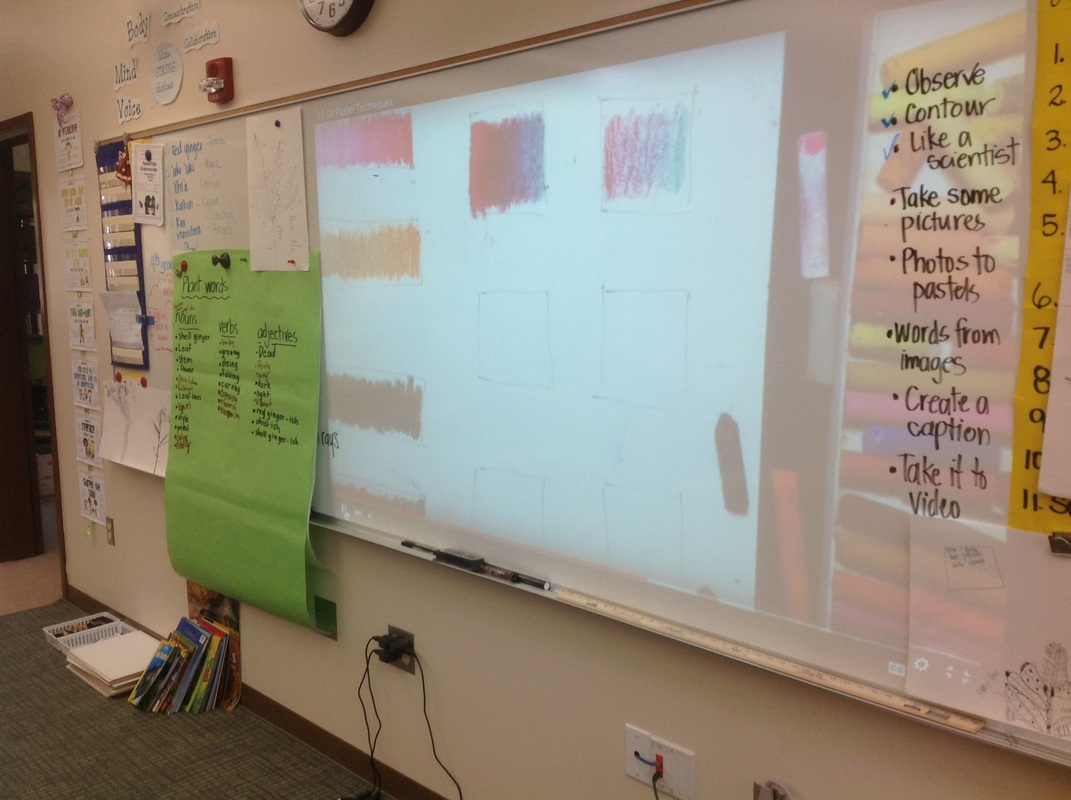
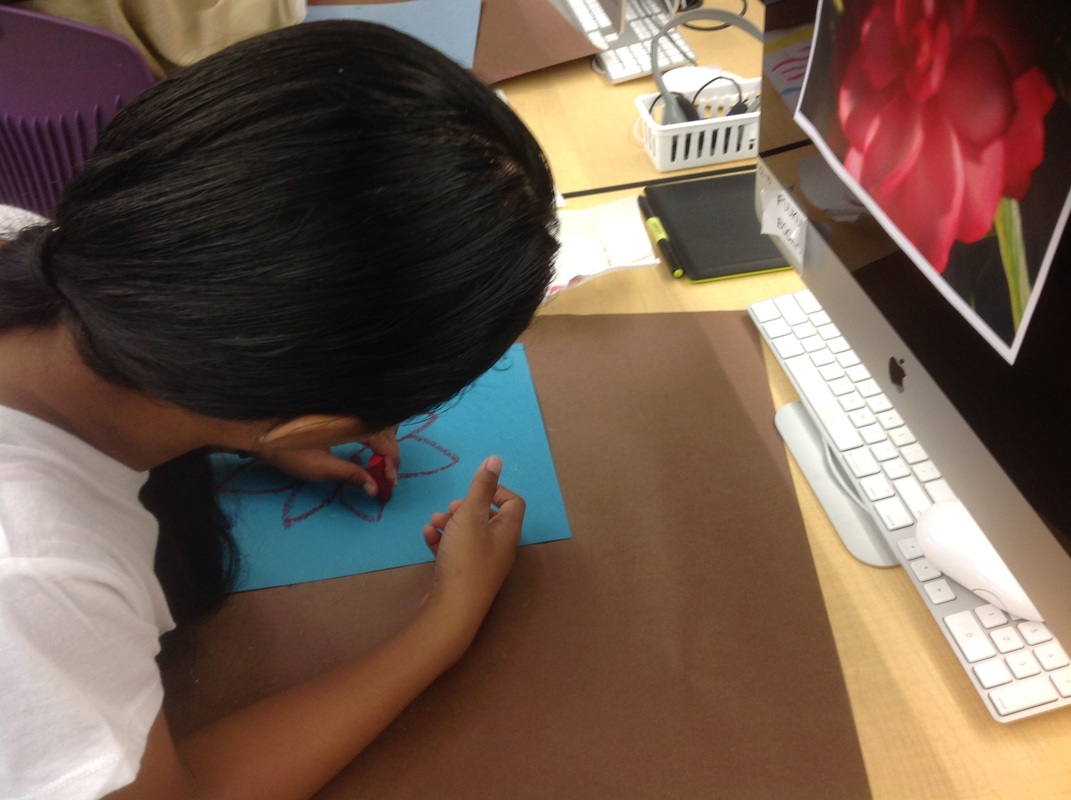
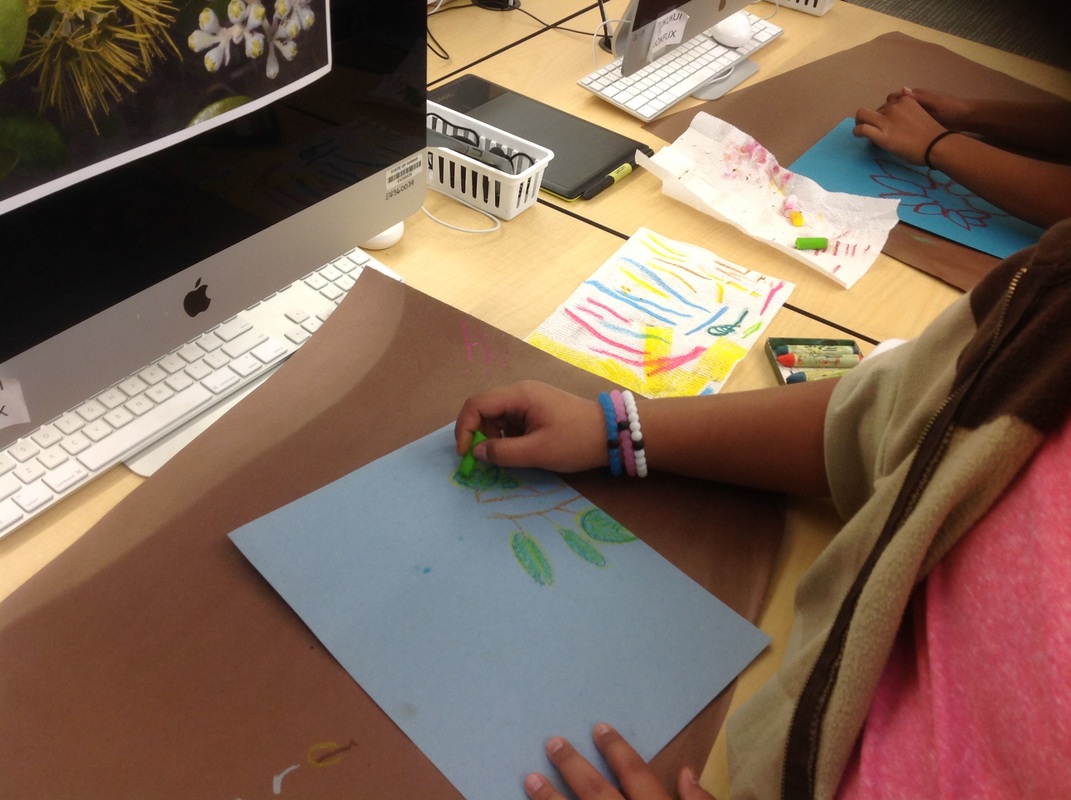
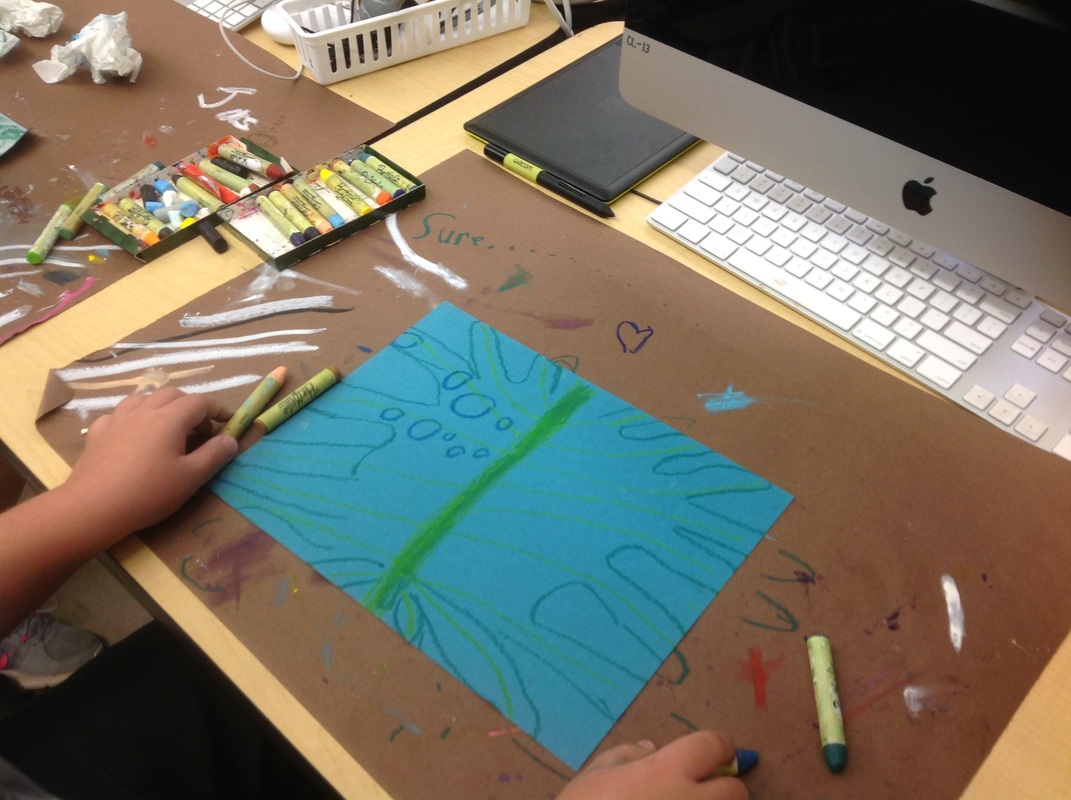
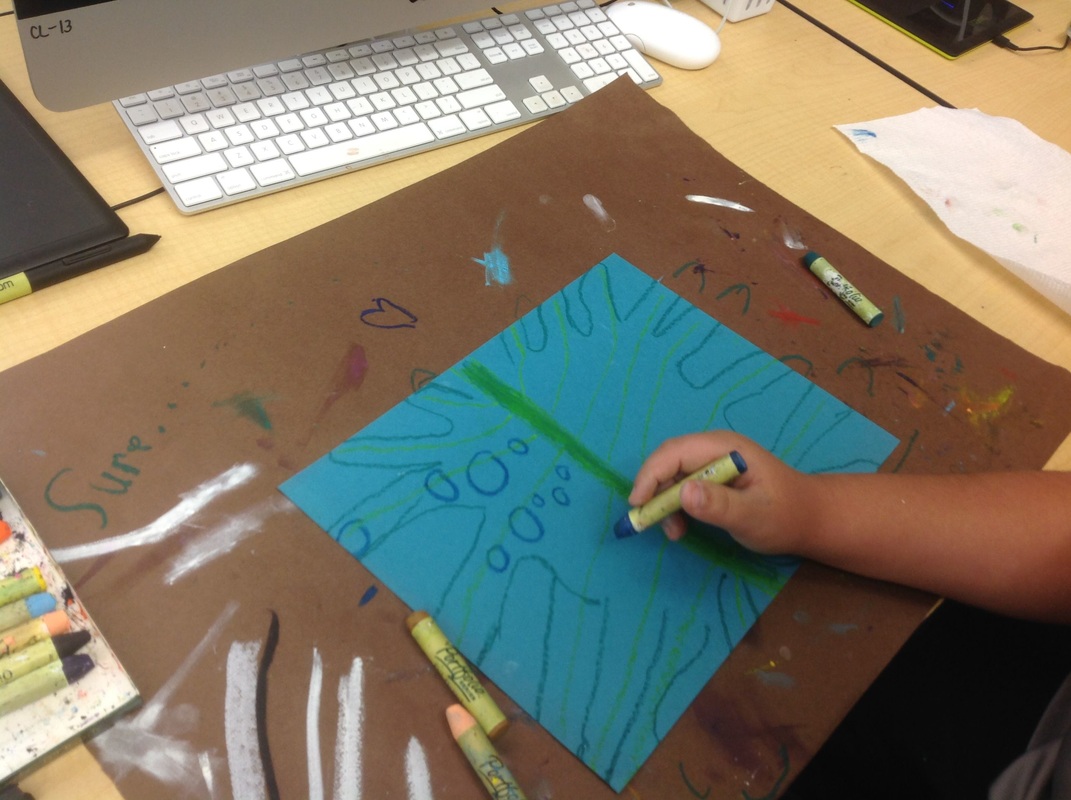
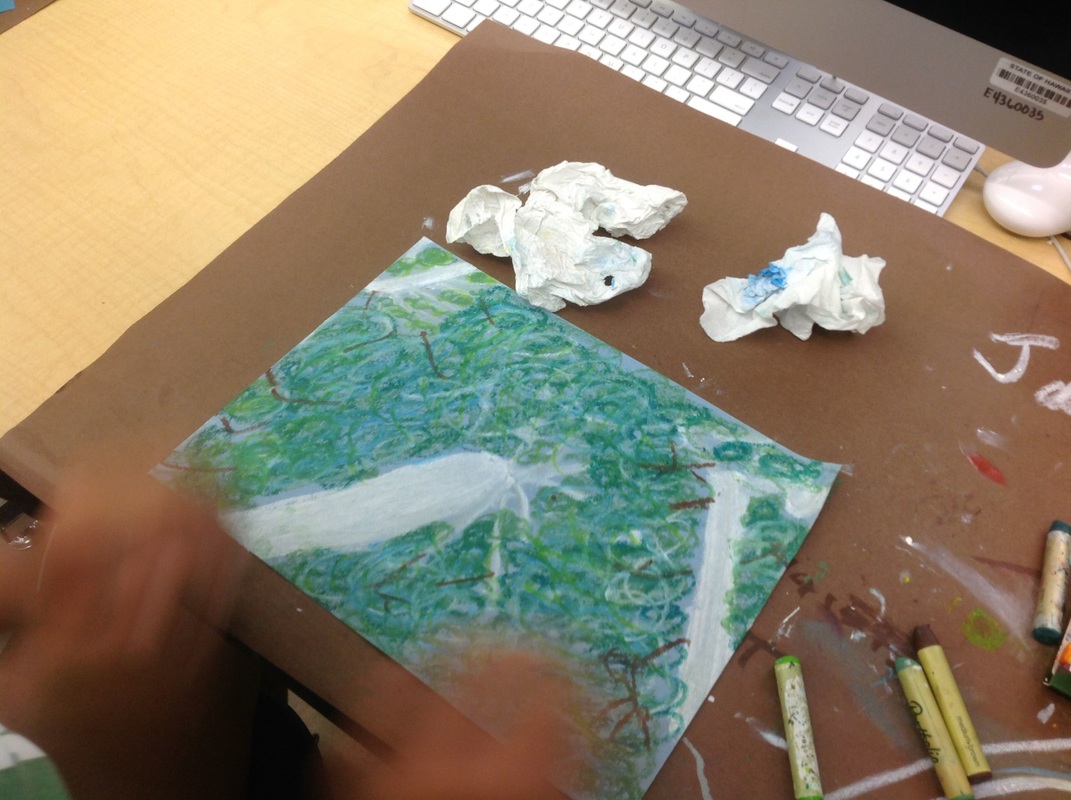
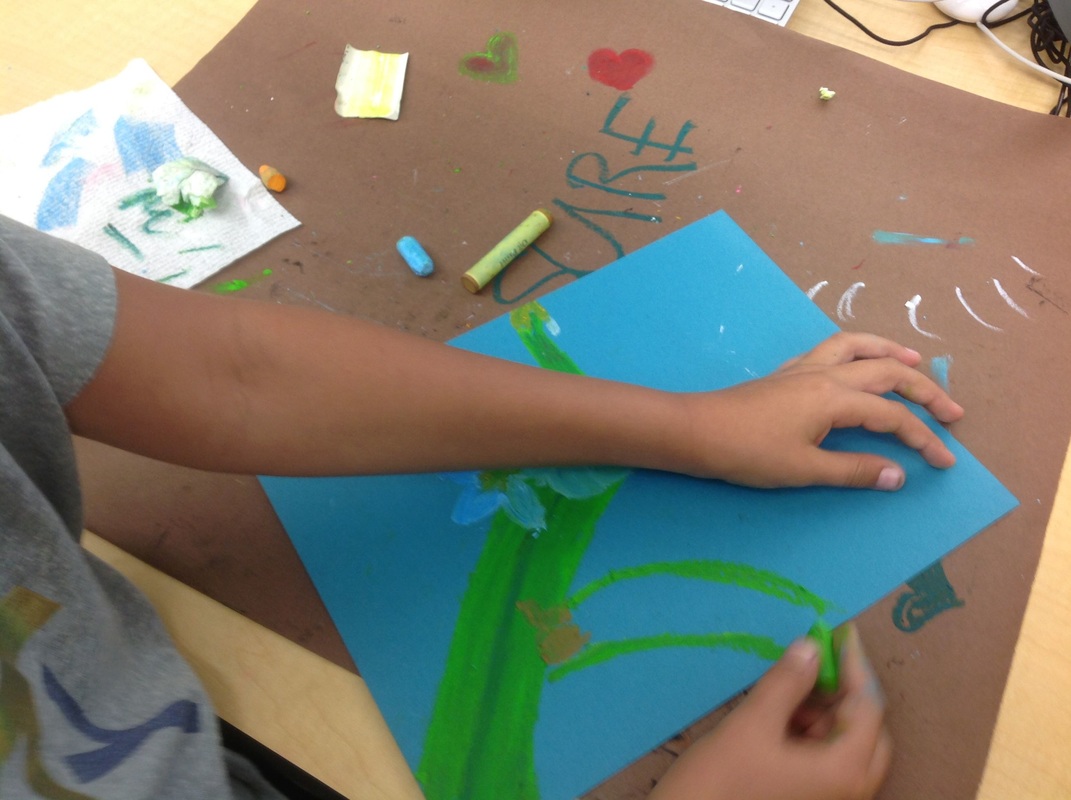
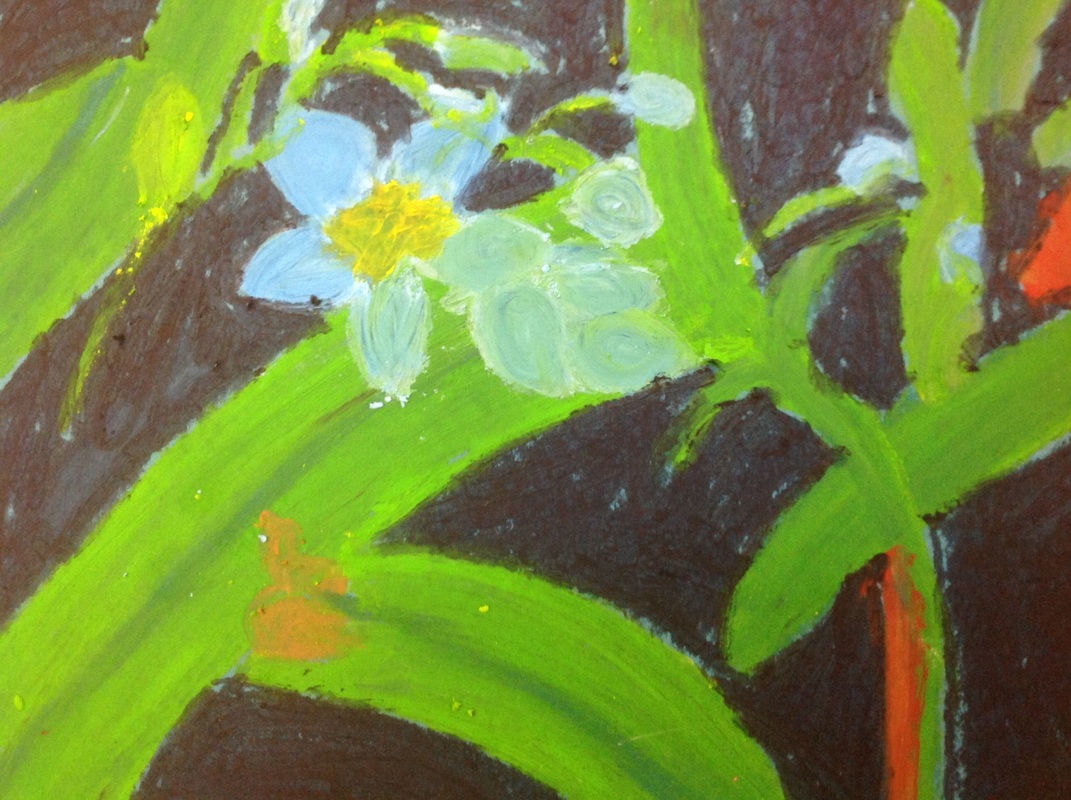
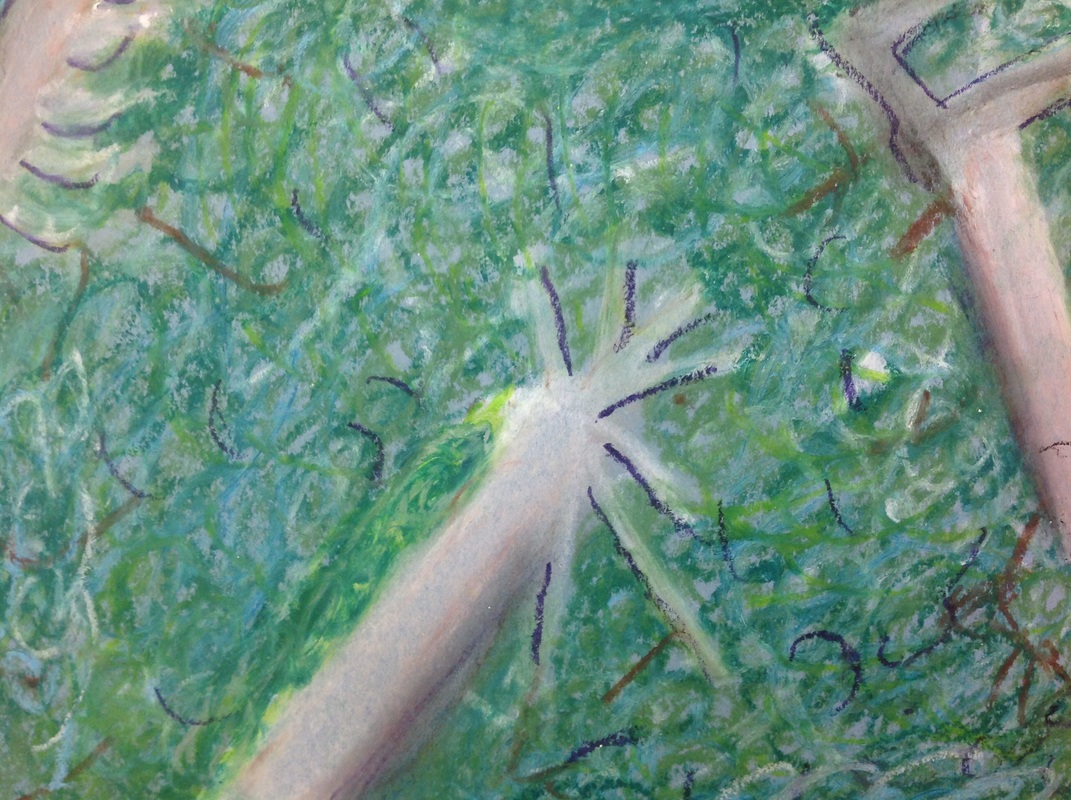
STEP 5: From Photos to Pastels - We began learning about oil pastels and different techniques for using them. We watched two videos that explained different ways to use pastels (10 Oil Pastel Techniques and Rule of 3s). Then we practiced the different techniques.
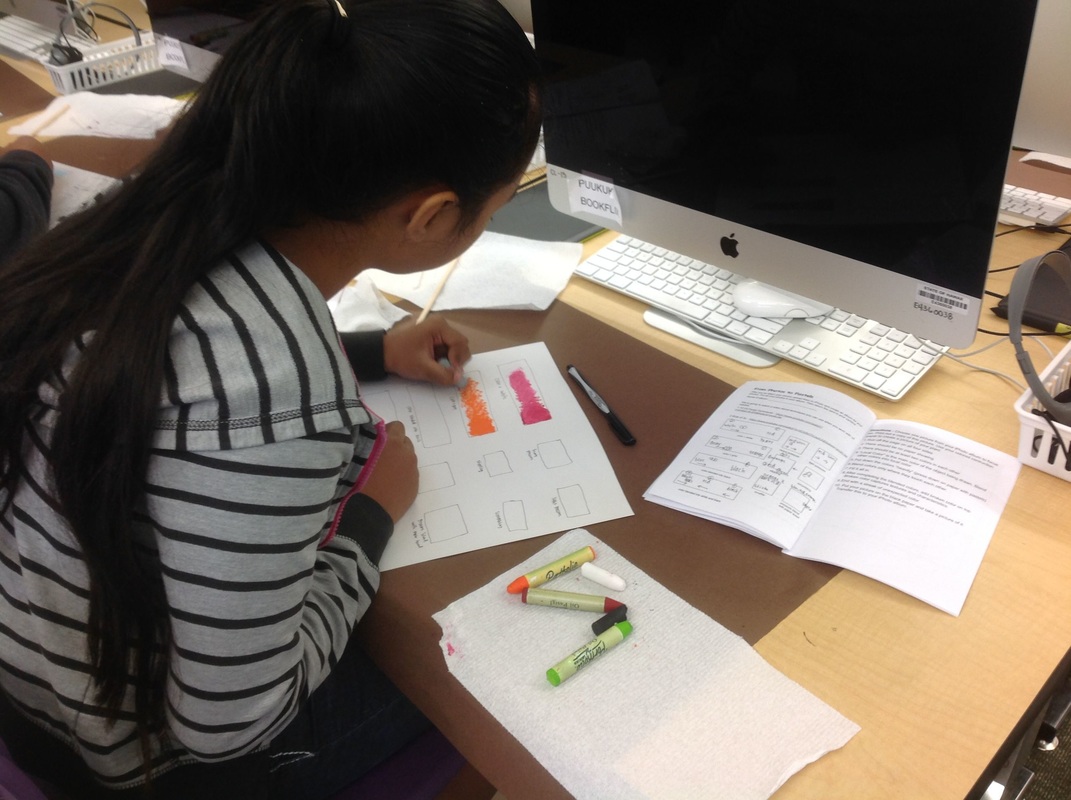
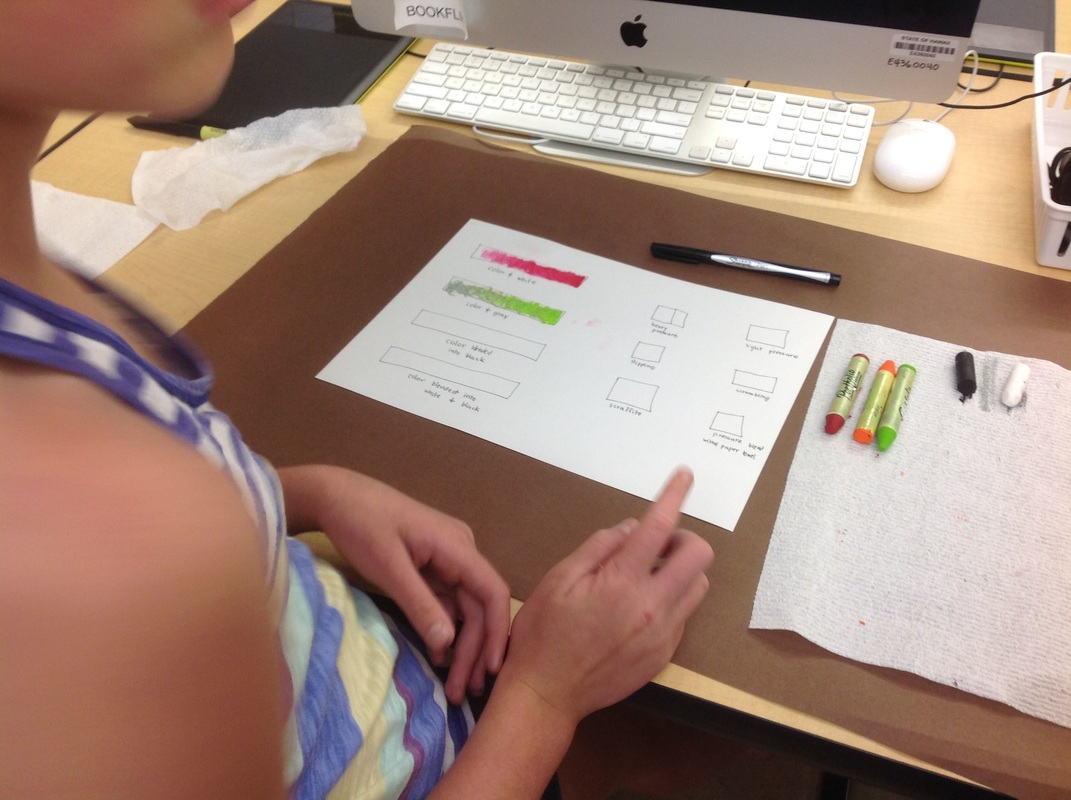
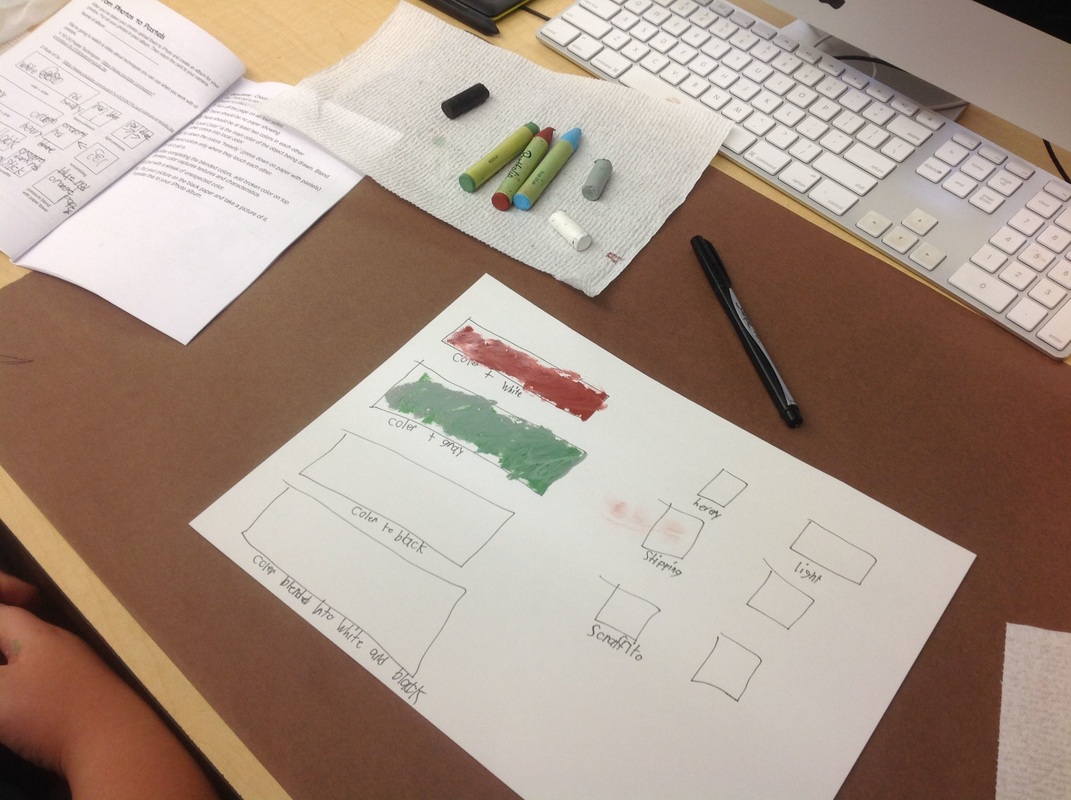
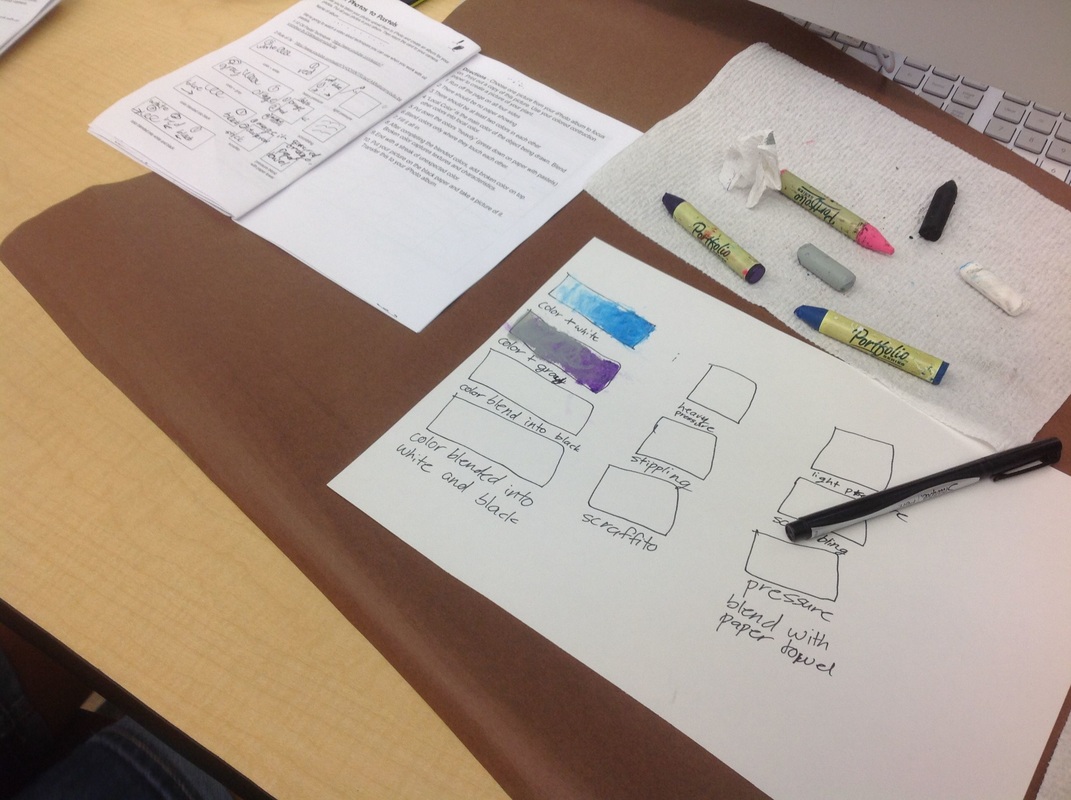
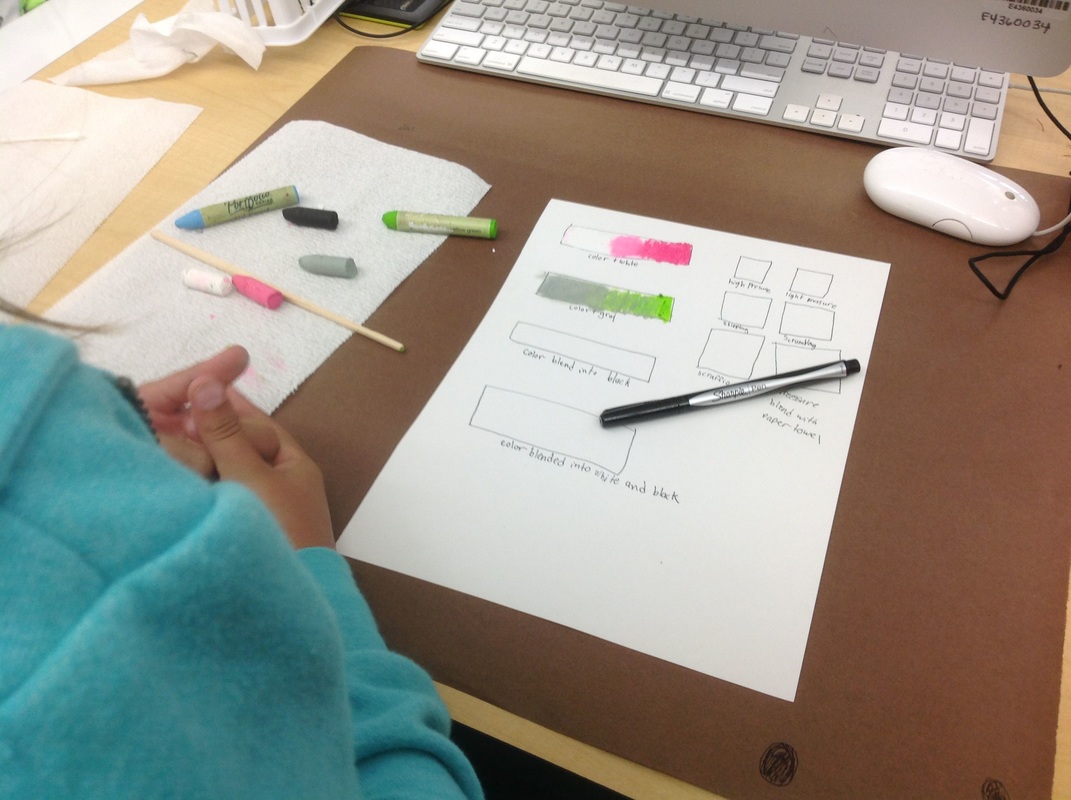
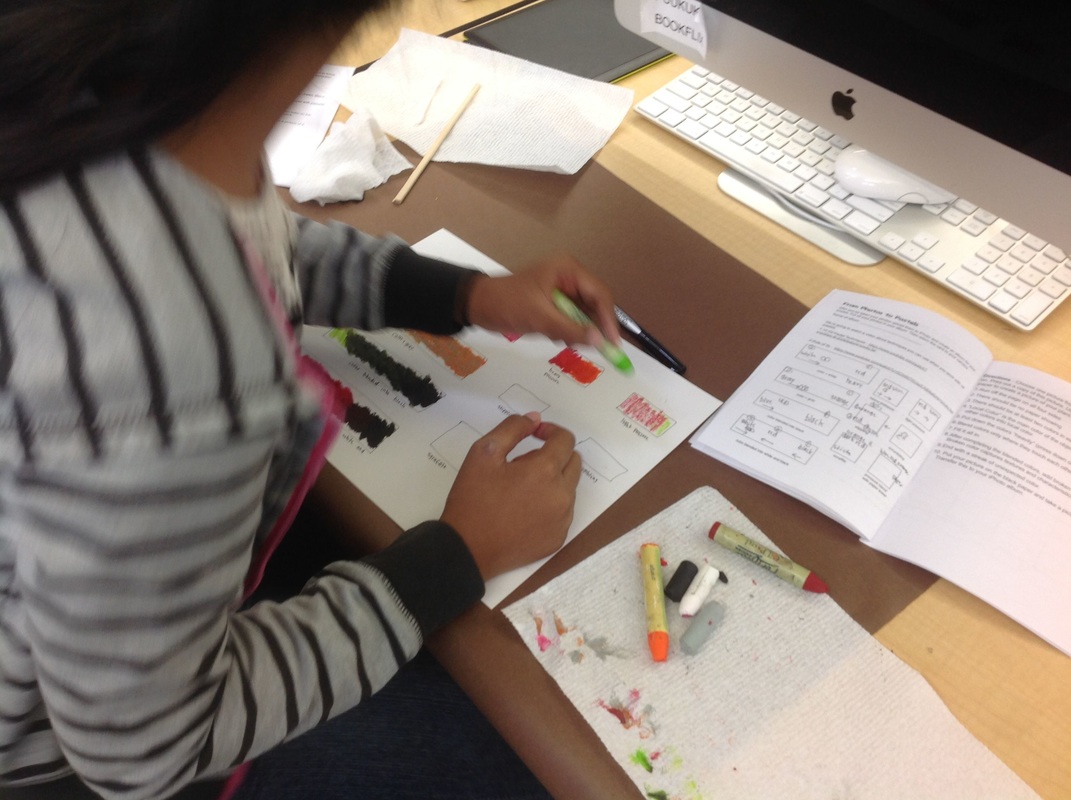
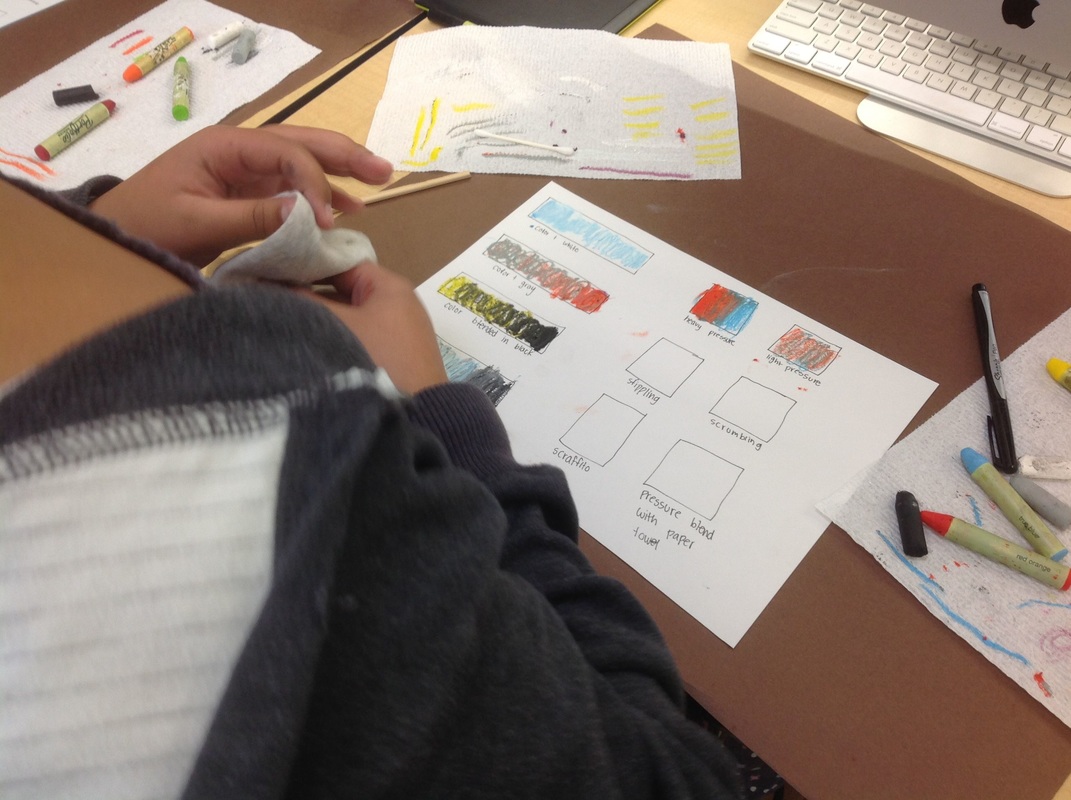
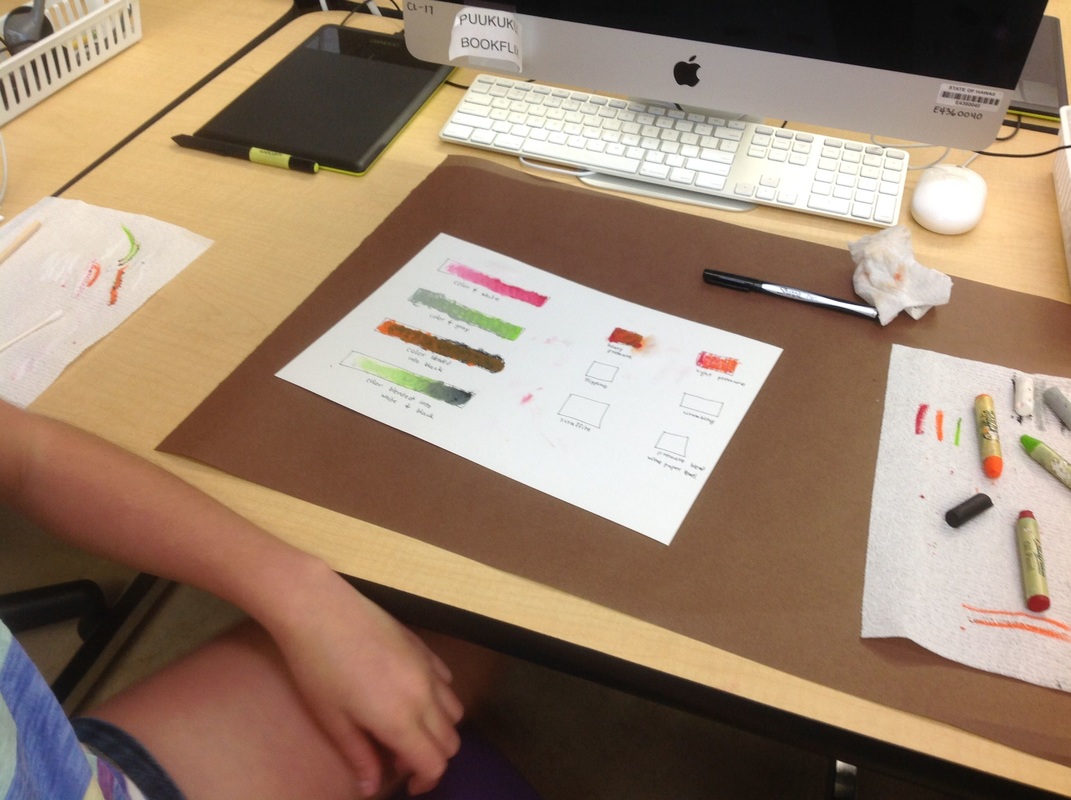

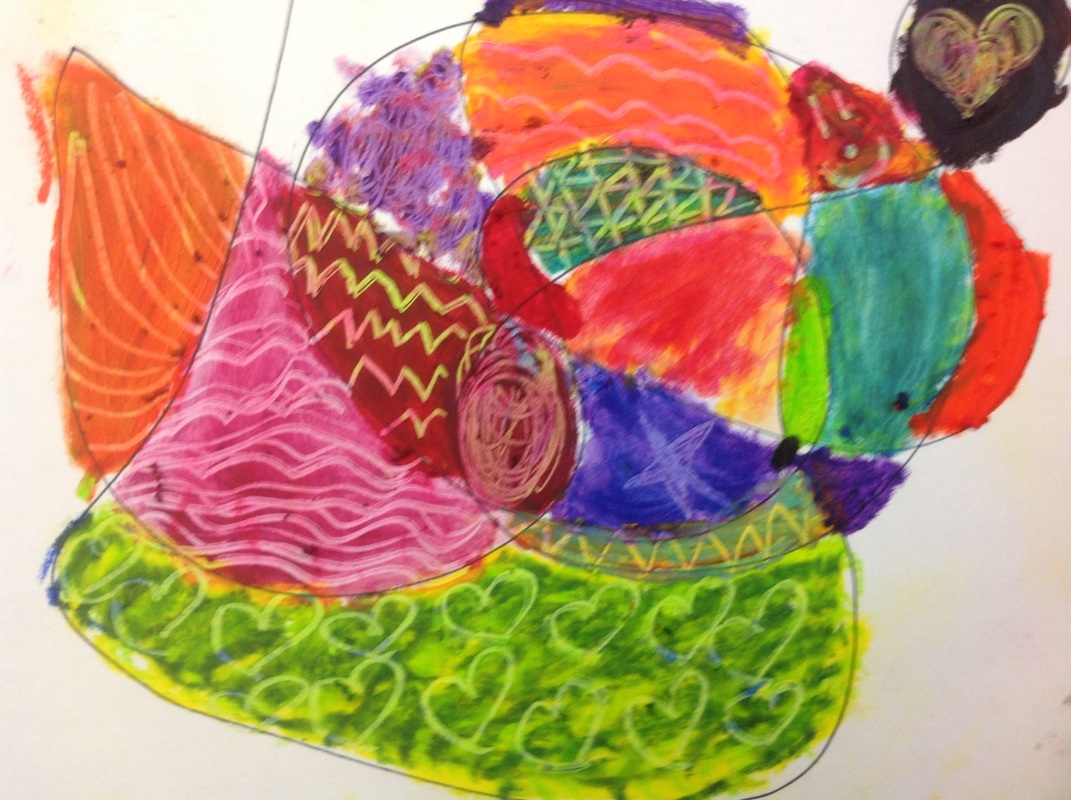
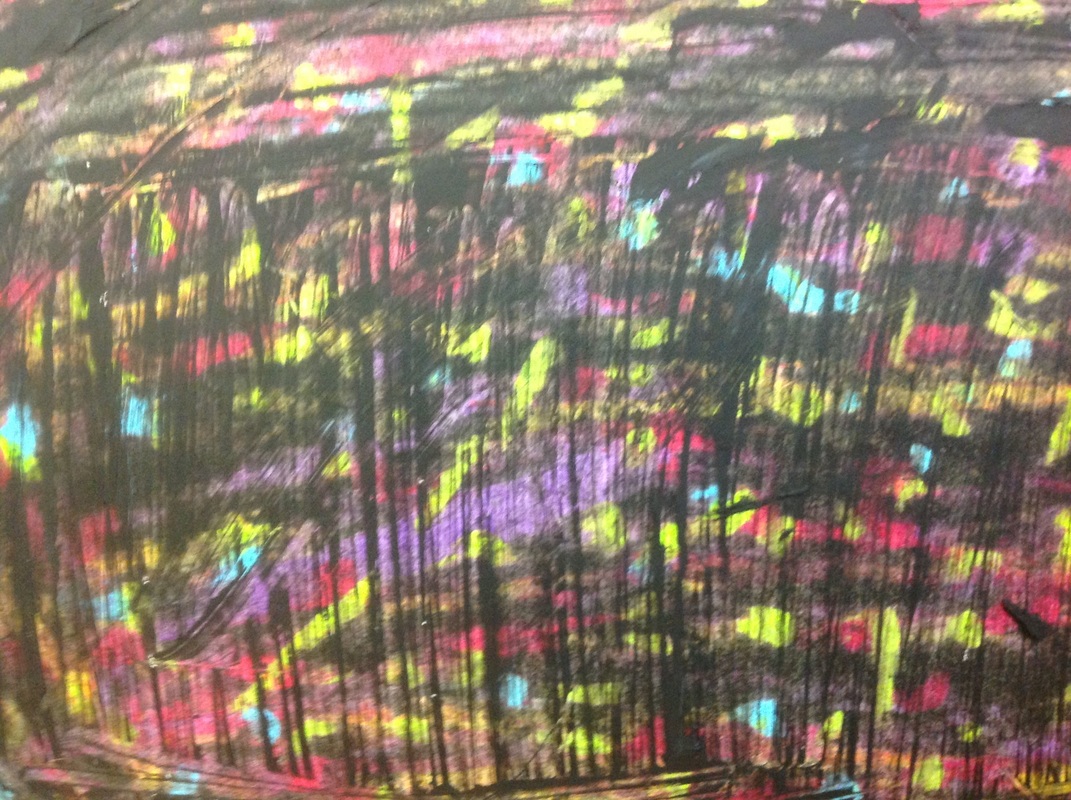
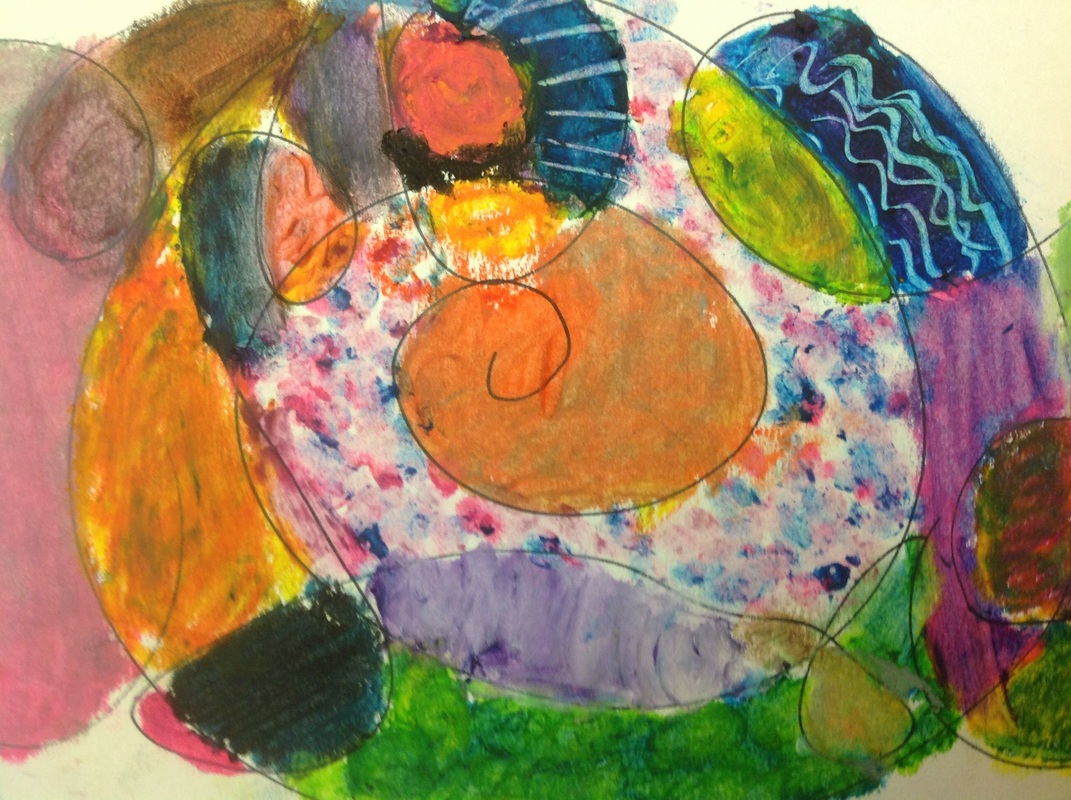
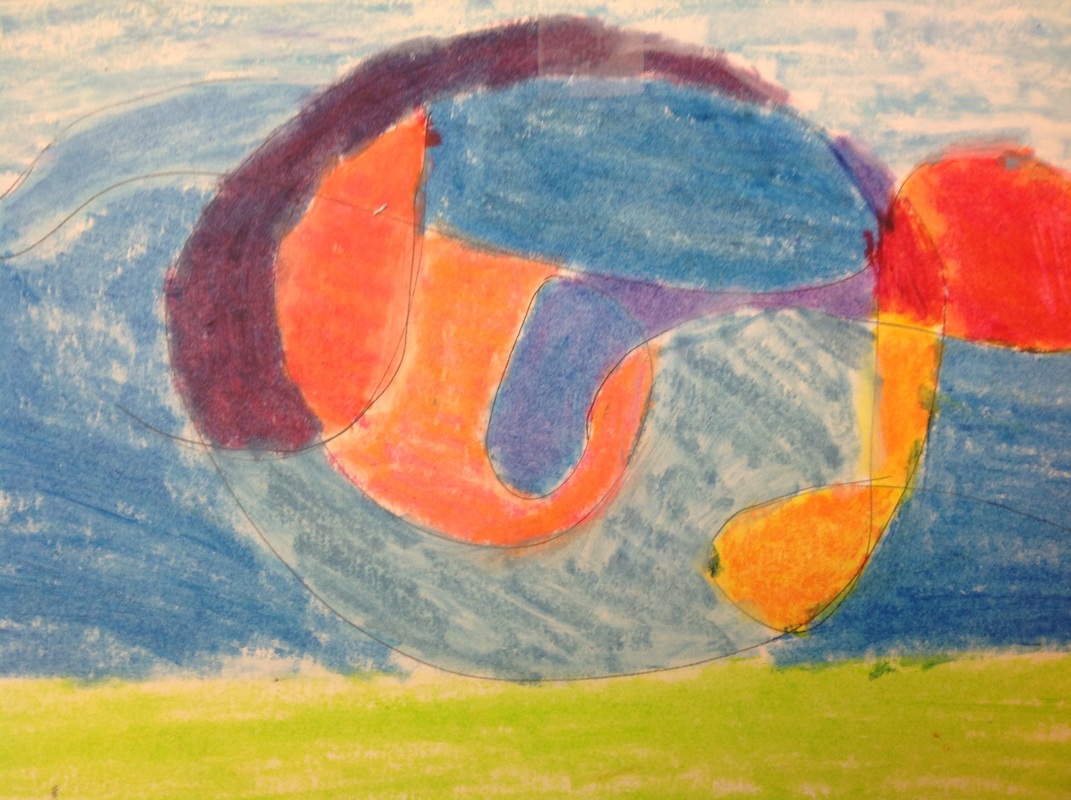
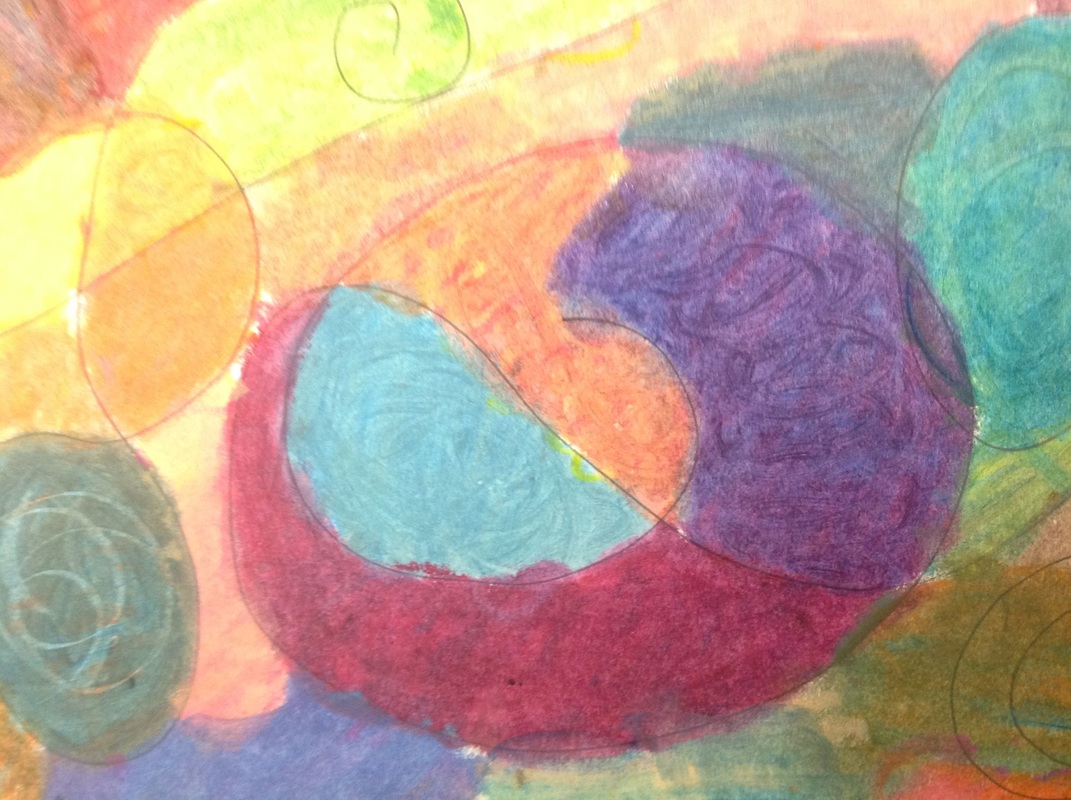

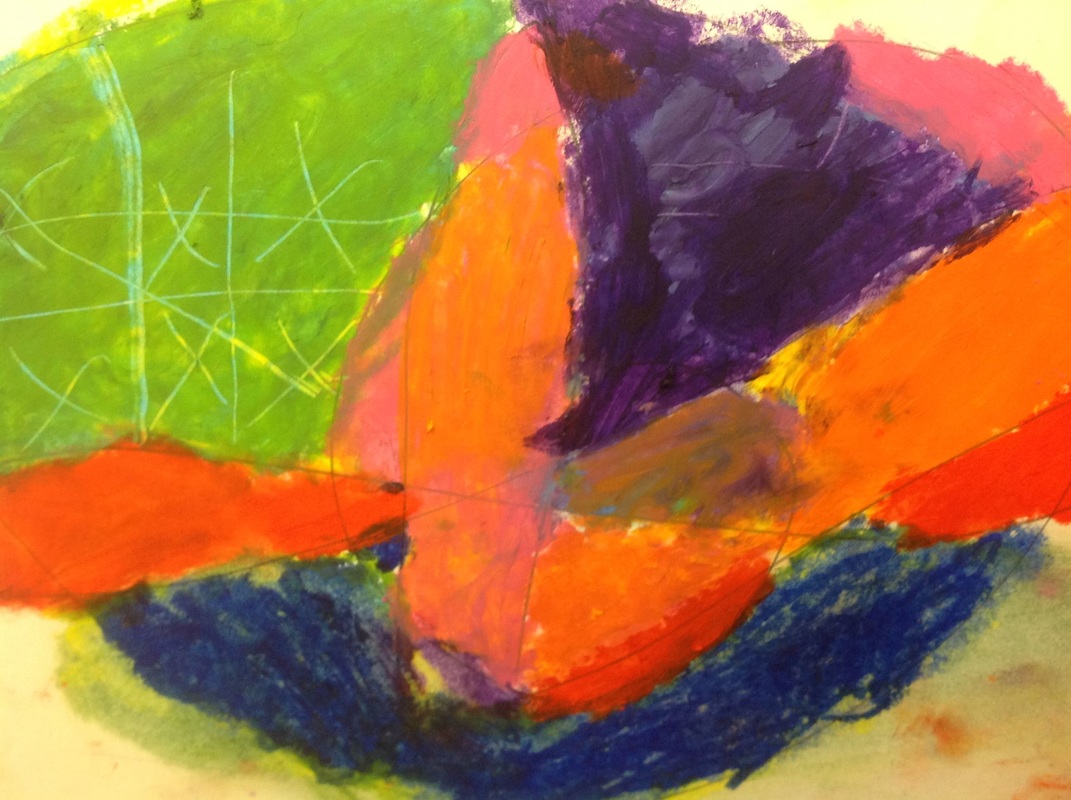

After practicing blending we began working on our plant pictures. This was harder than it looked.


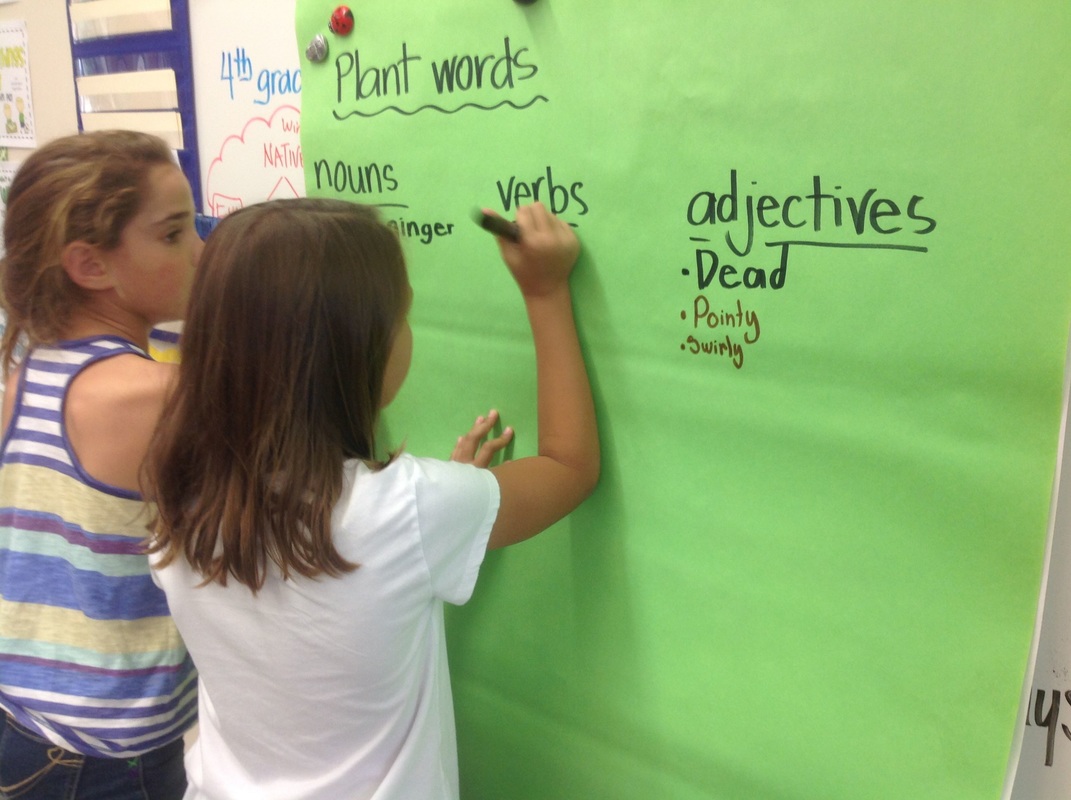
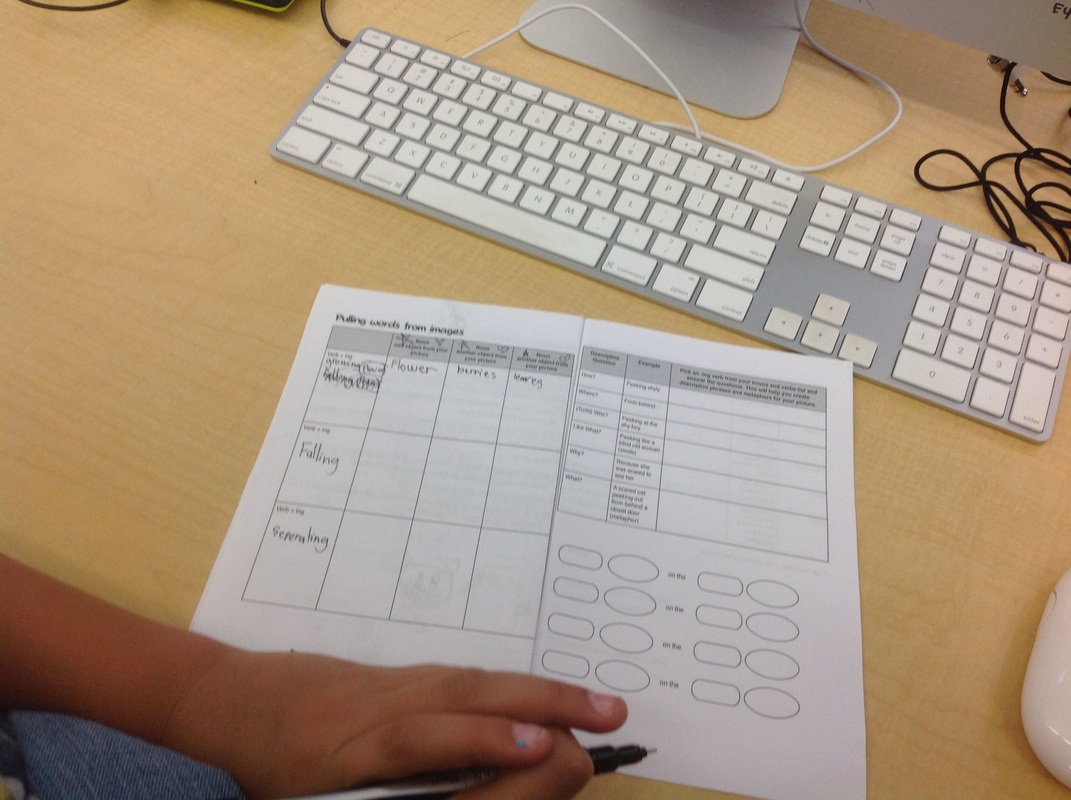
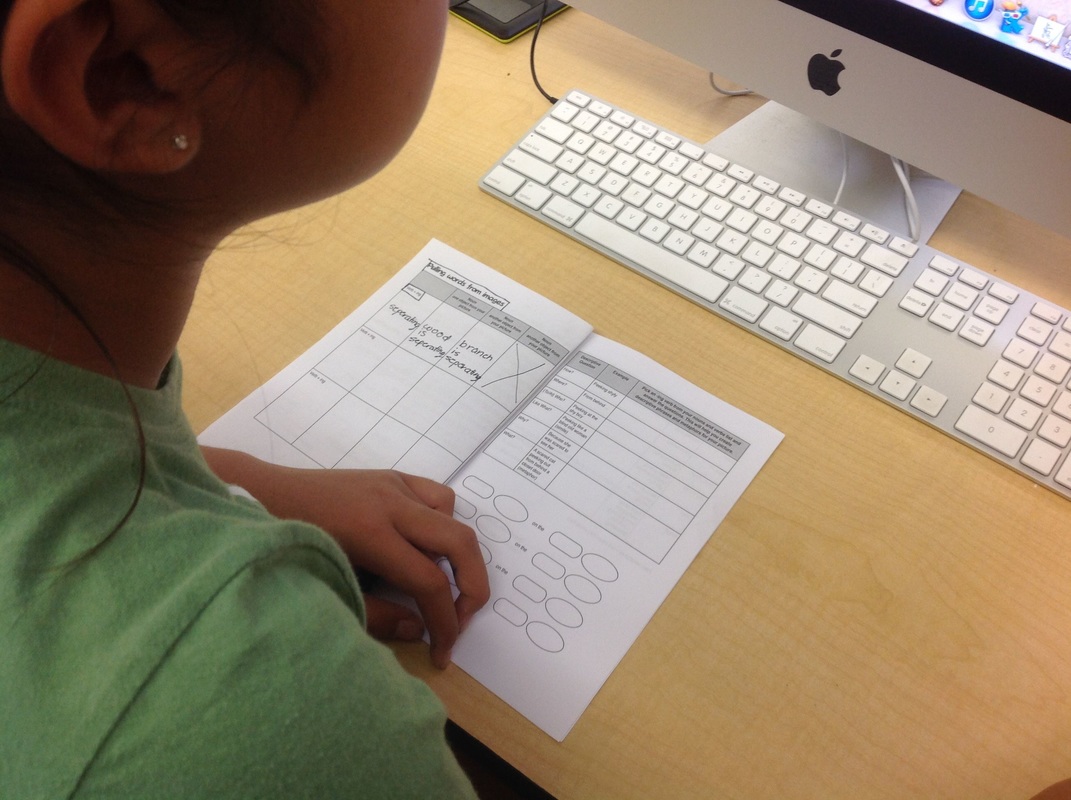
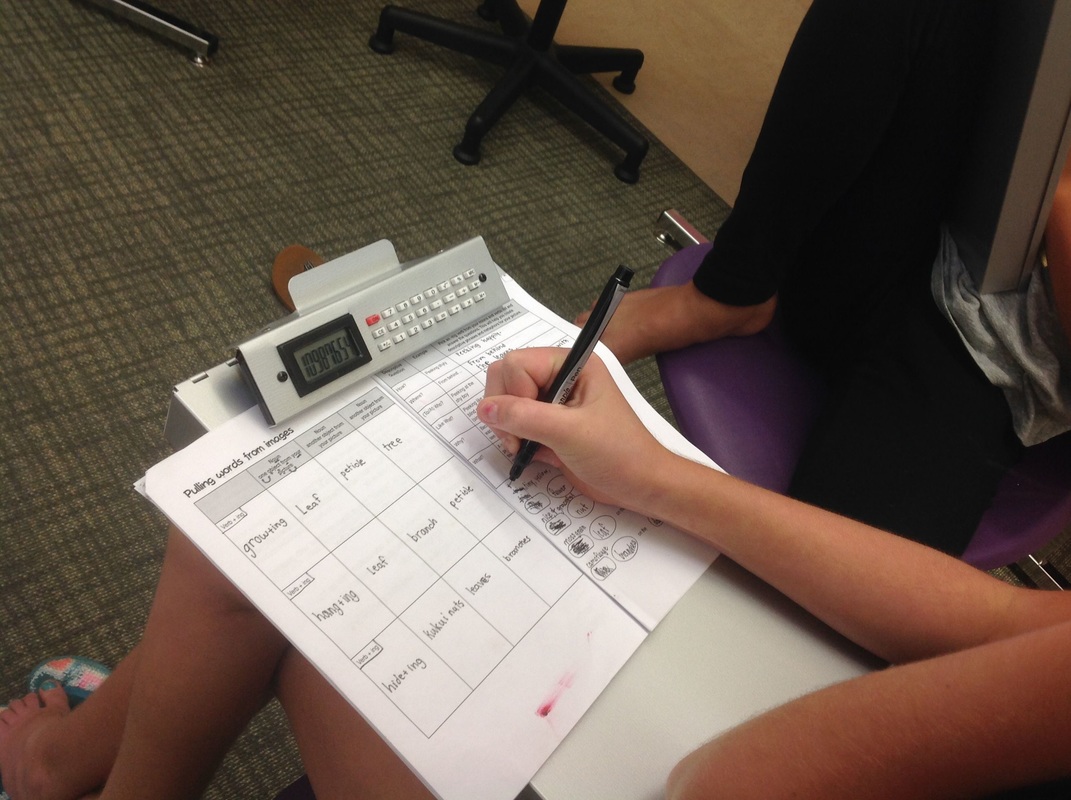
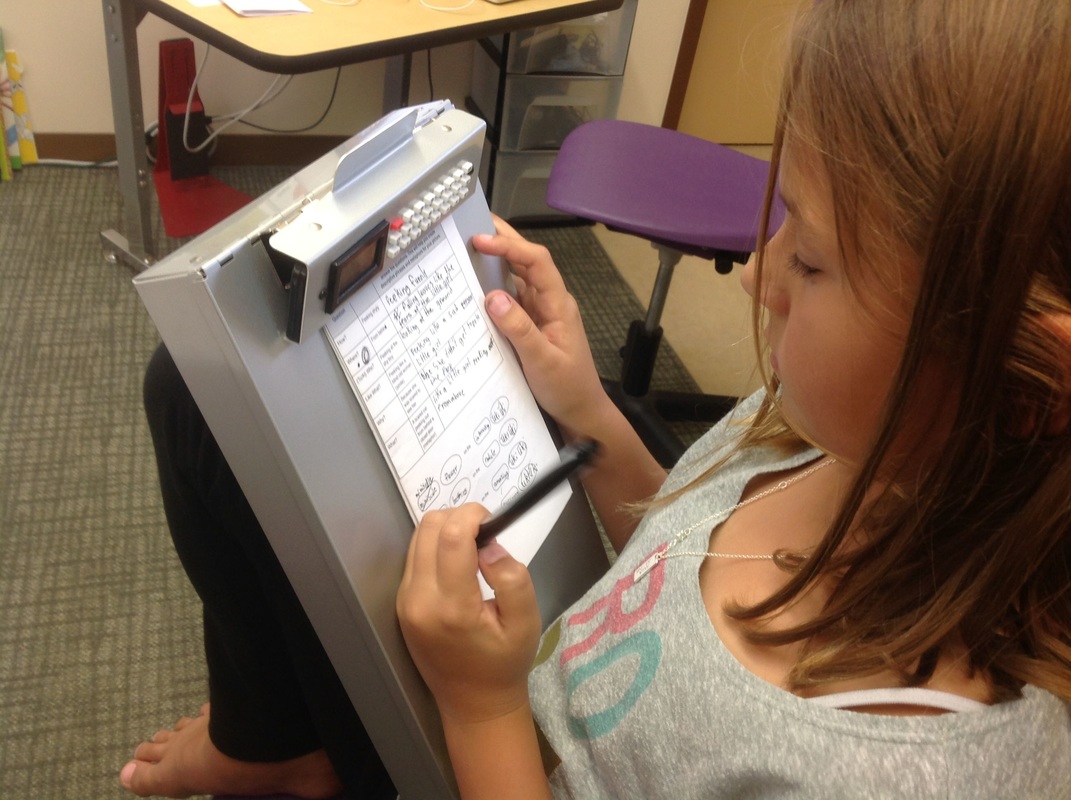
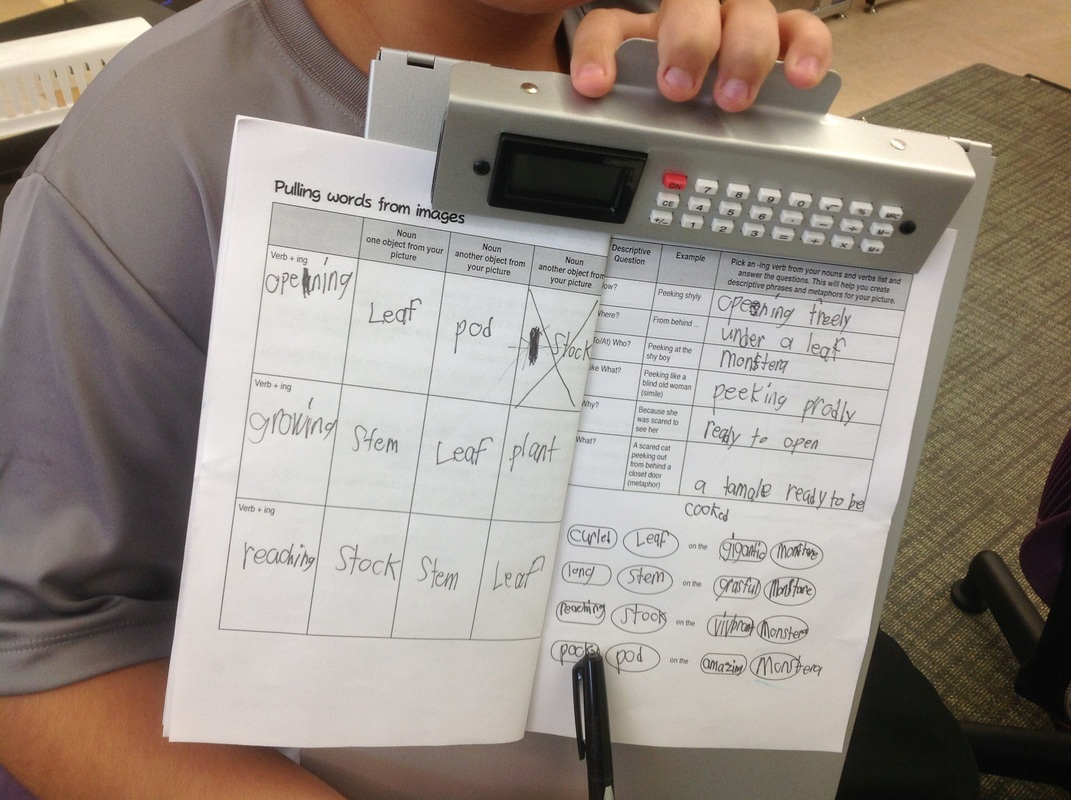
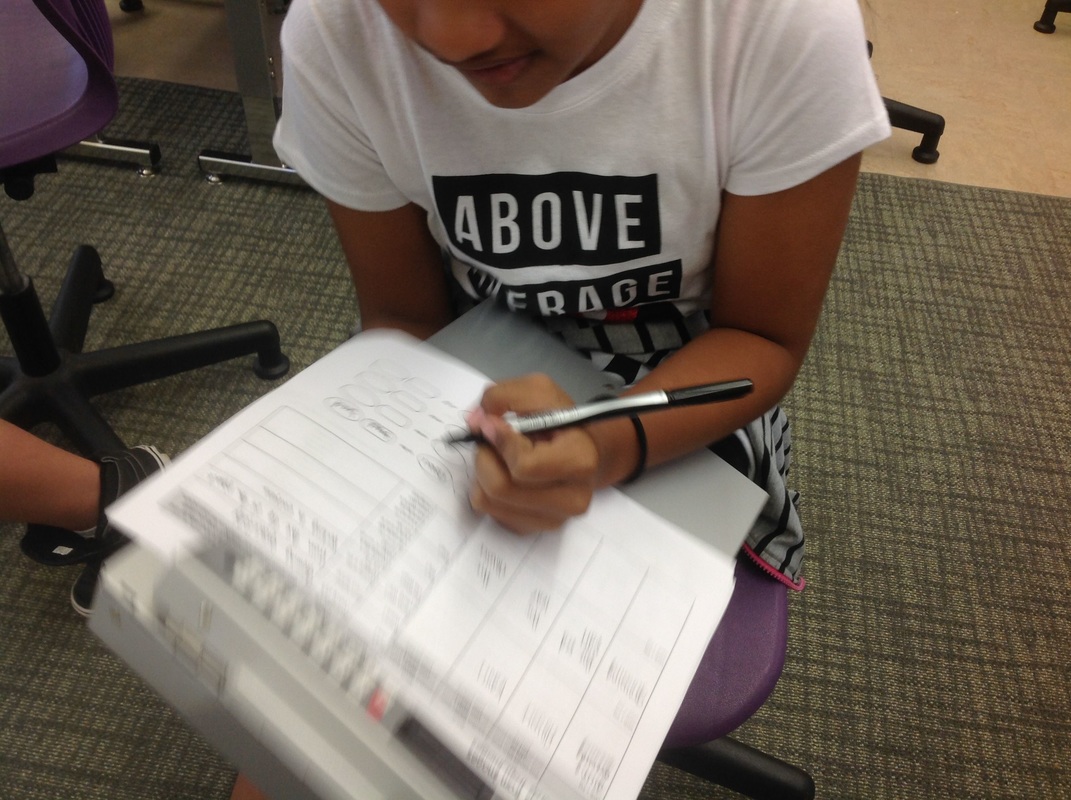
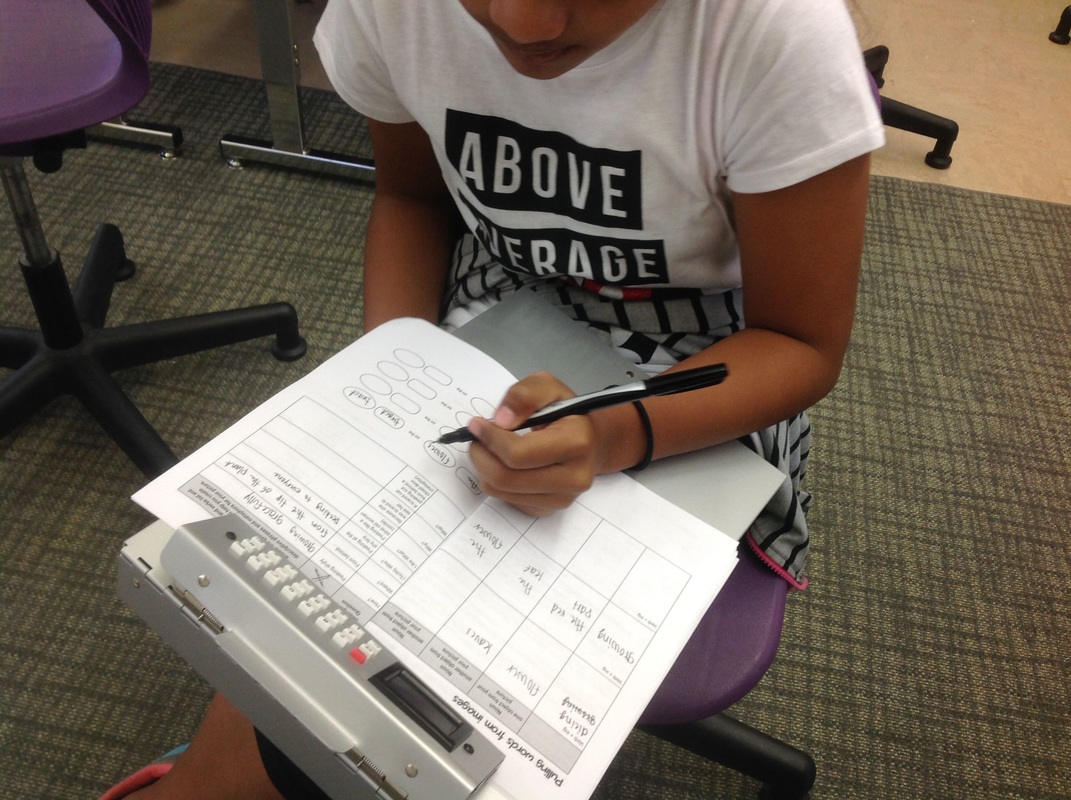
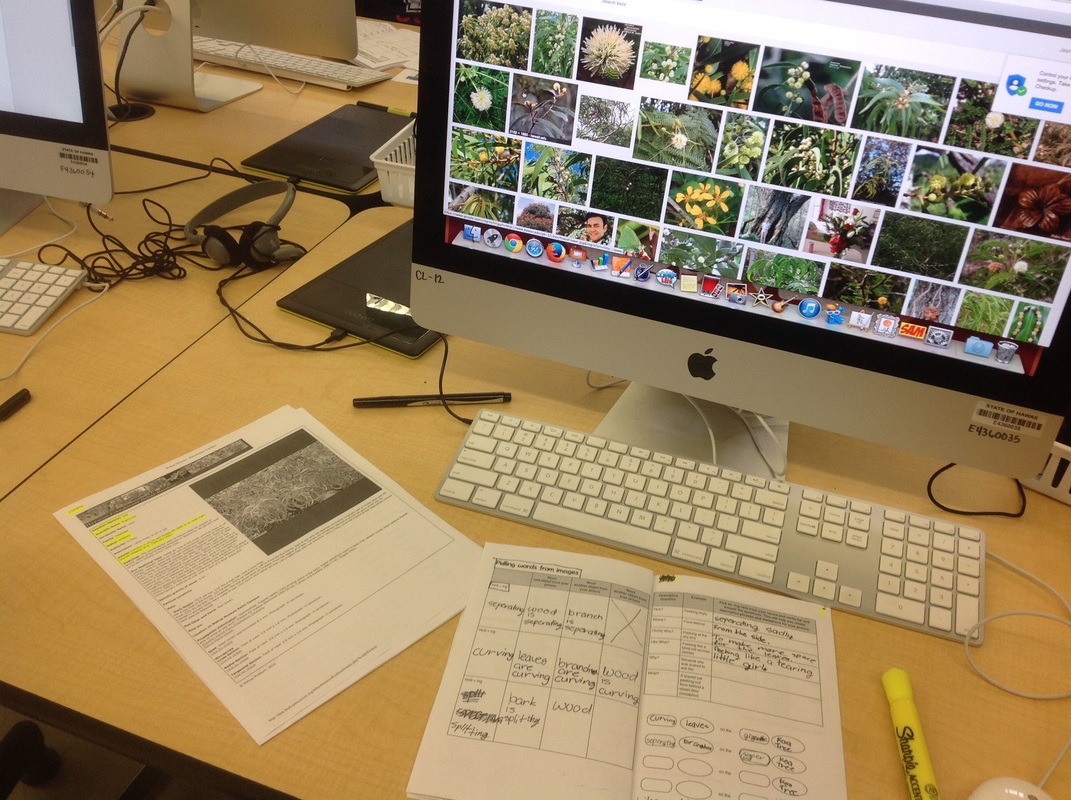
STEP 6: Pulling words from images - We used our photos to come up with words to describe our plants. We started by looking at what our plants were doing and came up with three verbs about our plants. We recorded these using a verb+ing pattern. Then we looked for nouns in our picture that went along with the verbs. Finally we built phrases by putting a small noun on a big noun;
the _______on a __________. (The flower on the ʻōhiʻa). We looked at how we could come up with interesting words to describe our nouns; the _______ ________ on the _____ ______ (the blossoming flower on the layered bract). Then we thought of something to compare our plant to (before we took pictures we spent time looking at our plant and thinking about what it looked like that wasn't a plant). Finally we collaboratively wrote similes about our plants (Like a newborn baby swaddled in a blanket, the blossoming flower on the layered bract grows gracefully and safely.)
the _______on a __________. (The flower on the ʻōhiʻa). We looked at how we could come up with interesting words to describe our nouns; the _______ ________ on the _____ ______ (the blossoming flower on the layered bract). Then we thought of something to compare our plant to (before we took pictures we spent time looking at our plant and thinking about what it looked like that wasn't a plant). Finally we collaboratively wrote similes about our plants (Like a newborn baby swaddled in a blanket, the blossoming flower on the layered bract grows gracefully and safely.)
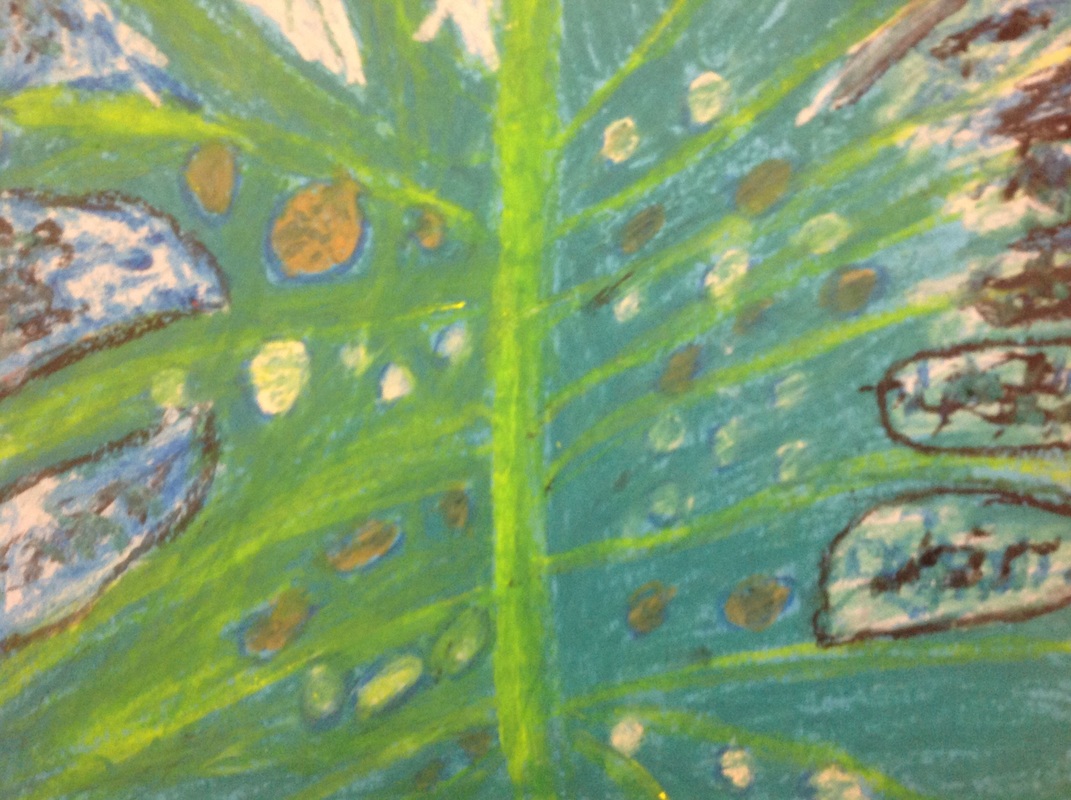
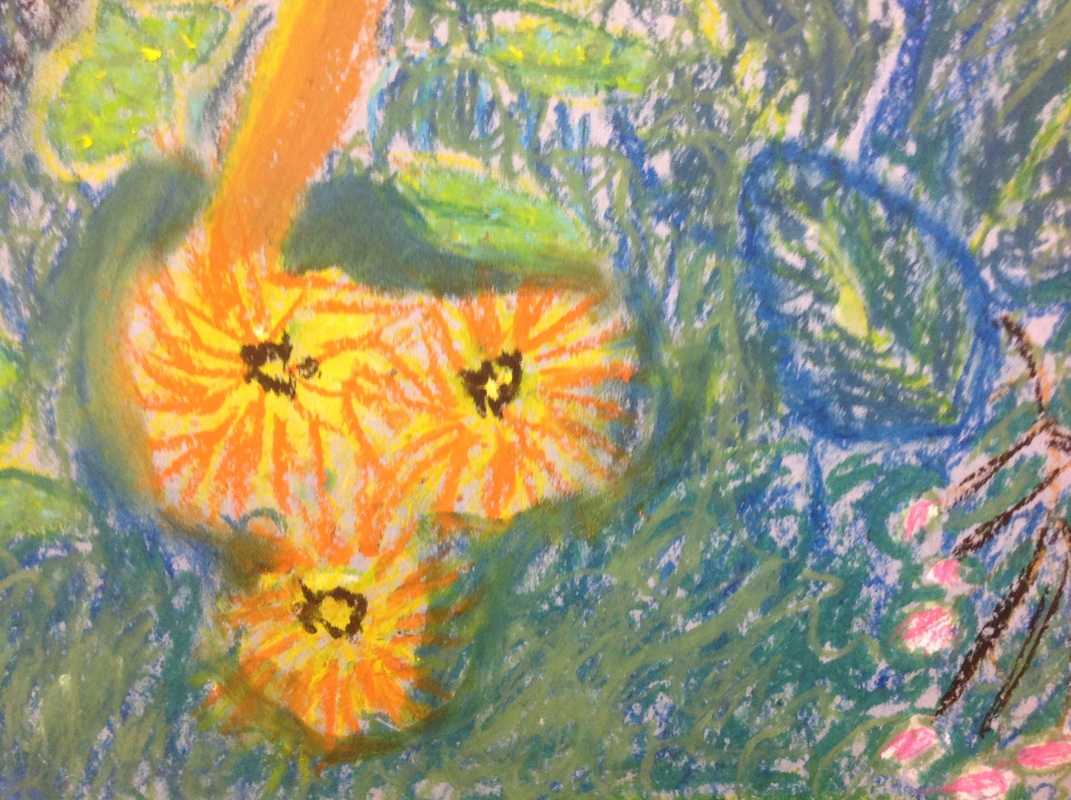
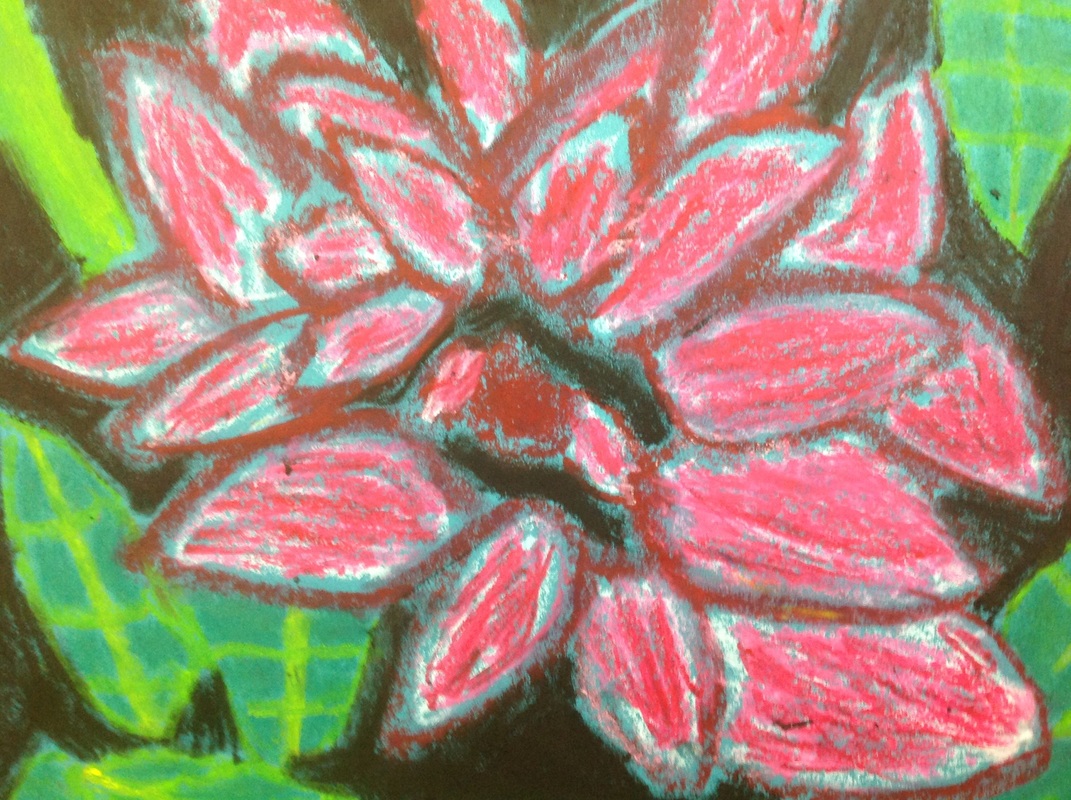
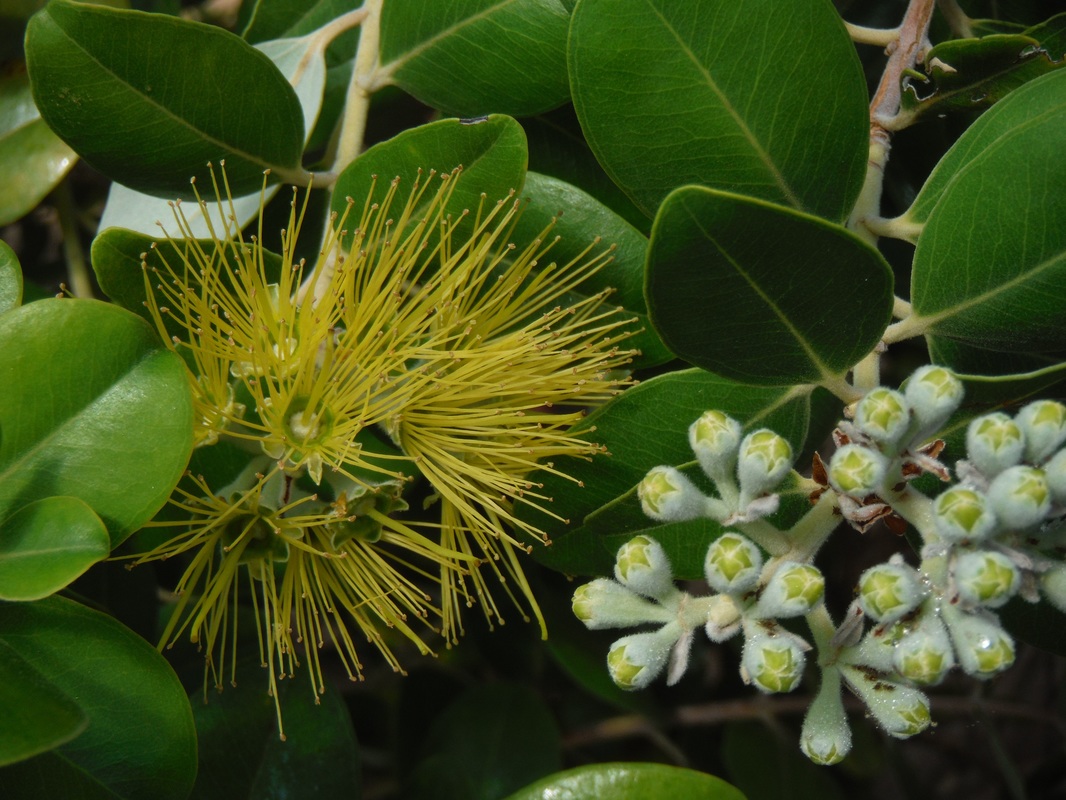
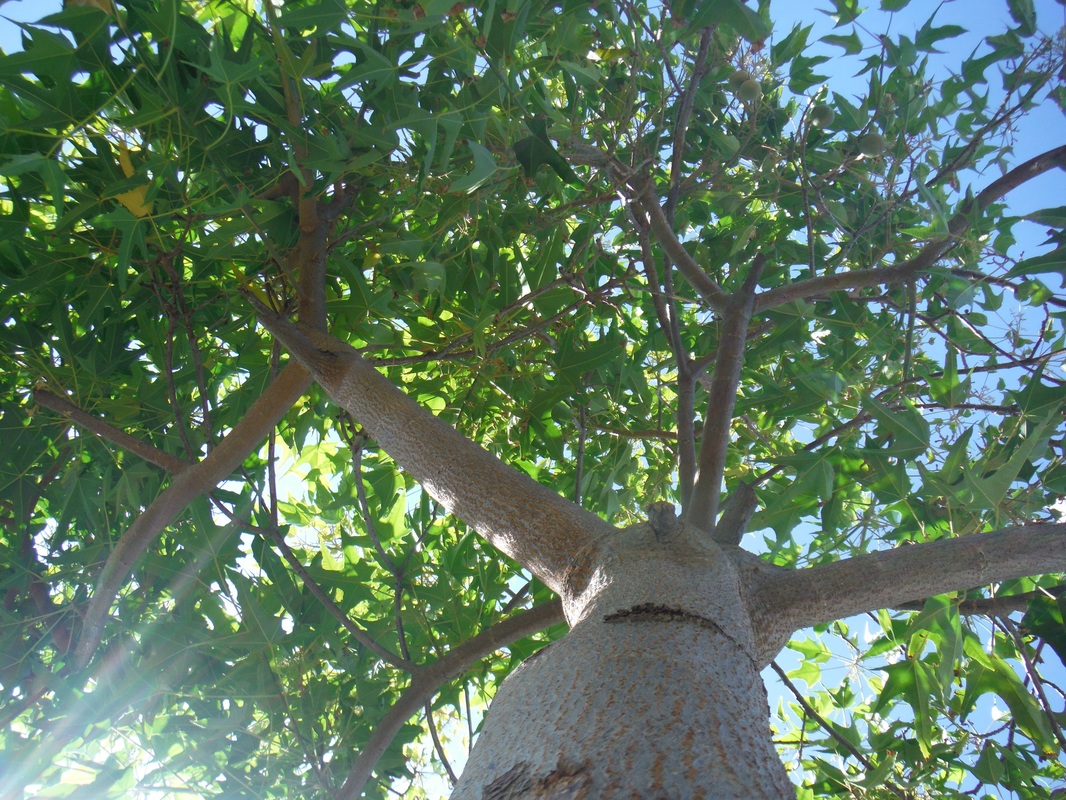
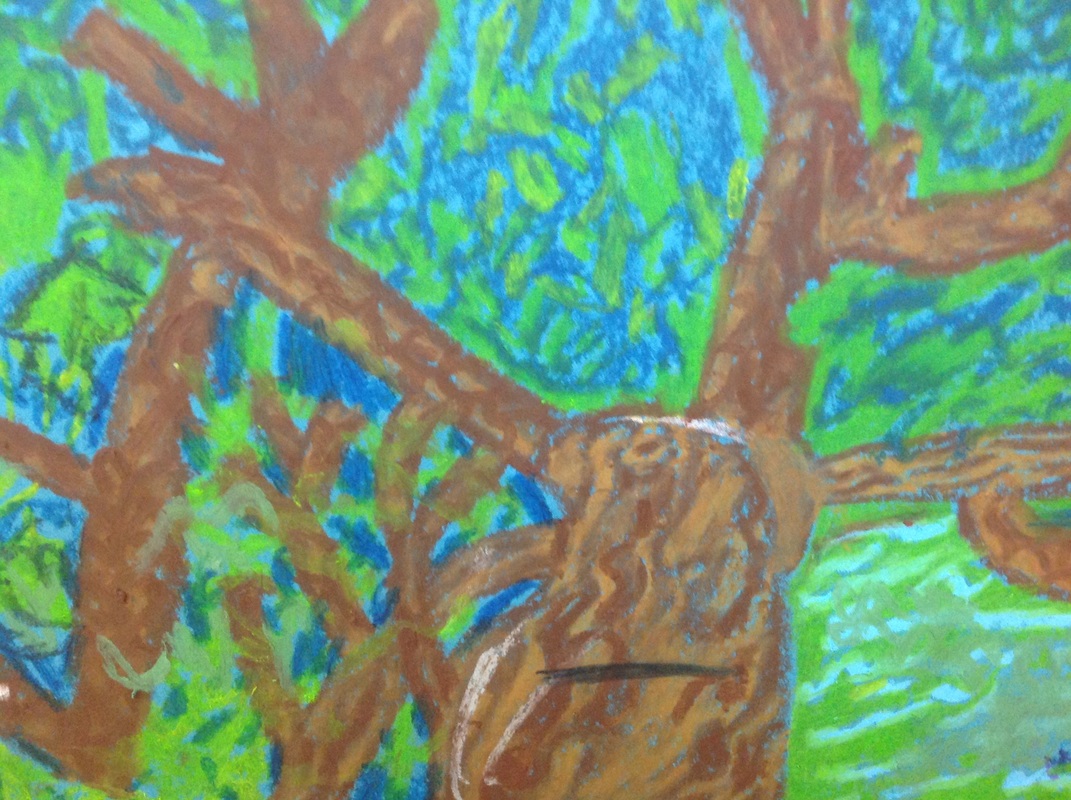
Here's our oil pastels paired with the photo we used as a reference. Scroll over each picture to see our similes.


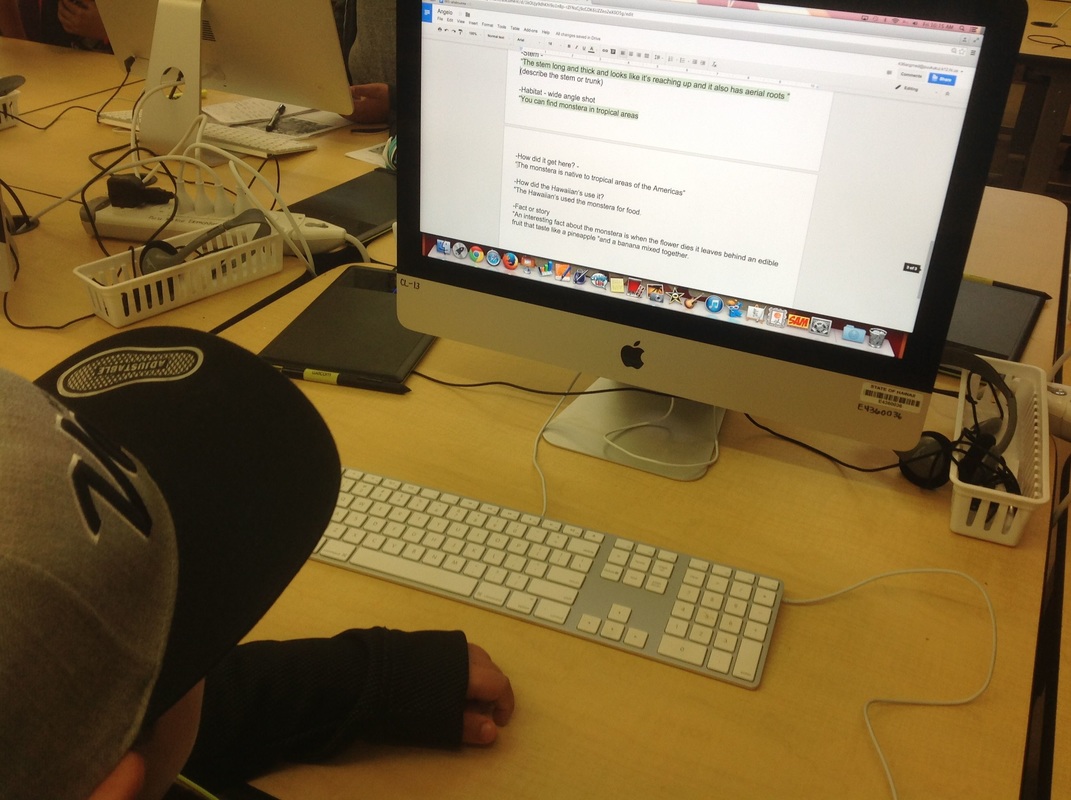
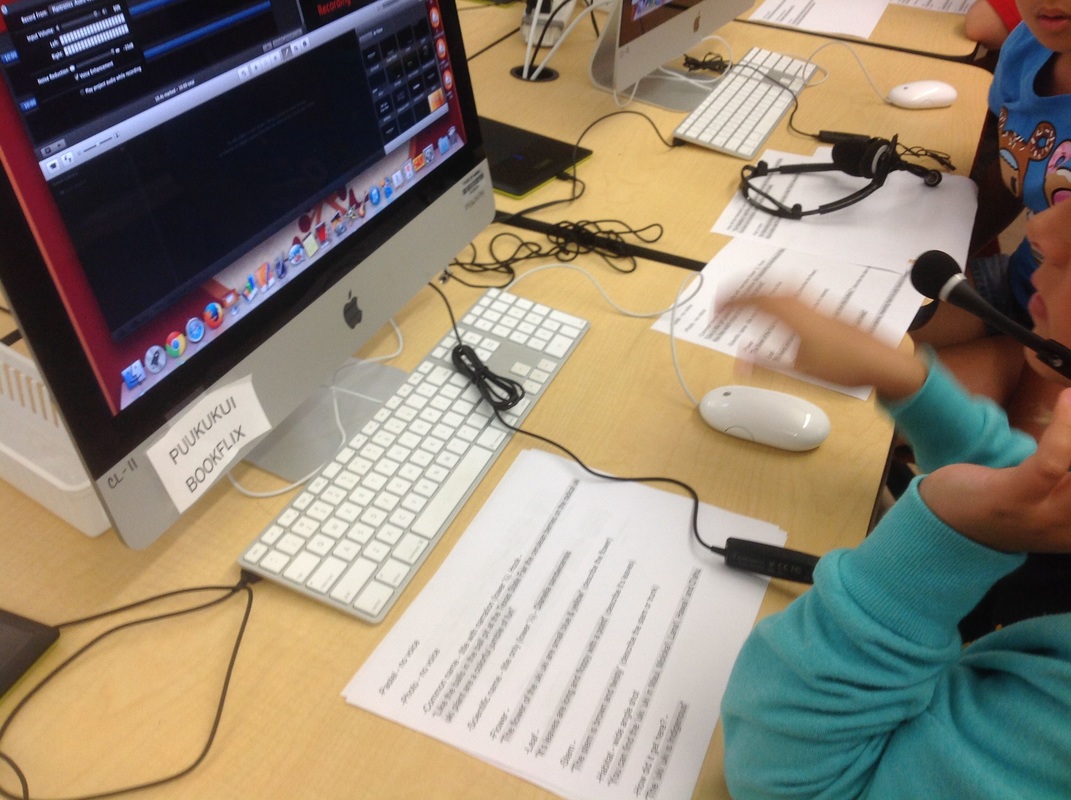
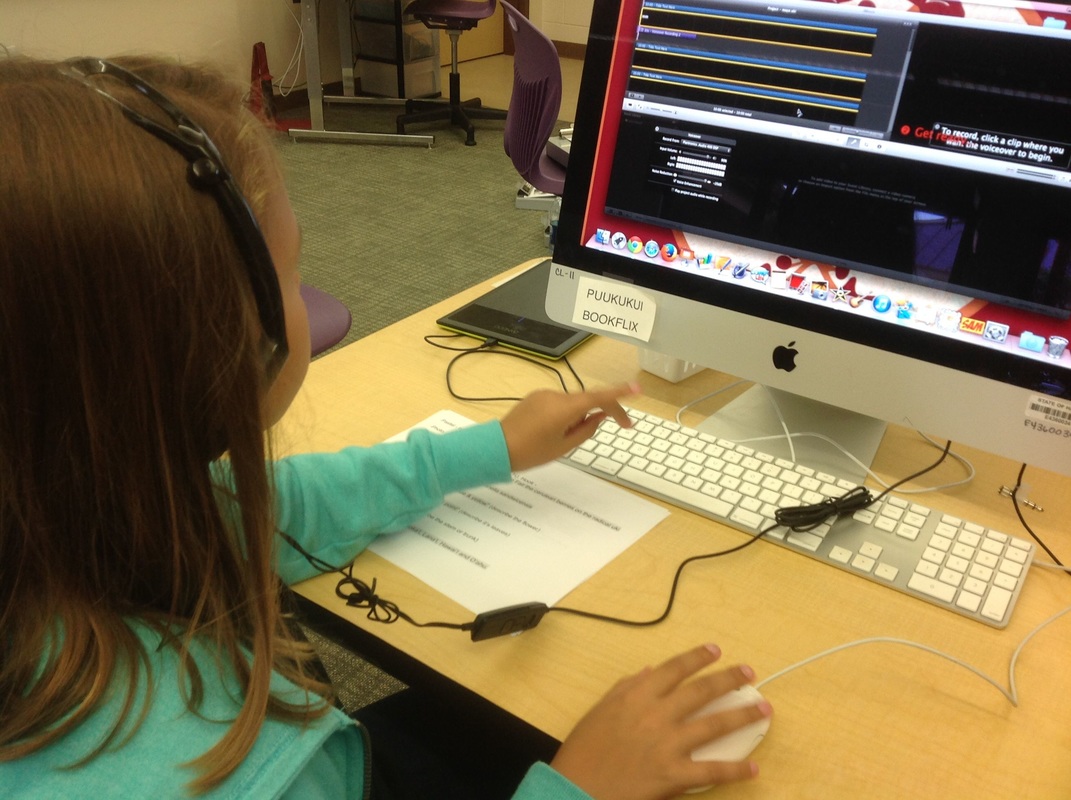
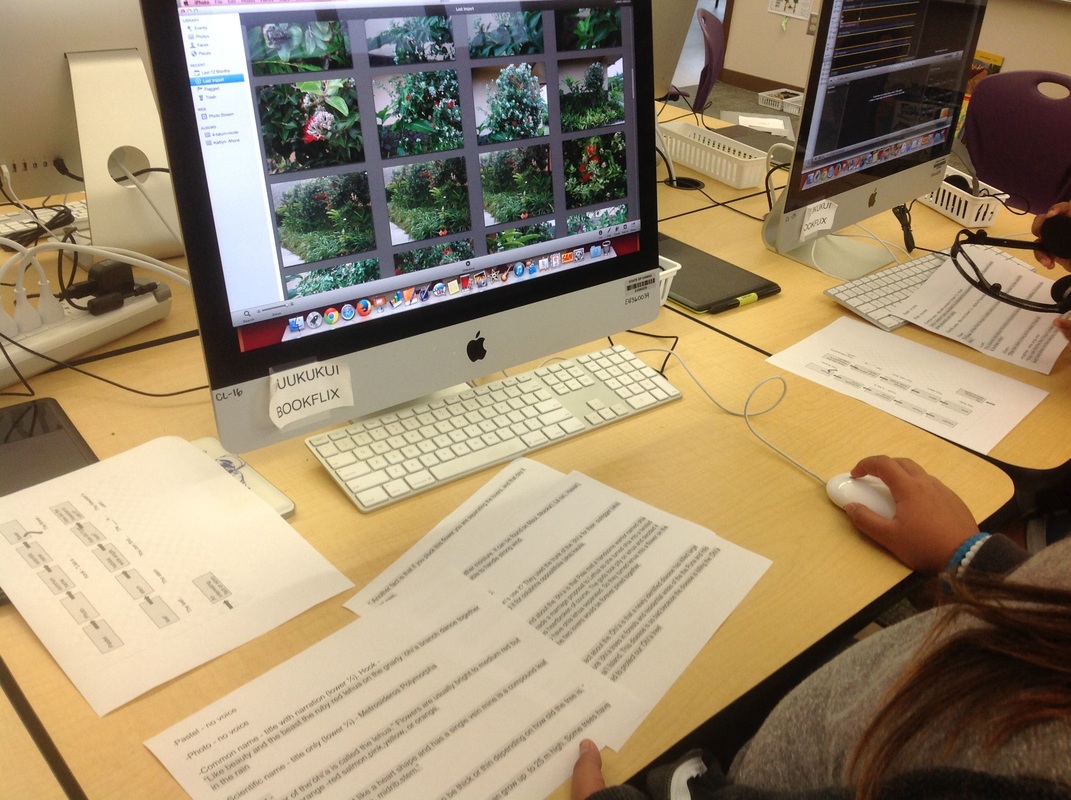
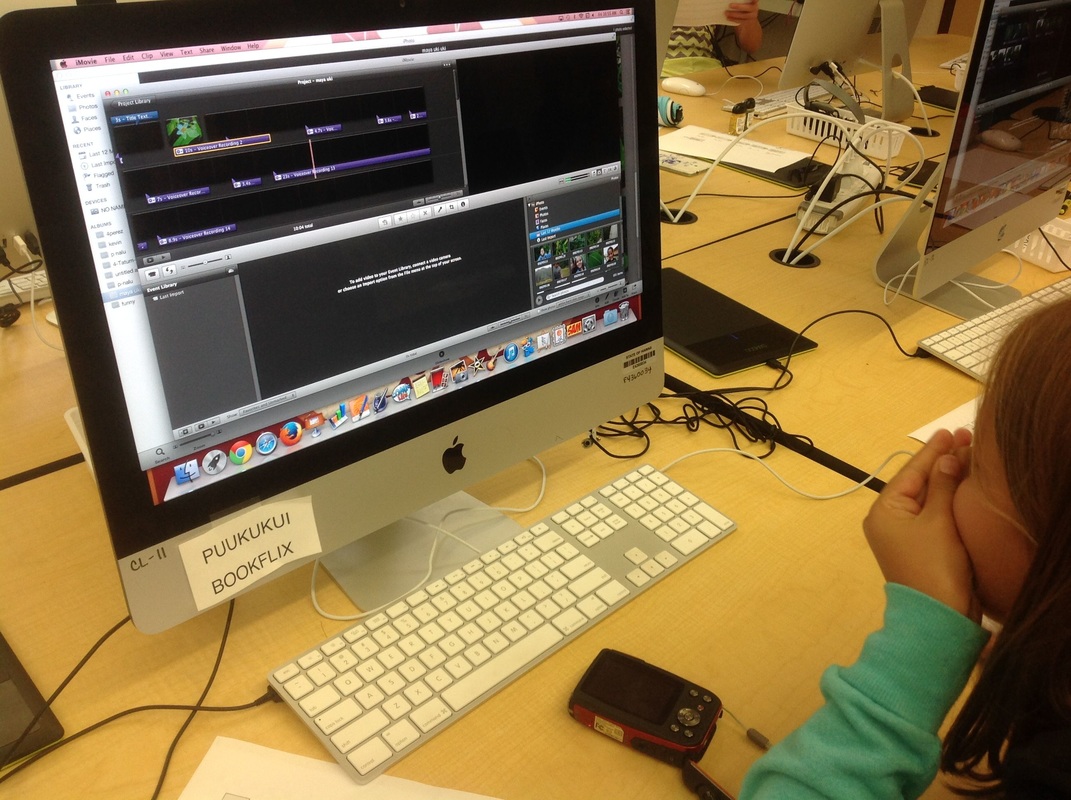
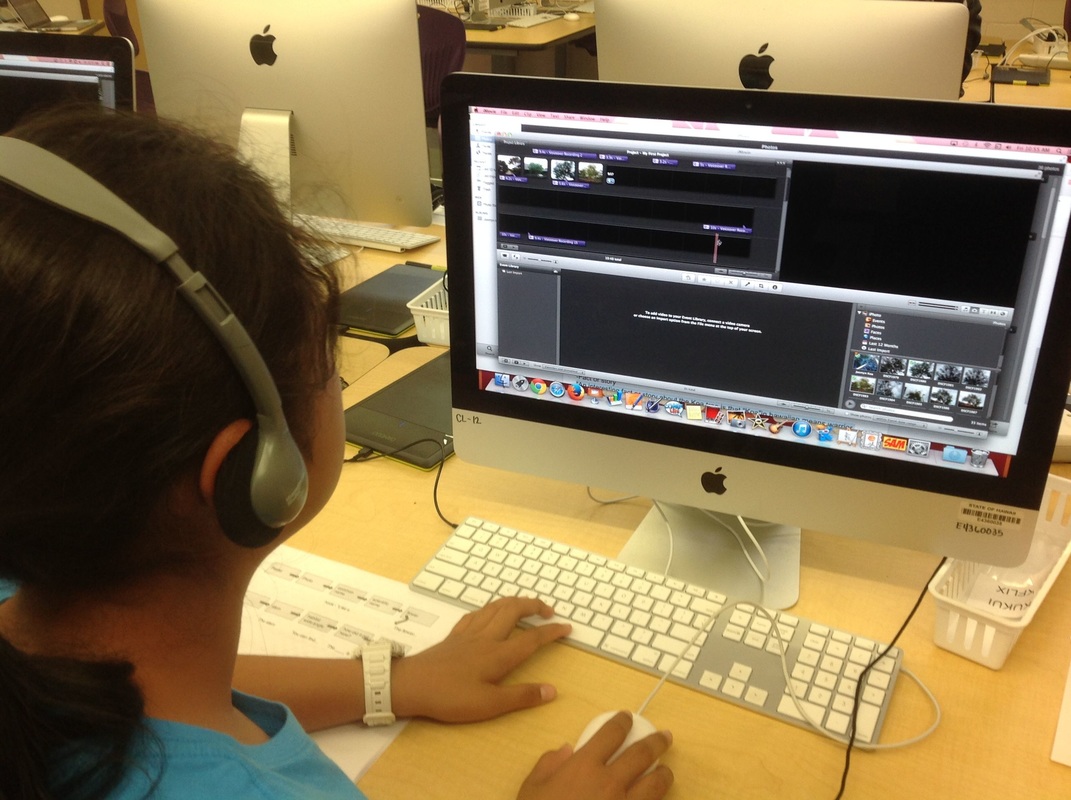
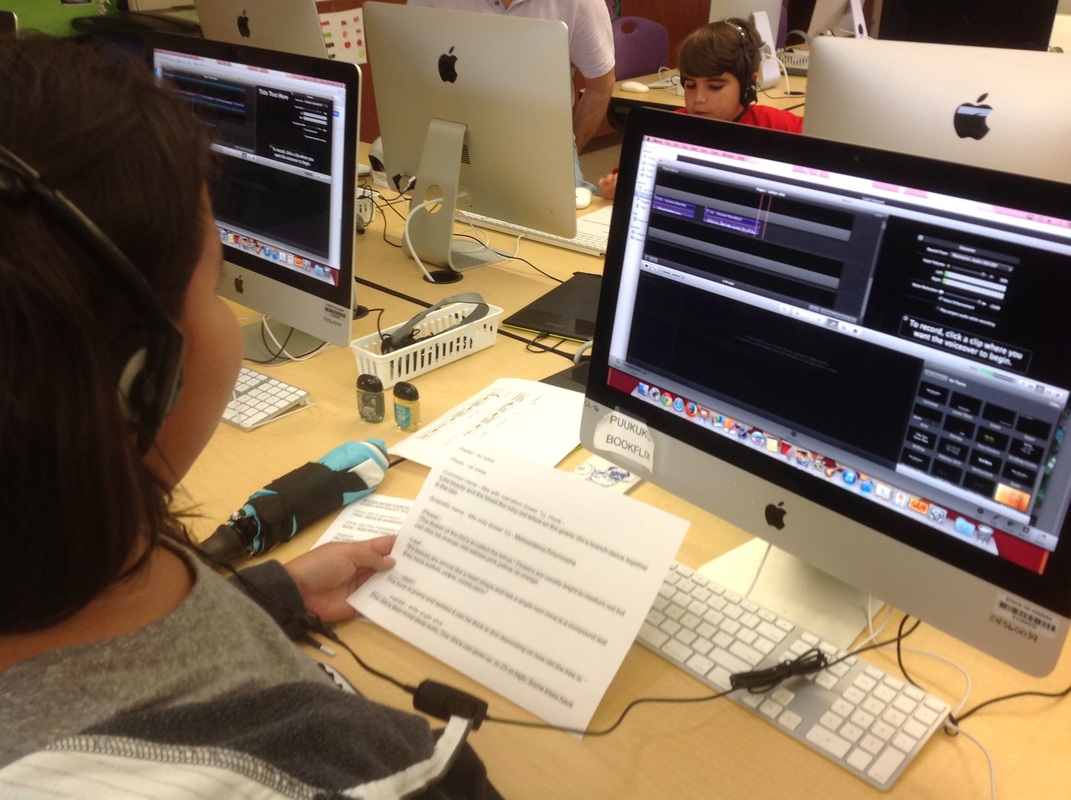
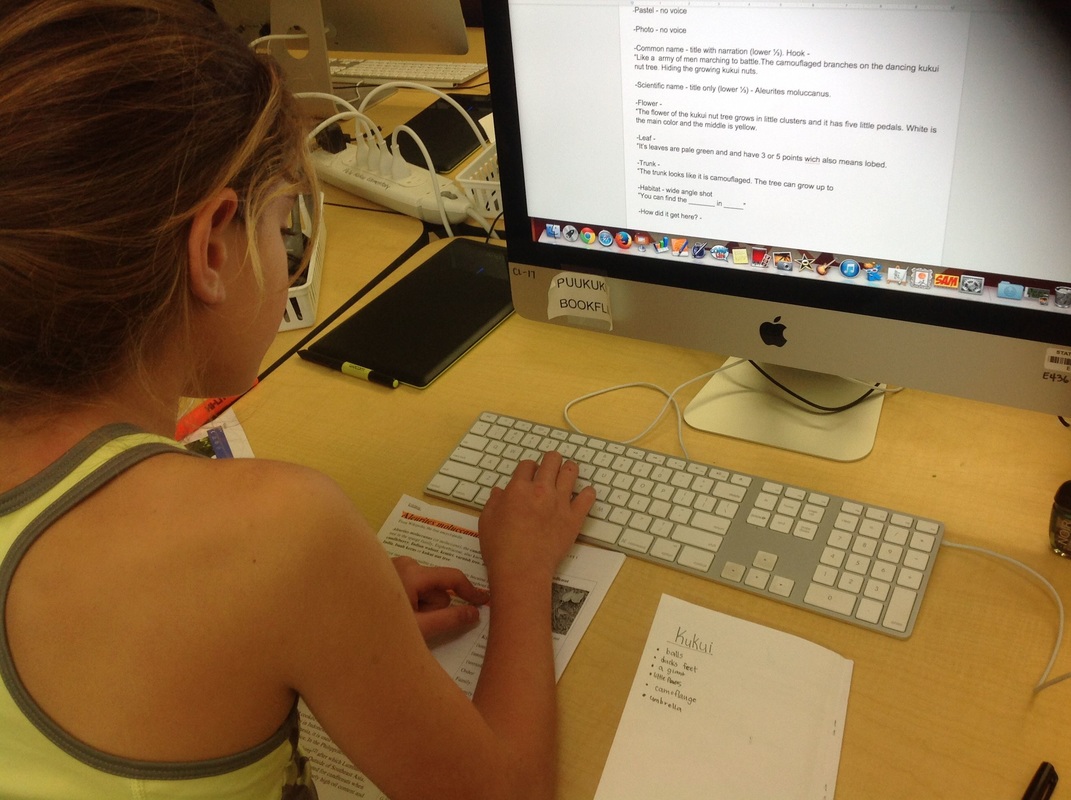
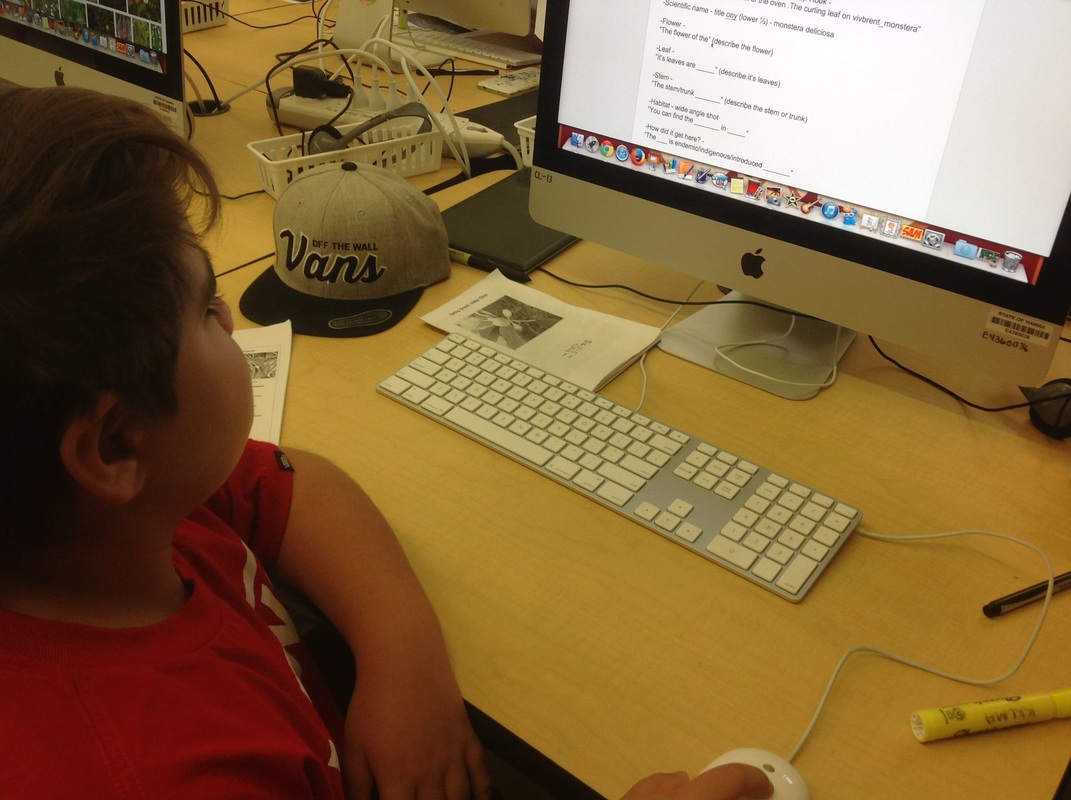
STEP 7: Take it to video - We used Google Docs to write, edit and revise our scripts. We used many different resources to learn information about our plants. One of our favorite resources for information about our plants was the Maui Nui Botanical Gardens (on Facebook). When our scripts were done we had each other read them to make sure what we wrote made sense. Then we printed our scripts out and began to work on creating our video. We did our narration first and then added our pictures, titles, transitions and background music. We had to pay attention to a lot of detail before our movies were ready to share.


Our final videos - We hope you enjoy them.
The Monstera - by Angelo from Debi Tisdell on Vimeo.
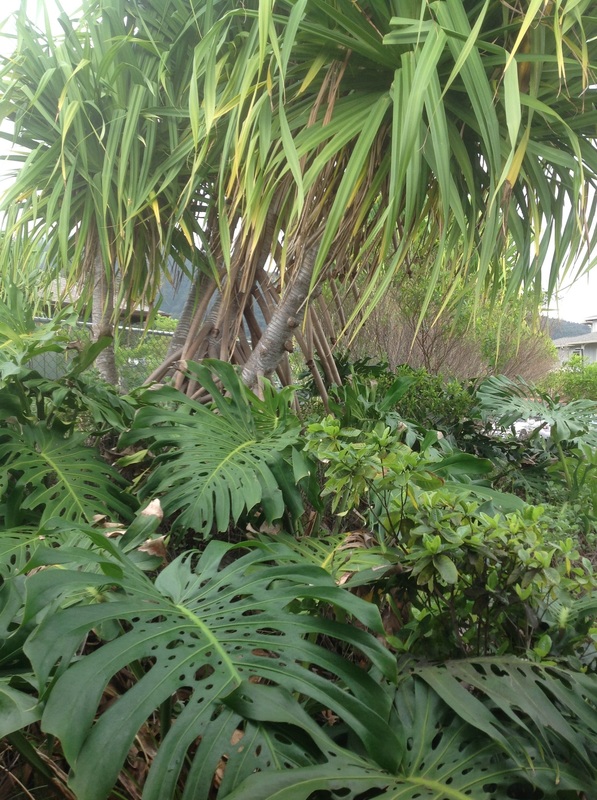
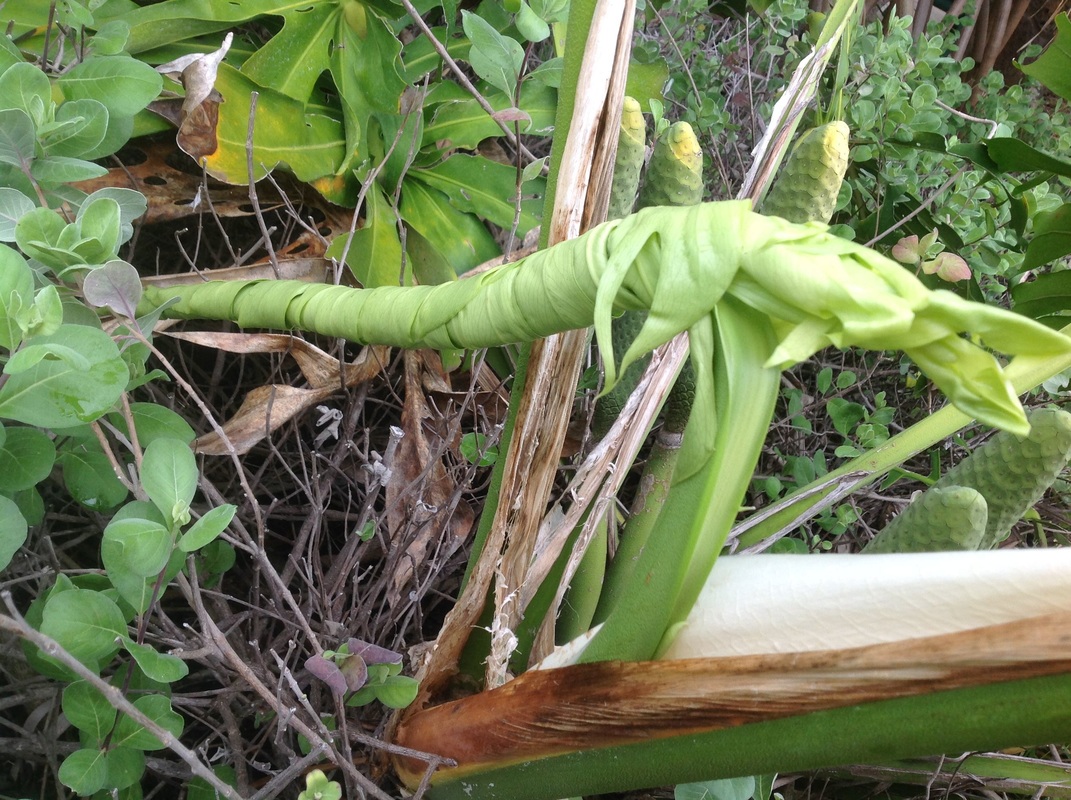
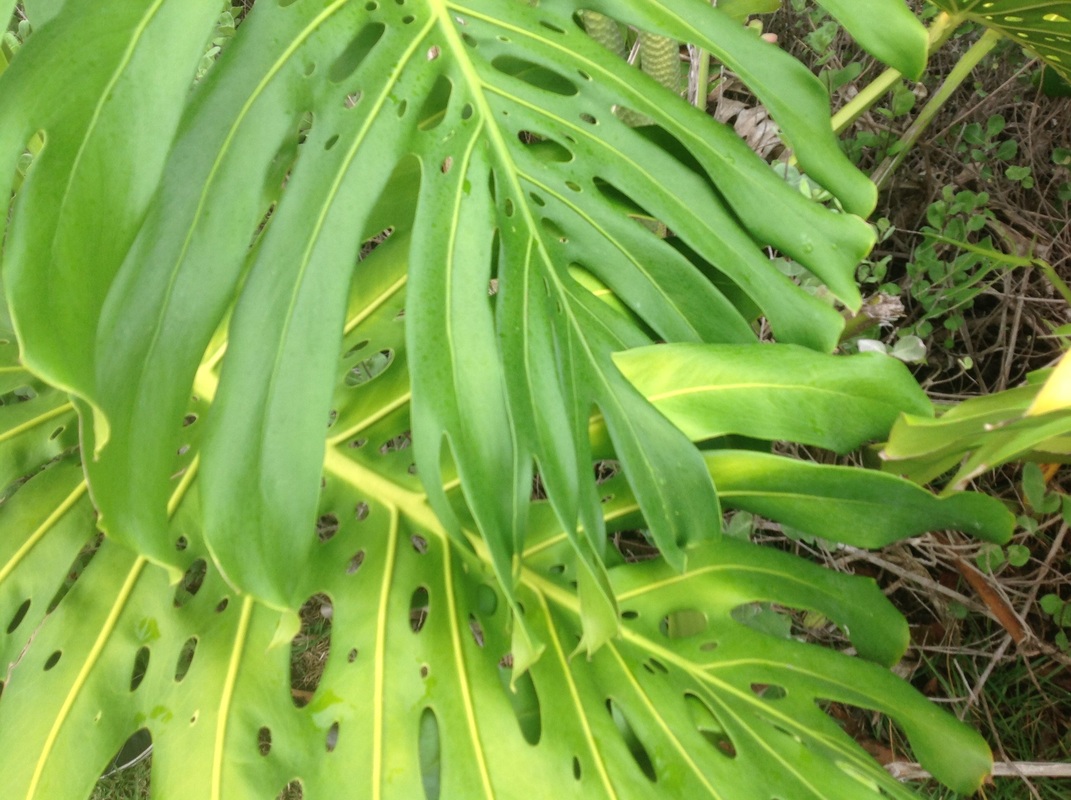
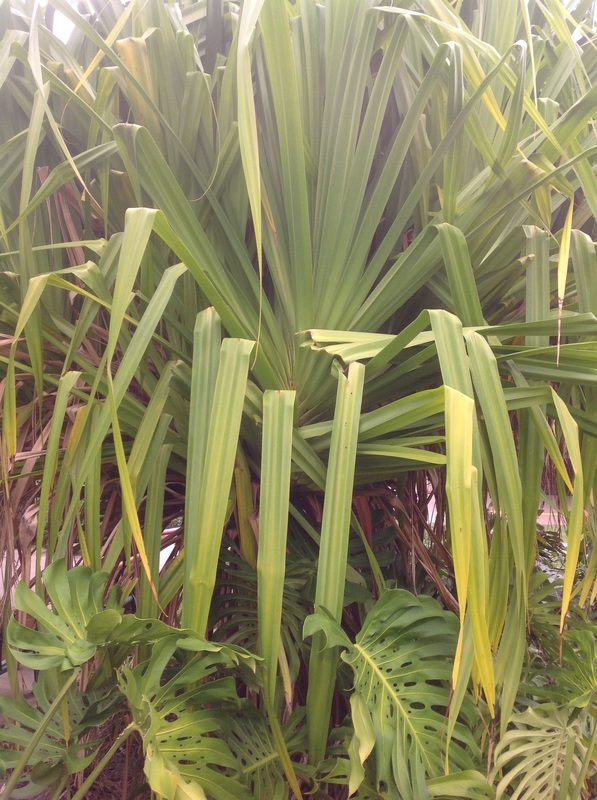
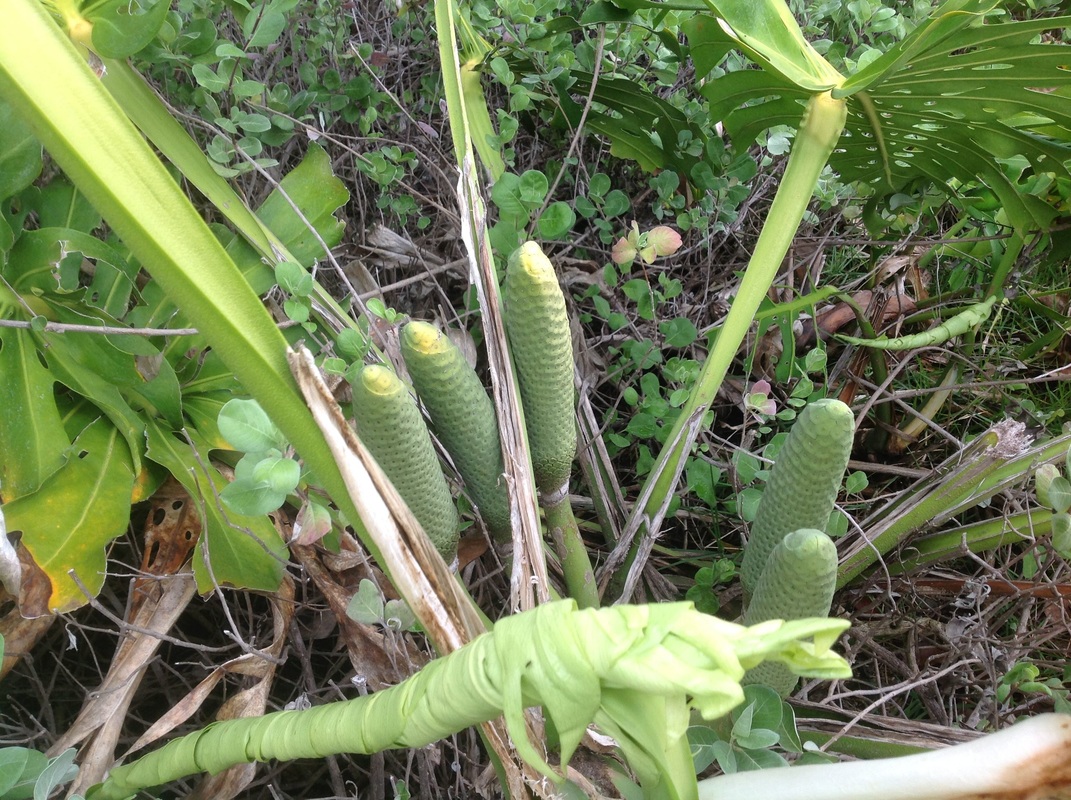
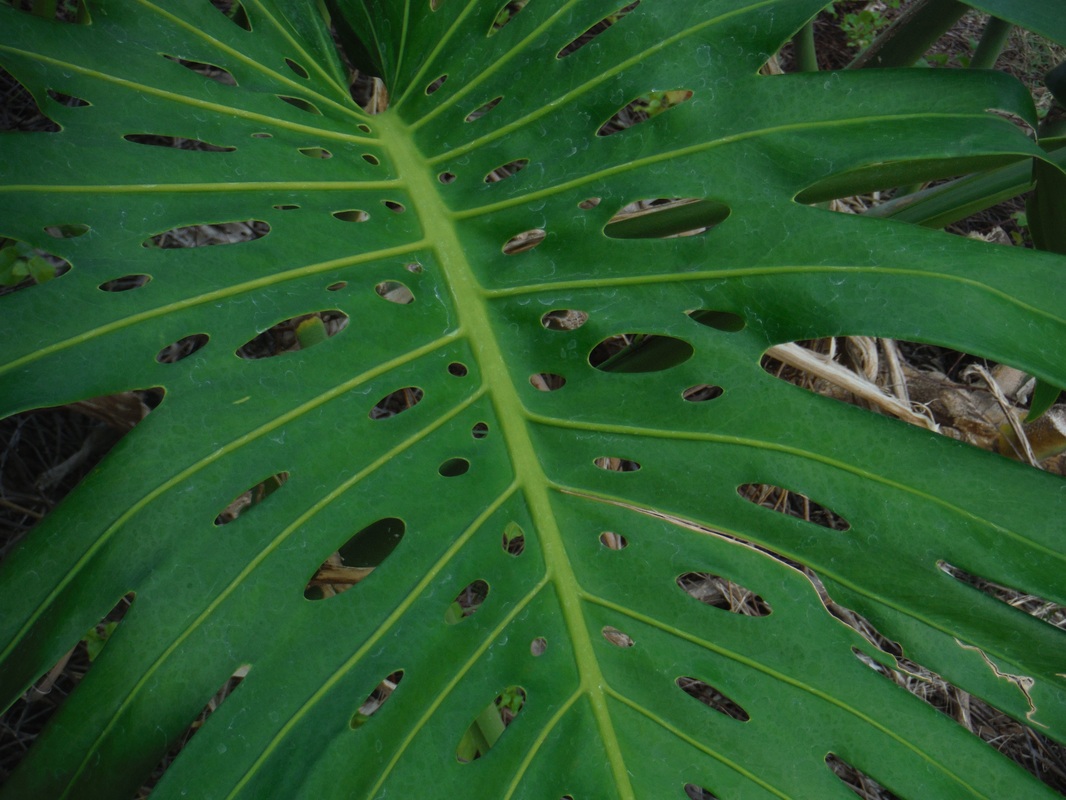
Monstera - by Angelo M. - Like a beef tamale fresh out of the oven, the curling leaf on the vibrant monstera is ready to be open. The flower of the monstera is round and yellow-ish and about 10 inches tall. Its leaves are green and large. They are about 2 feet tall and look like a heart with holes in it. The stem is long and thick and looks like itʻs reaching up and it also has aerial roots. You can find Monstera in tropical areas. The Monstera is native to tropical areas of the Americas. The Hawaiianʻs used the Monstera for food. An interesting fact about the monstera is when the flower dies it leaves behind an edible fruit that tastes like a pineapple and a banana mixed together.
Mystery Plant - 'uki 'uki from Debi Tisdell on Vimeo.
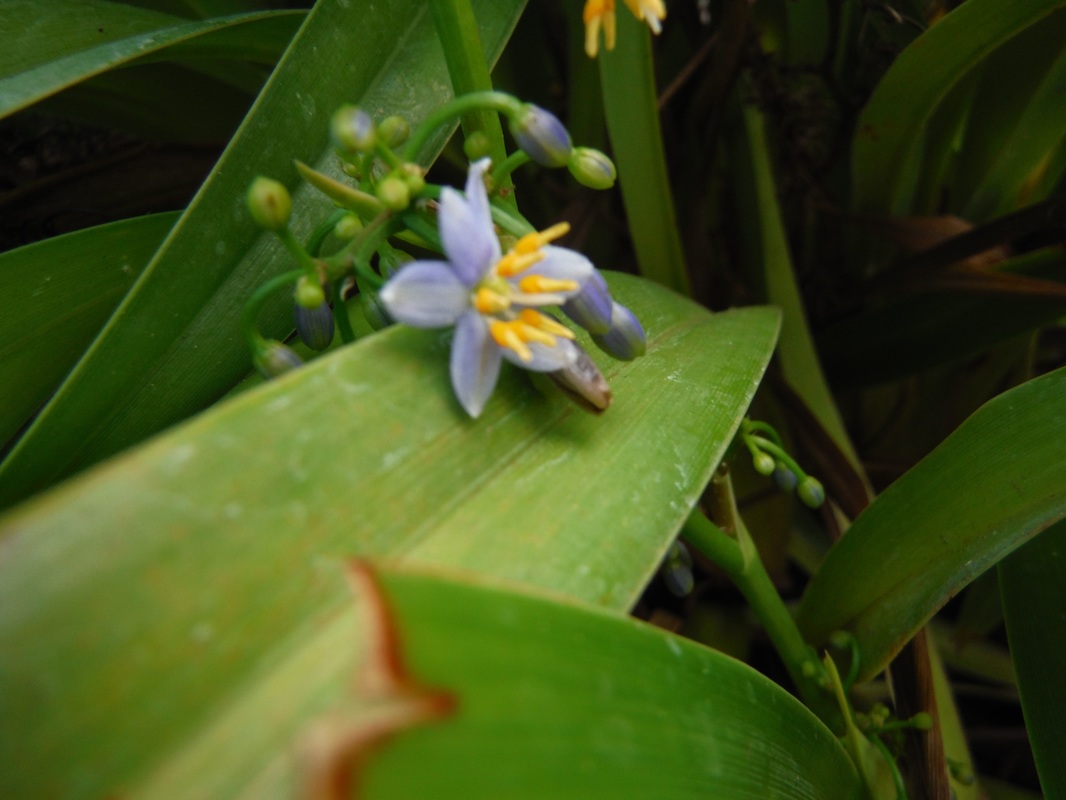
Uki 'uki - by Maya V. - Like the balls in the ball pit at the Texas State Fair, the cerulean berries on the radical 'uki 'uki plant are a colorful jumble of fun. The flower of the 'uki 'uki are small, blue and yellow. It's leaves are long and floppy with a point. The stem is brown and twisty. You can find the 'uki 'uki in Maui, Moloka'i, Lana'i, Hawai'i and O'ahu. The 'uki 'uki is indigenous. The fruit of the 'uki 'uki was used for seed lei. The juice was used as pale to purple-blue dye when mixed with lime for kapa. The leaves were braided for rope and the leaves were also used for hale thatching. An interesting fact about the 'uki 'uki plant is that it is drought, wind, salt, and heat tolerant.
The Koa Tree - by Jasmyn from Debi Tisdell on Vimeo.
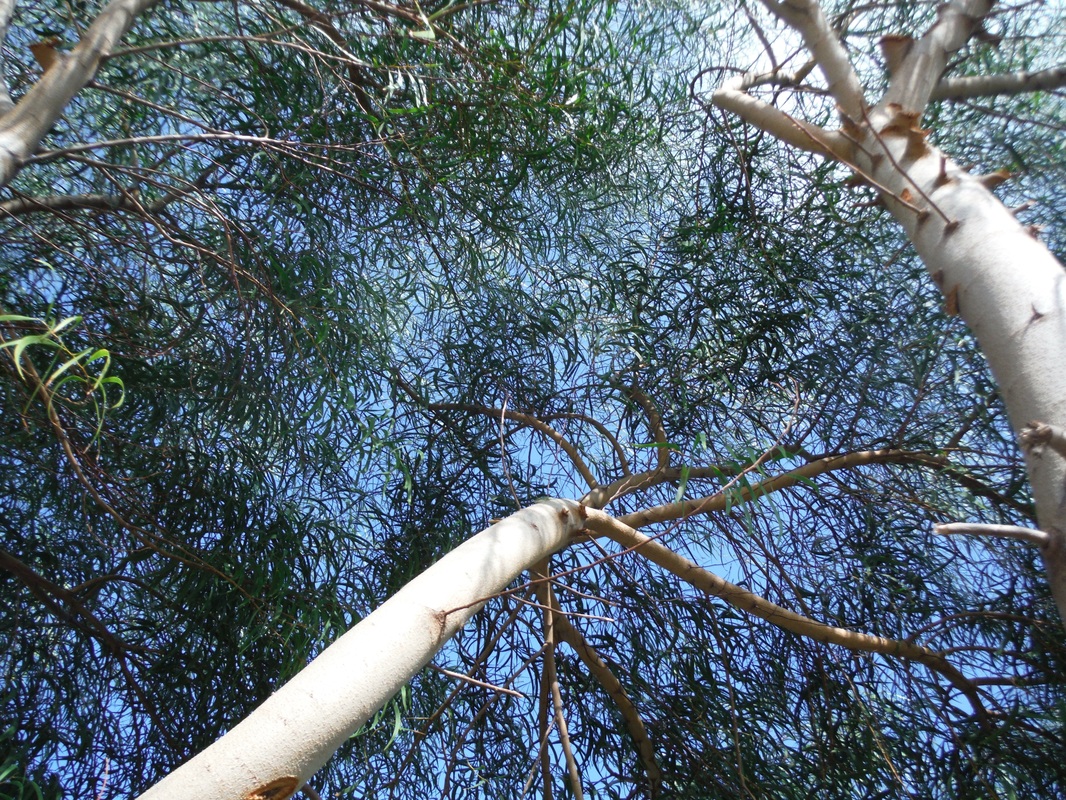
The Koa Tree - by Jasmyn - Like a little girl peeking through a window, the separating branches on the gigantically tall koa tree watch drips of rain fall to the ground. The flower of the koa tree is small and puffy. Its leaves are curved and green. The trunk is separated after a couple of feet from the bottom. You can find the koa tree in a dry to wet forest. The koa tree is endemic, meaning it is only found in Hawaii. The Hawaiians used the young leaves of the koa tree for medicine. More uses for the koa tree is for furniture, canoes, surfboards and bowls. An interesting fact or story about the koa tree is that koa, in Hawaiian, means warrior. Koa is also used for weapons.
The Kukui Nut Tree - by Kapua - Like an army of men marching to battle, the camouflaged branches on the dancing kukui nut tree hide the growing kukui nuts. The flower of the kukui nut tree grows in little clusters and it has five little petals. White is the main color and the middle is yellow. Its leaves are pale green and have three to five points which also means lobed. You can find the kukui nut tree on Maui, Molokai, Lanai, Hawaii, Oahu, Niʻihau and Kauaʻi. The kukui nut tree was introduced to Hawaii by the early Polynesians. The Hawaiians used the kukui tree nut to make lei from the nut shells, leaves and flowers, ink for tatoos from the charred nuts, varnish from the kukui nut oil. Fishermen would chew the kukui nuts and spit them on the water to take away reflections making it easier to see under water. The trunk was also used to make canoes for fishermen. An interesting fact about the kukui nut tree is that in Maui the kukui nut tree is a symbol of enlightenment or protection and peace. The kukui nut tree, or candle nut tree was brought to Hawaii from Asia by the early Polynesians settlers. It was also used by the Hawaiian royalty.
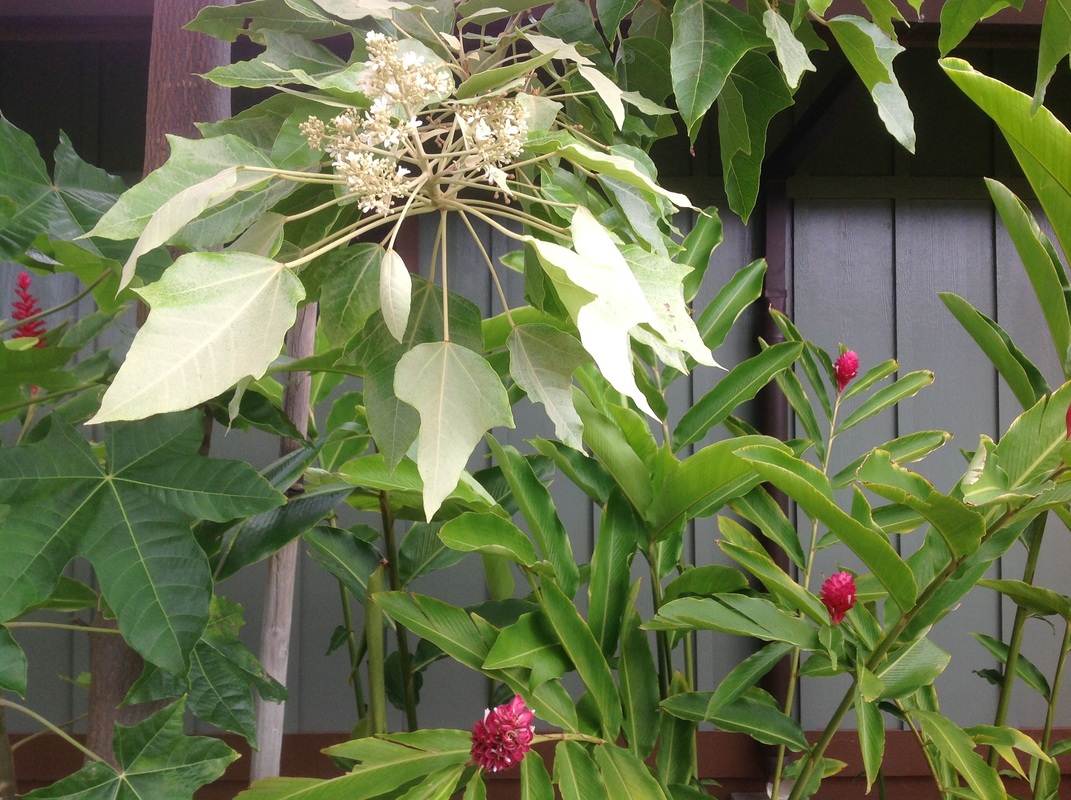
The ʻŌhiʻa Lehua - by Kaitlyn - Like beauty and the beast the ruby red lehua on the gnarly ʻōhiʻa branch dance together in the rain. The flower of the ʻōhiʻa is called the lehua. Flowers are usually bright to medium red but can also be orange, red, salmon, pink, yellow, or orange. Its leaves are almost like a heart shape and have a single vein. Mine is a compound leaf and they have leaflets, midribs and a stem. The trunk is gnarly and twisted. It can be thick or thin depending on how old the tree is. The ʻōhiʻa likes moist deep soils. The ʻōhiʻa can grow up to 25 meters high. Some trees have fibrous aerial roots to gather moisture. It can be found on Maui, Molokai, Lanai, Hawaii, Oahu and Kauai. It is able to handle strong winds. The ʻōhiʻa is endemic. They used the trunk of the ʻōhiʻa for their outrigger also known as waʻa. Because it was so plentiful they also used it for fencing. An interesting fact about the ʻōhiʻa is that a newly identified disease had killed large numbers of mature ʻōhiʻa trees in Hawaii. The disease is killing the ʻōhiʻa trees and we need to protect our ʻōhiʻa tree.
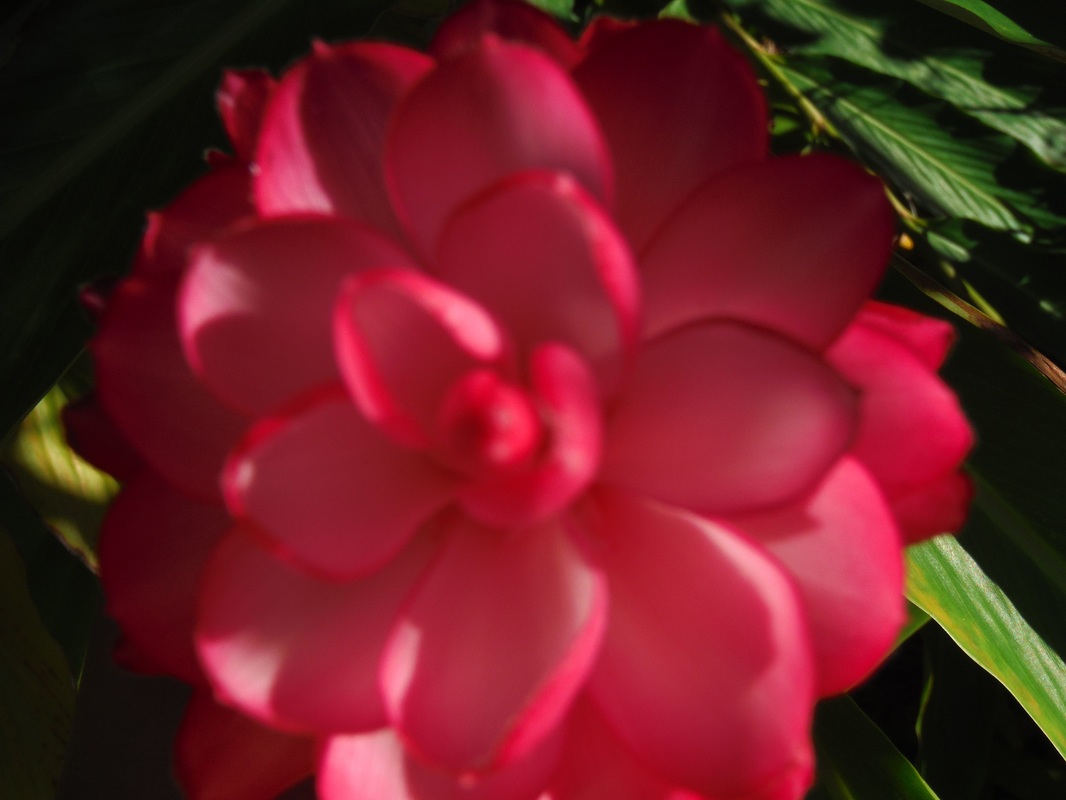
The Red Ginger - by Florence - Like a newborn baby swaddled in a blanket the blossoming flower on the layered bract grows gracefully and safely. The flower of the red ginger is white and is 2 inches and is surrounded by the colorful bract. The stem is long and is about 14 feet tall. Its leaves are about 18 inches long and its leaves are sessile or stalkless. Its leaves are 4 inches wide. You can find the red ginger in moist or humid conditions. It can tolerate in the sun but does not like being dry. Also it likes to be in warm rain. The red ginger was introduced by the early Polynesians. The Hawaiians used the red ginger for medicine and food. An interesting fact about the red ginger is that some people think that the pink or red part of the red ginger is the flower, but the red part is really leaves and the white part is the actual flower of the red ginger.
